

Key Takeaway: A successful tile floor installation depends entirely on ensuring the underlying subfloor is clean, dry, rigid, and flat within strict industry tolerances to prevent movement and subsequent cracking. You must achieve at least 80% mortar coverage in dry areas and 95% in wet or natural stone installations by combing thin-set in straight, directional ridges rather than circular swirls. Finally, leaving soft expansion joints filled with color-matched flexible caulk at the perimeters and allowing the assembly to cure for a full 24 hours before allowing foot traffic are critical steps to prevent tenting and loose tiles.
To install tile flooring the right way, start with the floor itself. It needs to be clean, dry, flat, and stiff enough that it won't flex under your feet. From there you choose a tile and underlayment that suit the room, plan the layout, set the tile with proper mortar coverage, leave room for movement at the walls and joints, and let the mortar and grout cure before anyone walks on it.
That order matters more than most people expect. A tile floor doesn't fail because someone spread thinset the wrong way. It fails because of what was skipped underneath. The visible work is only half the story. The prep decides whether your floor is still tight and crack-free five years from now, so that's where we'll spend most of our time.
Is Installing Tile Floor a Good DIY Project?
Installing tile is within reach for a careful, patient DIYer. It's also easy to underestimate. Laying tile isn't just about keeping the lines straight. The failures that actually cost you money are cracked grout, loose or hollow tile, lippage (one tile edge sitting higher than the next), and a bond that lets go over time. Most of those problems trace back to the substrate, not the tile work. If the floor moves, the tile moves with it, and tile doesn't bend. So before you commit, run through this quick gut check:- Is the subfloor flat and stiff enough to carry tile without flexing?
- Is this a bathroom, laundry room, or entry where water and slip resistance come into play?
- Is the tile large-format, marble, natural stone, or a small mosaic? Each raises the difficulty.
- Is there old vinyl flooring, mastic, or the chance of asbestos or lead in an older home?
- Are plumbing, electrical, or structural changes part of the job?
Choosing the Right Floor Tiles and Buying Enough for the Room

Ceramic, porcelain, stone, and slip resistance
Ceramic and porcelain cover most floors. Porcelain is denser and absorbs less water, which is why it holds up well in kitchens, entries, and wet areas and adds value at resale. Natural stone and marble are beautiful and one of a kind, but they need more careful prep and often sealing, so treat them as their own category. Mosaics look great but bring a lot of grout lines and setting time. For any floor that gets wet, slip resistance matters as much as looks. The tile industry uses a wet DCOF benchmark of 0.42 for level interior floors expected to be walked on when wet. A polished tile can be stunning and still be slick underfoot in a bathroom or laundry room, so weigh the finish against where it's going. Beautiful only counts if it's also safe and easy to live with.Measure the room and add extra
Measure length times width to get your square footage. Then buy more floor tiles than that. A common planning allowance is 10% extra for cuts and breakage, and 10 to 15% if you're running a diagonal or patterned layout with more waste. Buy from the same lot or dye run when you can, since color shifts slightly between batches. Open several boxes and mix tiles as you set them so any variation blends across the entire floor instead of showing up as a patch. Keep a few spare floor tiles after you finish. If one cracks years later, matching it will be nearly impossible otherwise.Checking the Subfloor: Flat, Dry, and Stiff Enough for Tile
Flat is not the same as level
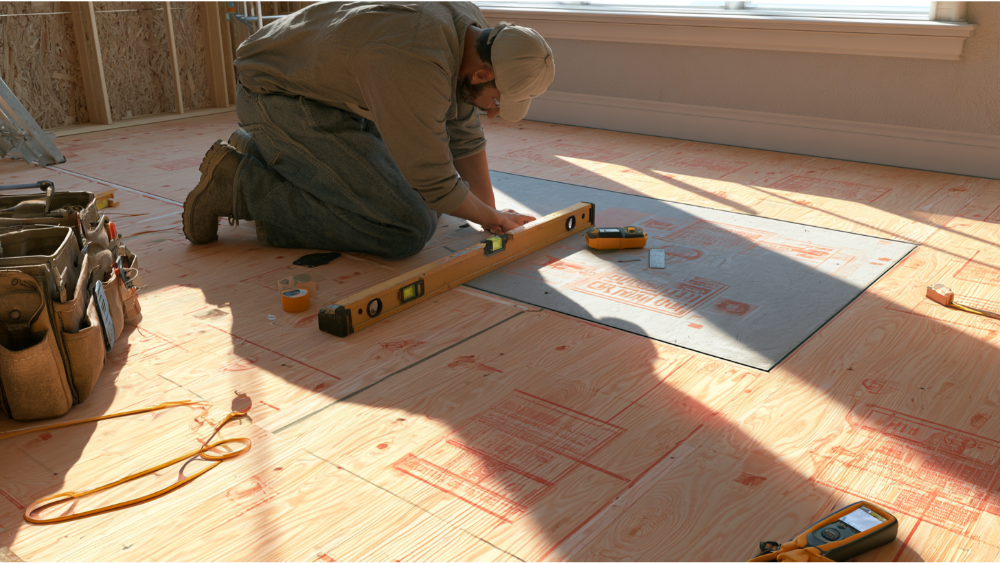
People say a floor needs to be "level." What a tile floor actually needs is flat. Level means parallel to the horizon. Flat means no humps or dips across the surface. A floor can be slightly out of level and still take tile beautifully, but a wavy floor will give you lippage and cracked grout every time. The ANSI standards put real numbers on it. For tile with all edges shorter than 15 inches, the floor can vary up to 1/4 inch in 10 feet (and 1/16 inch in 12 inches). For tile with any edge 15 inches or longer, the tolerance tightens to 1/8 inch in 10 feet. Larger tiles demand a flatter floor. When the floor is out of tolerance, fix it with a patching or self-leveling underlayment. Do not try to bury the dips in thinset. Mortar is not a leveling product, and using it that way invites failure.Is the floor stiff enough?
Movement is one of the top causes of cracked tile and grout. A tile floor needs a floor system that barely flexes. The traditional minimum rigidity for ceramic and porcelain is L/360 before underlayment goes down. In plain terms, over a 10-foot span that's roughly 1/3 inch of allowable deflection at most. Natural stone is stricter at L/720, twice as rigid, which is one more reason marble and stone aren't beginner projects. Here's the part that trips people up: backer board does not add structural strength. It gives you a stable surface to bond to, but it won't stop a bouncy floor from bouncing. Before you tile, look and listen for trouble:- Bounce or squeaks when you walk the floor
- Water damage, rot, or swelling in the subfloor
- Cracks in a concrete slab
- Uneven or lifted seams
- Old adhesive or mastic left behind
What You're Tiling Over and Safety Checks in Older Homes
Concrete, wood, backer board, membranes, and existing floors
Every substrate changes the method. A sound concrete slab can take tile directly with the right mortar. A wood subfloor almost always needs an underlayment first, usually 1/4 to 1/2 inch cement board or an uncoupling membrane. Tiling over existing tile or old vinyl is sometimes possible and often not, depending on condition and bond, so don't assume it's fine. Wet areas are a different job entirely. A bathroom floor near a tub or shower needs waterproofing before tile goes down, because tile and grout are not waterproof on their own. Skipping that in a wet room leads to hidden damage. (If you're weighing what belongs under your tile, that's worth a closer look on its own.)Older-home hazards: asbestos, lead, and silica
Portland and Vancouver have a lot of older homes, and that's where this gets serious. Old flooring, backing, and adhesives can contain asbestos, and the EPA is clear that you cannot identify it by sight. Don't saw, sand, or scrape suspected material. Sampling has to be done by an accredited professional, and in some cases covering old flooring is safer than removing it. In homes built before 1978, disturbing painted surfaces like trim and baseboards can release lead. The EPA's minor-repair thresholds are 6 square feet inside a room and 20 square feet outside before lead-safe rules kick in. And any time you're cutting tile, stone, mortar, or concrete, you create respirable silica dust that OSHA warns about, so use dust control and proper protection. If you rent your home, get written permission from the owner before you disturb any of these older materials. When any hazard shows up, that's the moment to stop and call a qualified pro.Underlayment, Layout, and the Tools You'll Need
Underlayment done right
Cement board is not just screwed to the plywood. It's set into a bed of thin set mortar underneath, fastened about every 8 inches on center, with roughly 1/8-inch gaps at the edges and walls, staggered joints so you never get a four-corner intersection, and alkali-resistant mesh tape over the seams. Screwing board straight to the subfloor with no mortar bed, or skipping the seam tape, is one of the most common DIY failures we see. Uncoupling membranes are the other route: they cut with a utility knife and help manage minor movement in the floor.Plan the layout and gather your materials
Before any mortar gets mixed, snap your control lines and dry-lay the tile. You're looking to avoid thin slivers at the walls, and to plan how the tile meets doorways, the toilet, a vanity, and cabinet edges where sightlines will notice it most. A grease pencil is handy for marking cut lines right on the tile side you'll trim. Account for the height difference where your tile meets adjacent flooring, and plan your exit so you're not tiling yourself into a corner. That last row against the far wall should be planned first, not left to chance. Tools and materials worth having on hand:- A diamond tile saw for clean cuts, large tile, and stone
- A manual snap cutter for most straight cuts
- Nippers for notches and curves
- A notched trowel sized to your tile
- Spacers, a level, and a mixing paddle
Tile Floor Installation: Thin Set, Trowel, and Cutting Tile
Choosing mortar and the right trowel
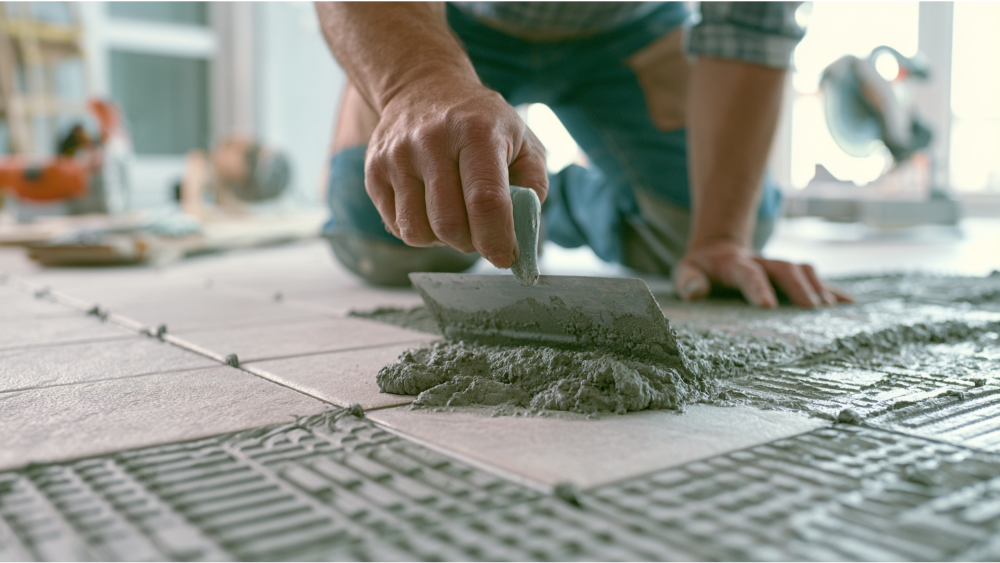
Follow the instructions from the tile, mortar, and underlayment makers together. Whether you need a modified or unmodified thinset depends on the assembly, so read the technical data sheet instead of guessing. Trowel size scales with tile size. Small tile takes a small notch; tile over 16 inches generally wants around a 3/4-inch notch to fill the back properly. The wrong trowel is a leading cause of poor adhesion. As a rough planning figure, a 50-pound bag of thinset covers somewhere around 30 to 50 square feet depending on your trowel and tile. Mix it to a consistency that holds the notch lines without slumping. Spread only a thin layer at first to check your coverage, then work out from there.Set, check coverage, and cut edges
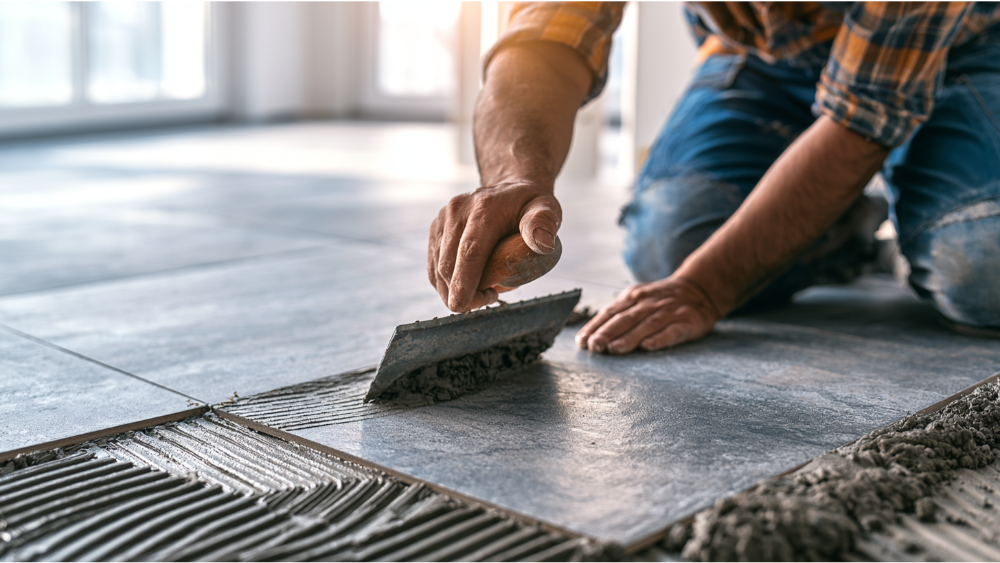
Work in sections you can reach comfortably. Comb the thin set in one direction (directional troweling) rather than swirling it, and make sure you're putting down enough mortar to back-butter large or stone tiles when the back needs full contact. Every so often, lift a tile you just set and look at the back. You're aiming for about 80% coverage in dry interior areas and 95% in wet or exterior areas. Natural stone needs 95% too, with no voids over 2 square inches and none within 2 inches of a corner. Use spacers for even grout lines, seat the next tile against the spacer before checking level, and clean mortar out of the joints before it sets hard. For edge tiles, measure carefully before cutting tile on the tile saw or snap cutter. A small error here means a whole tile wasted, so mark twice. Leave your expansion gaps at the walls, and don't force tile tight against walls or cabinets. That gap has a job to do.Movement Joints, Grout, and Curing Time
Movement joints, the detail most DIY guides skip
Tile and the floor beneath it expand and contract with temperature and humidity. Without somewhere for that movement to go, you get tenting, cracking, and tile letting loose. You need soft joints filled with caulk (not grout) at the perimeter where tile meets walls, at changes of plane like where the floor meets a step, and over any structural or control joints in the slab. Indoors, a common field reference is a movement joint every 20 to 25 feet. Grout is rigid and cannot flex, so it is never a substitute for a real movement joint. Match the caulk color to your grout so those soft joints blend in.Grout, caulk, seal, and let it cure
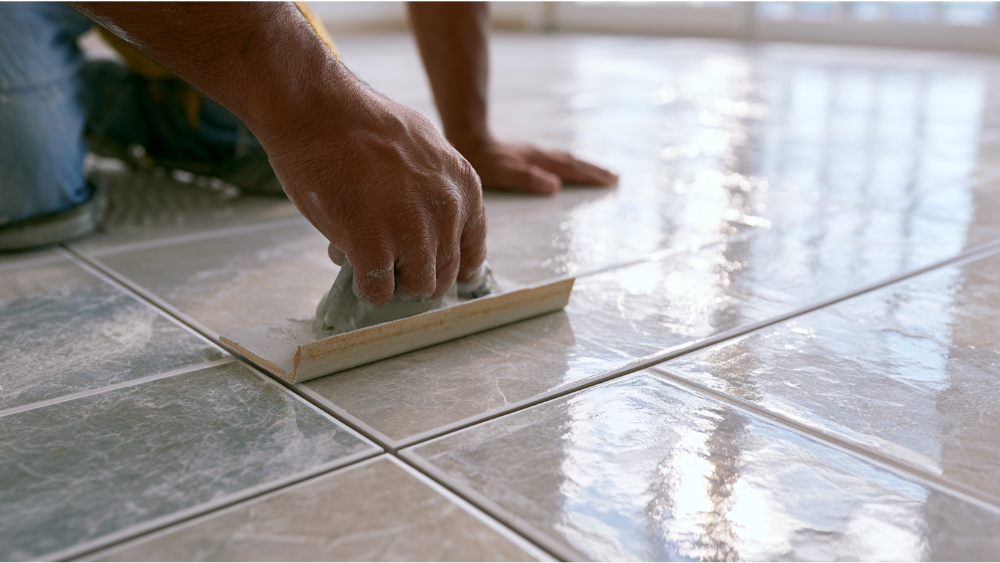
Most installations are ready to grout about 24 hours after setting the tile, though rapid-set products and job conditions change that, so the manufacturer's sheet has the final word. Mix grout to a peanut-butter consistency; too wet or too dry weakens the result. Run flexible caulk into the perimeter joints and around fixtures rather than grouting them, since that is where movement shows up first. After it cures, cement grout usually benefits from a sealer to resist stains and moisture, and natural stone typically needs sealing too. If you added a second layer of underlayment anywhere, double-check the depth of your grout joints stays consistent across the room. Then be patient. Many floors need roughly 24 hours before you walk on them, and temperature and humidity stretch that out. Rushing the floor before the bond develops is how tiles shift out of place. Let it cure on the product's schedule, not yours. Getting it right the first time beats redoing it. Once it's done and it looks fantastic, the patience feels worth it.Portland and Vancouver Homeowner Notes
The Oregon Building Codes Division lists applying tile and similar finish work on floors and walls among the work that doesn't require a building permit. So a straightforward tile job to replace an old floor often won't trigger one. Verify with your local jurisdiction before you start, because the rest of a project can change that. You can usually access permit and code guidance through your city or county building department website, and a quick request to their office clears up most questions fast. If your tile is part of a bathroom or kitchen remodel that adds a room, moves walls, or touches plumbing, electrical, or heated flooring, the larger project may need permits and the right trade licensing. And if you're hiring help in Oregon, check the contractor's CCB license and complaint history through the Construction Contractors Board before signing anything. It's a simple step that protects you.When to Call a Tile Professional
 Plenty of homeowners set a straightforward floor themselves and are glad they did. Learning to lay a floor can even be fun on a small, simple room, but you don't have to master every detail to know when a job is beyond a weekend project. It's worth bringing in help when you're facing:
- An uneven, bouncy, or water-damaged floor
- Large-format tile, marble, natural stone, or a complex mosaic layout
- Bathroom or laundry room floors that need waterproofing
- Fire or water damage that overlaps with the flooring
- Old flooring that may contain asbestos, or a pre-1978 home with painted surfaces to disturb
- Tricky whole-room transitions and sightlines
Comments