

Key Takeaway: To correctly install vinyl tile planks, you must prepare a clean, dry substrate that meets strict flatness tolerances (typically 3/16 inch over 10 feet) to prevent future buckling, joint flexing, or telegraphing. Installers must account for product-specific moisture limitations over concrete by running a 6 mil poly vapor barrier, establishing a minimum 1/4-inch expansion gap along all walls, and staggering end joints by at least 6 inches. Finally, avoid pinning a floating floor under heavy base cabinets or nailing trim directly through the planks, as the material must remain free to expand and contract naturally.
To install vinyl tile planks, start by confirming your product's installation method, then prep a clean, dry, flat, and structurally sound subfloor. Condition the materials if the guide requires it, plan your layout, keep the manufacturer's expansion gap, lock or glue each row per the instructions, and finish with trim that doesn't pinch the floor. The three common installation methods are click-lock (floating), glue-down, and peel-and-stick. Depending on the room, this project can take anywhere from a couple of hours to a couple of days. We know you want to get it right the first time, so here's the honest version of how it's done.
Know What Type of Vinyl Plank Flooring You Have
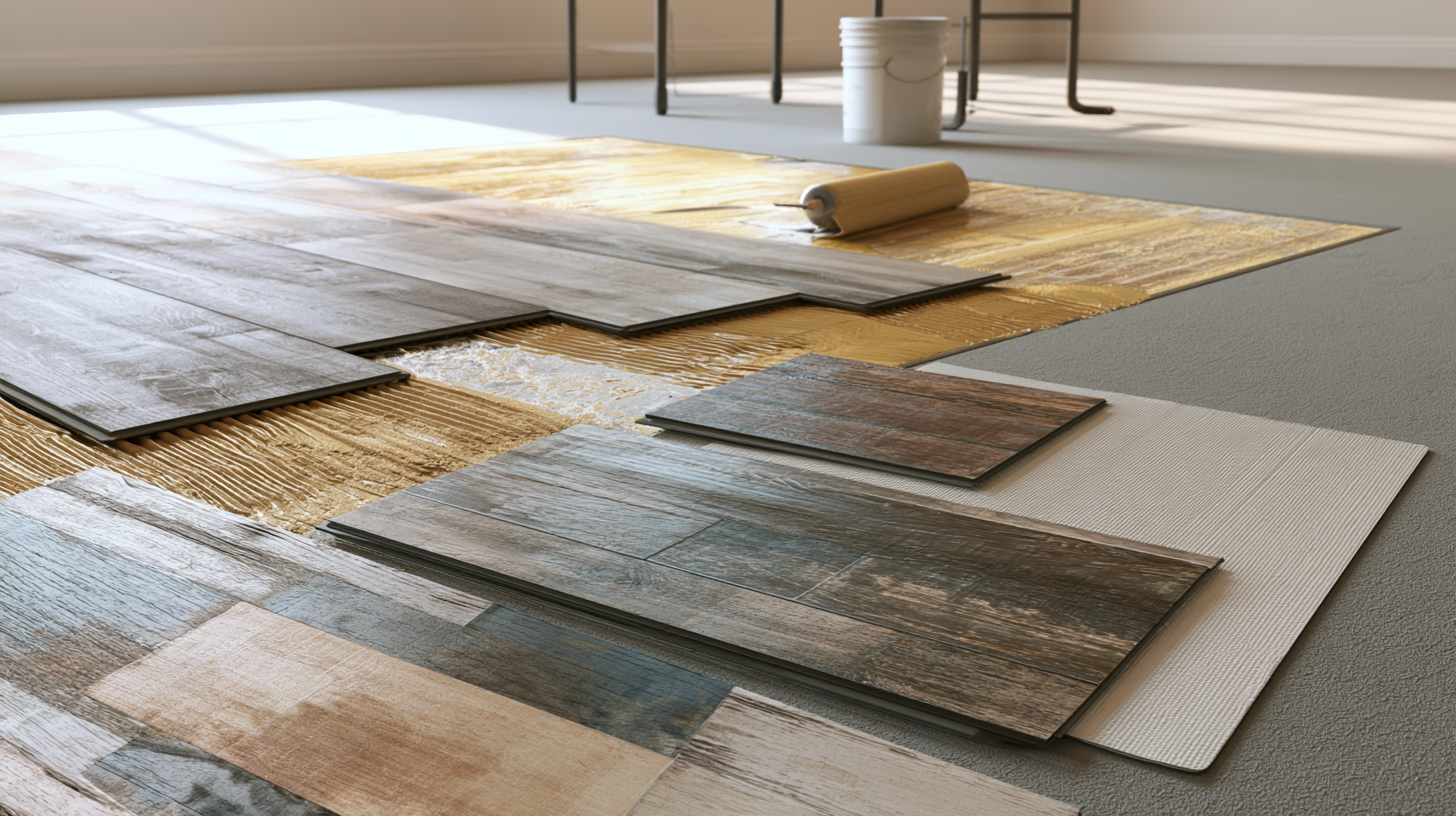 Before you buy a single tool, figure out how your vinyl plank flooring is meant to go down. There are three installation methods:
| Installation Method | How It Goes Down | Best For |
|---|---|---|
| Click-lock (floating) | Planks click together and float over the subfloor with no glue or tape | Most common DIY option; small rooms and modern material |
| Glue-down | Adhesive goes on the subfloor and planks are set into it | Durability in busier spaces |
| Peel-and-stick | A backing peels off and the plank presses into place, held by its own adhesive strip much like tape | Simple, quick installs |
Should You Install Vinyl Planks Yourself?
Plenty of homeowners tackle this project successfully. Plenty also wish they'd called someone first. The difference usually comes down to the room, not the planks.- Good DIY candidates: small rooms, a flat and solid subfloor, modern click-lock material, and a simple single-room layout.
- Better handled by a pro: uneven floors, moisture concerns, old flooring that might contain asbestos, bathroom or kitchen remodels with cabinets, transitions across several rooms, and older homes with surprises underneath.
Tools and Materials You'll Need to Install Vinyl Flooring
Gather your tools before you begin so the process runs without interruptions:- Tape measure, pencil, and chalk line
- Utility knife (essential for scoring and snapping planks)
- Straightedge and spacers
- Tapping block, pull bar, and rubber mallet
- Painter's tape to hold seams while adhesive sets
- Saw or vinyl cutter for detailed cuts
- Underlayment, if your product requires it
- Moisture barrier, if required
- Patch or leveling compound
- Adhesive and a 100 lb roller for glue-down products
Step 1 — Inspect the Room and Existing Floor
Walk the room before anything comes up. Watch for loose flooring, water stains, soft or spongy spots underfoot, obvious high and low areas, and any musty smell. Those signs tell you whether you have a flooring installation ahead or a repair job first. One safety note that matters. If your home is older and the existing resilient flooring or adhesive could contain asbestos, do not sand, scrape, or drill it (per EPA guidance). And homes built before 1978 are more likely to have lead-based paint, so use lead-safe practices if you'll be disturbing old trim or paint during the job.Step 2 — Prepare the Subfloor
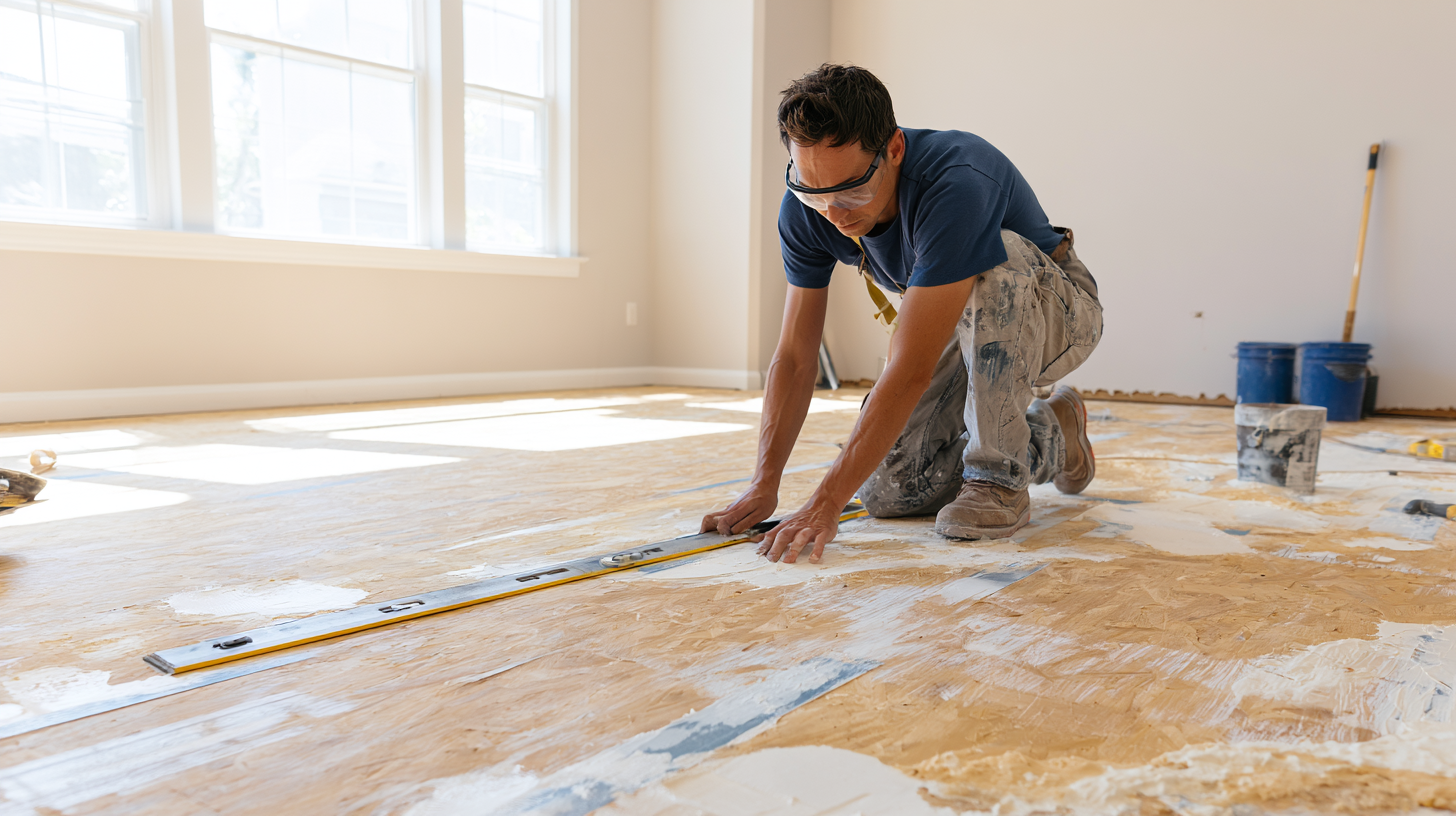 This is where floors are won or lost. The planks aren't hard to click together. A rushed subfloor is what causes buckling, gaps, and lifting months later.
Your subfloor needs to be clean, dry, flat, smooth, and structurally sound. A good cleaning matters here, because grit and debris trapped under a floating floor can telegraph through and grind at the planks. A common manufacturer flatness requirement is 3/16 inch in 10 feet or 1/8 inch in 6 feet, though the exact tolerance varies by product. Run a straightedge or level across the floor and mark the dips and humps. Fill low spots with patching compound, grind down highs, and fill grout lines or embossing on existing hard surfaces so they don't telegraph through.
Do not install over carpet, an existing floating floor, or cushion-backed vinyl. Those move, and your new floor will move with them.
This is where floors are won or lost. The planks aren't hard to click together. A rushed subfloor is what causes buckling, gaps, and lifting months later.
Your subfloor needs to be clean, dry, flat, smooth, and structurally sound. A good cleaning matters here, because grit and debris trapped under a floating floor can telegraph through and grind at the planks. A common manufacturer flatness requirement is 3/16 inch in 10 feet or 1/8 inch in 6 feet, though the exact tolerance varies by product. Run a straightedge or level across the floor and mark the dips and humps. Fill low spots with patching compound, grind down highs, and fill grout lines or embossing on existing hard surfaces so they don't telegraph through.
Do not install over carpet, an existing floating floor, or cushion-backed vinyl. Those move, and your new floor will move with them.
Step 3 — Check Moisture, Especially Over Concrete
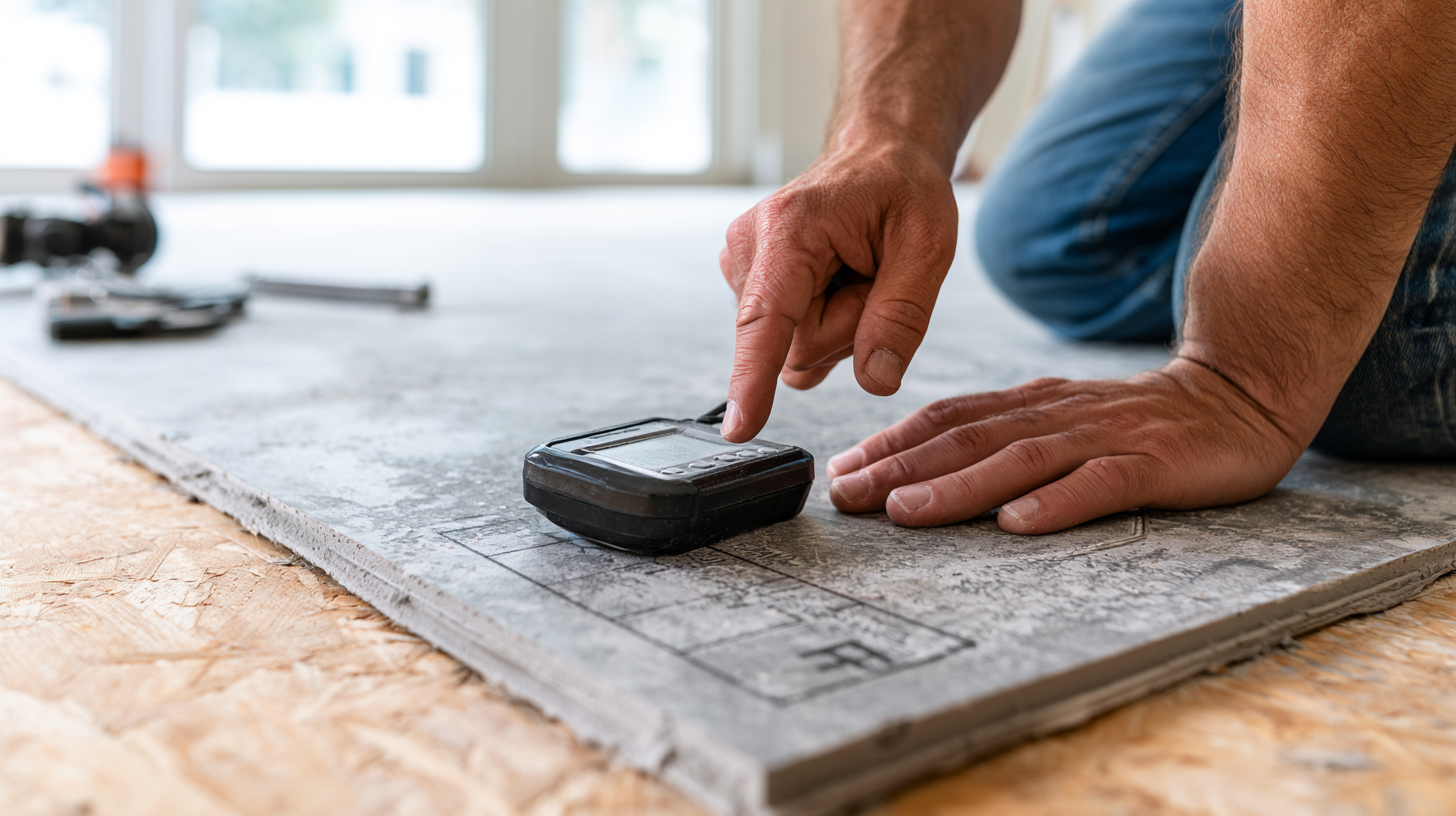 A surface can look bone dry and still push moisture vapor up through it. Concrete slabs should be tested for moisture regardless of age or grade (ASTM F710), because vapor coming up from below can wreck an installation.
Limits are product-specific. As one example, a rigid-core guide caps moisture vapor emission at 5 lb per 1,000 sq. ft. over 24 hours or 95% relative humidity, and requires a 6 mil poly moisture barrier over concrete for its floating install. Treat those as examples, not universal rules.
For Portland-area homes, this deserves real attention. Damp seasons and basements can hide moisture that only shows up after the floor is down. Check before you commit.
A surface can look bone dry and still push moisture vapor up through it. Concrete slabs should be tested for moisture regardless of age or grade (ASTM F710), because vapor coming up from below can wreck an installation.
Limits are product-specific. As one example, a rigid-core guide caps moisture vapor emission at 5 lb per 1,000 sq. ft. over 24 hours or 95% relative humidity, and requires a 6 mil poly moisture barrier over concrete for its floating install. Treat those as examples, not universal rules.
For Portland-area homes, this deserves real attention. Damp seasons and basements can hide moisture that only shows up after the floor is down. Check before you commit.
Step 4 — Let the Flooring Condition if the Guide Requires It
There's no single acclimation rule, so ignore anyone who gives you one. Some products want 48 hours in the room at 65°F to 85°F before, during, and after install. Some newer products say acclimation isn't required at all. Your product guide is the authority. Whatever it says, store the boxes flat, not standing on edge.Step 5 — Plan Your Layout Before You Lock or Glue Anything
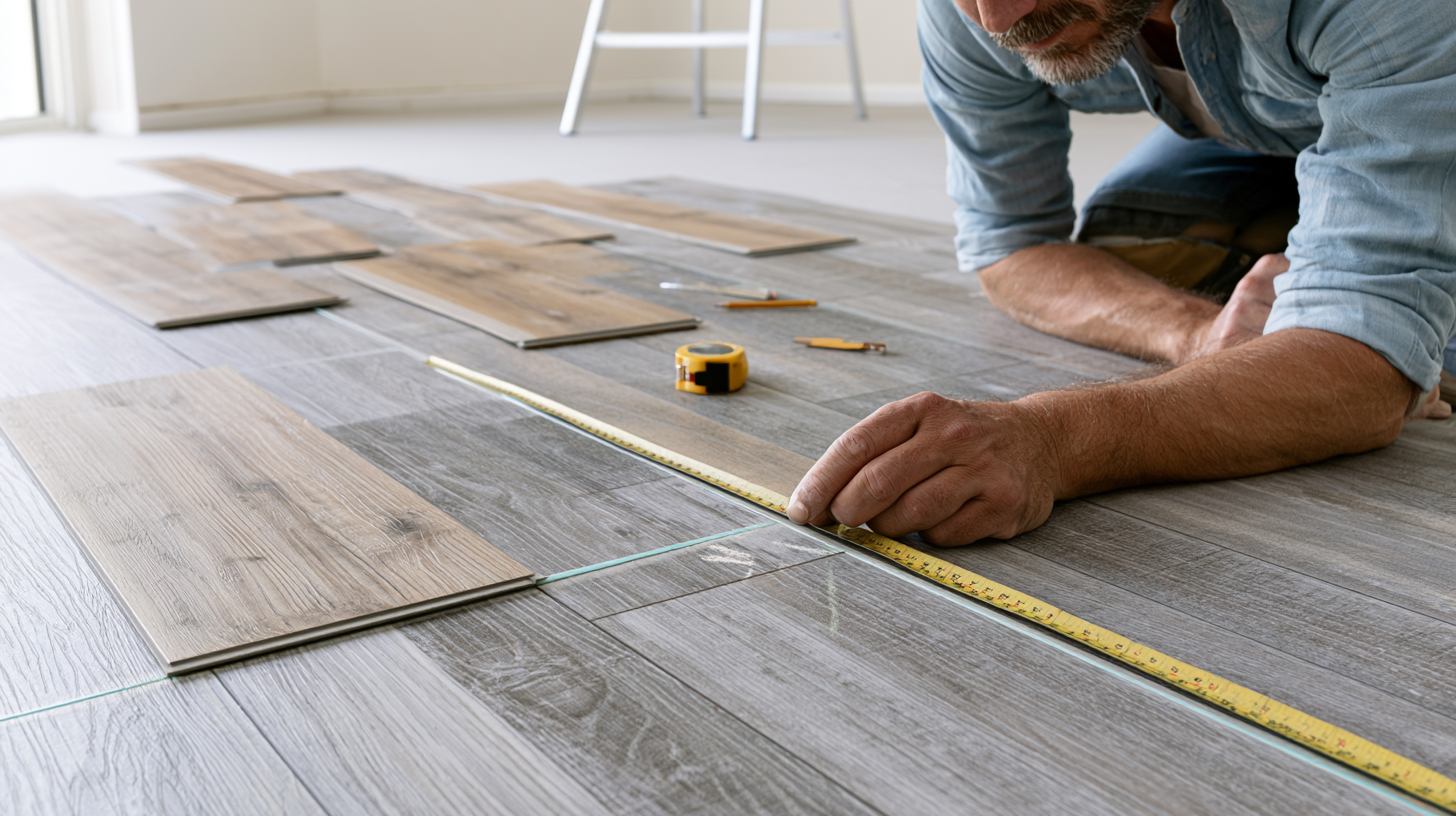 Measure the room and dry-lay a few rows before you commit. This is the right moment to decide which direction the planks will run. In most rooms, run planks toward the main light source or along the longest wall. In hallways, run them parallel to the longest wall. Confirm the length and width of each plank against your measurements so cuts fall where you expect. If a plank needs to fit a tight span, mark it, trace the cut with your knife, and score before you snap.
A few tips that make a floor look professional:
Measure the room and dry-lay a few rows before you commit. This is the right moment to decide which direction the planks will run. In most rooms, run planks toward the main light source or along the longest wall. In hallways, run them parallel to the longest wall. Confirm the length and width of each plank against your measurements so cuts fall where you expect. If a plank needs to fit a tight span, mark it, trace the cut with your knife, and score before you snap.
A few tips that make a floor look professional:
- Snap a chalk line so your first rows stay straight.
- Plan so you don't end with a narrow sliver at the far wall. Divide the difference and adjust your starting row width to balance both sides.
- Stagger end joints by at least 6 inches, and keep cut end pieces 8 inches or longer.
- Pull planks from a bunch of different cartons, at least 3, as you go so the pattern doesn't repeat in an obvious way.
Step 6 — Install the First Row
The first row sets everything. Remove your baseboards first so you have room for the expansion gap. Start along your chalk line, and set the row 1/4 inch off every wall and vertical object using spacers. That gap is what lets the floor expand without buckling. If your instructions call for it, trim the tongue off the first-row planks facing the wall. Walls are rarely perfectly straight, so scribe and cut the first row to follow the wall if needed. Straight here means straight everywhere.Step 7 — Install the Remaining Rows
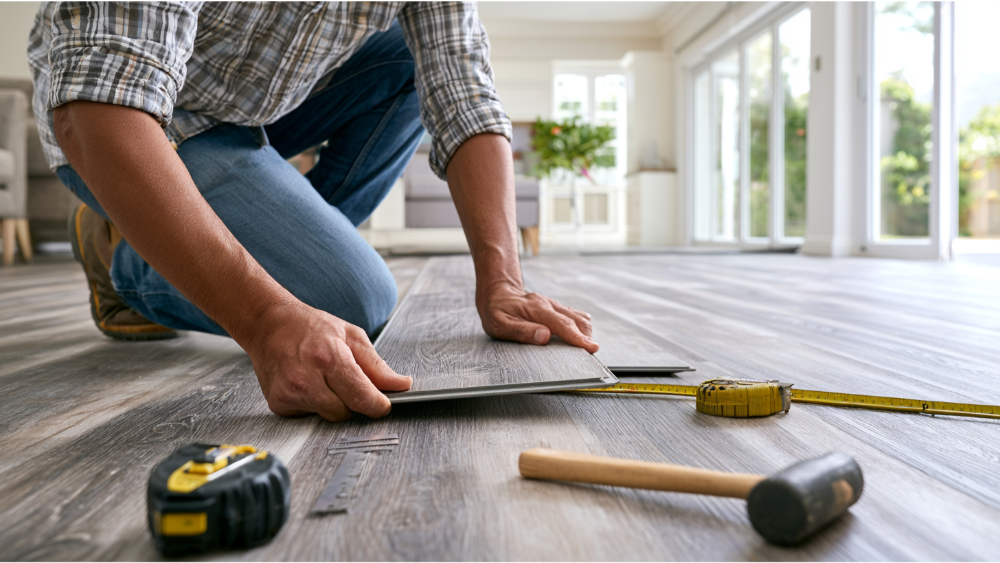
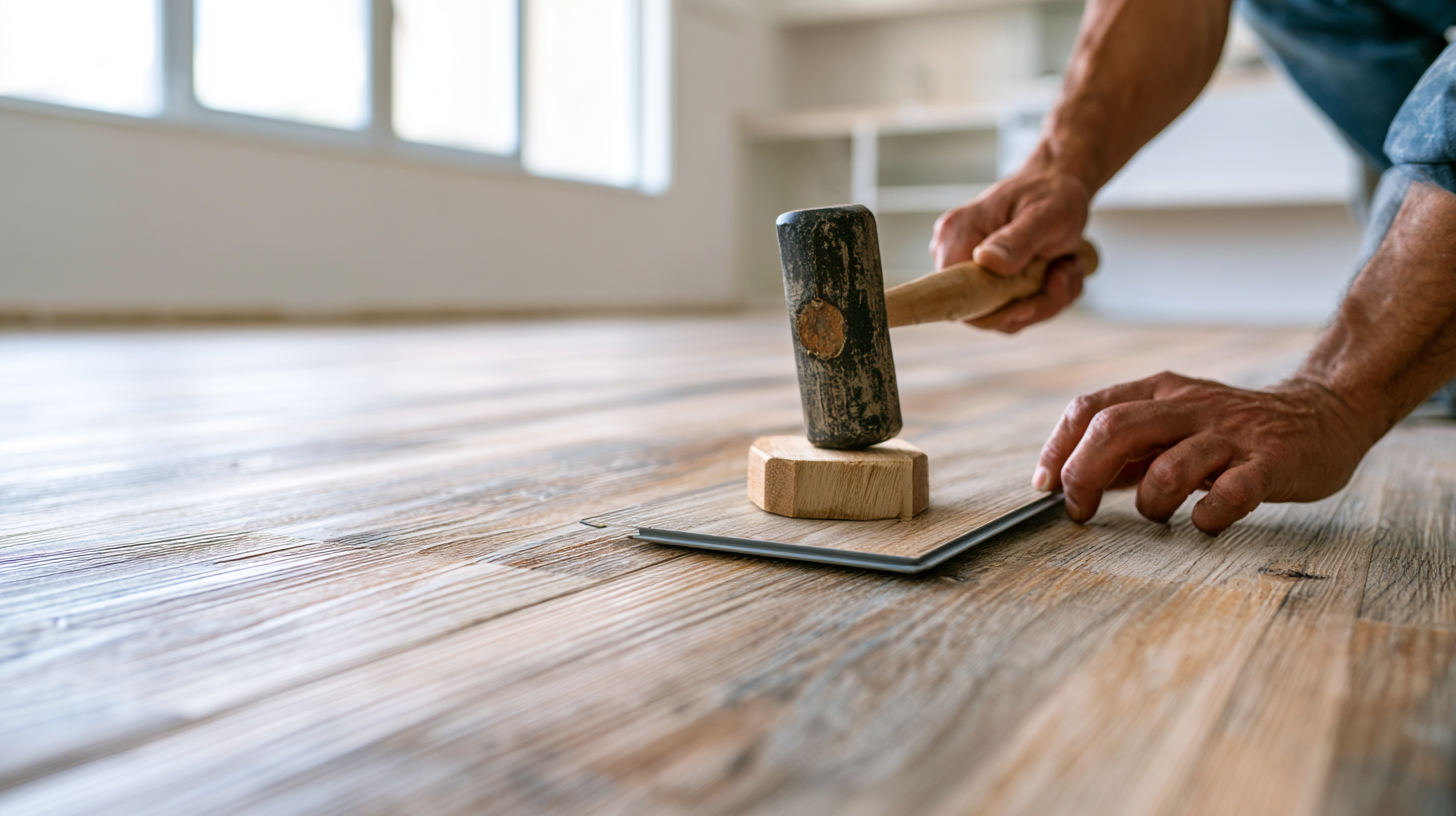 For click-lock, engage the long edge first, then lock the short edge into the plank beside it to secure each joint. Seat the joints with light taps from a tapping block and rubber mallet. Gently tap. Forcing it can crack the locking edge, and a broken lock leaves a gap you'll notice.
Keep your rows straight, hold the stagger consistent, and re-check that 1/4 inch gap as you move along the walls. For glue-down products, follow the adhesive's open time, roll the floor with a 100 lb roller to secure full contact, and hold off on cleaning the floor for about 5 days and on heavy loads for around 72 hours, as directed by your product and adhesive labels. A strip of painter's tape across fresh seams keeps them tight while the adhesive grabs. Peel-and-stick planks fold and press into place cleanly once you line up the edge.
For click-lock, engage the long edge first, then lock the short edge into the plank beside it to secure each joint. Seat the joints with light taps from a tapping block and rubber mallet. Gently tap. Forcing it can crack the locking edge, and a broken lock leaves a gap you'll notice.
Keep your rows straight, hold the stagger consistent, and re-check that 1/4 inch gap as you move along the walls. For glue-down products, follow the adhesive's open time, roll the floor with a 100 lb roller to secure full contact, and hold off on cleaning the floor for about 5 days and on heavy loads for around 72 hours, as directed by your product and adhesive labels. A strip of painter's tape across fresh seams keeps them tight while the adhesive grabs. Peel-and-stick planks fold and press into place cleanly once you line up the edge.
Step 8 — Cut Around Doorways, Pipes, and Fixtures
Undercut door casings so planks slide neatly underneath instead of being cut around them. Cut around pipes and toilet flanges with the clearance your guide specifies. And here's the one people forget: never trap a floating floor under base cabinets, a vanity, or heavy appliances. It has to be free to move. In bathrooms, follow the product's wet-area instructions, which often call for a silicone-sealed expansion gap hidden under trim.Step 9 — Finish With Trim and Transitions
Pull the spacers. Reinstall your baseboards or add quarter round, and fasten the trim to the wall, never down through the flooring. Nailing through a floating floor pins it and undoes all your gap work. Use transition or T-molding strips at doorways and where the vinyl meets another floor type, set so they don't pinch the planks. When you slide appliances back, lay down protection so you don't gouge the new surface and leave a mess to clean up.Common Vinyl Plank Mistakes to Watch For
- Skipping real subfloor prep and cleaning
- Ignoring moisture, especially over concrete
- Leaving no expansion gap, which causes buckling
- Pinning the floor under cabinets, trim, or heavy fixtures
- Installing over soft, loose, or floating floors
- Using the wrong underlayment, or doubling it up
- Not reading the product guide or watching the maker's installation videos before starting
- Washing a glue-down floor too soon
- Disturbing old flooring that may contain asbestos
Comments