

Key Takeaway: Tiling over existing tile is a viable substrate decision only if the original surface is clean, dry, flat, and perfectly bonded to a rigid, stable subfloor with no underlying water damage. Because standard mortars cannot adhere to slick, non-porous glazes, the existing tile must be deeply degreased and either mechanically abraded or treated with a specialized bonding primer before a manufacturer-approved tile-over-tile thinset is applied. Full demolition and removal remain mandatory if the old tiles sound hollow, exhibit cracked grout lines, create door or fixture clearance issues, or sit within wet areas like showers where hidden waterproofing systems cannot be verified.
Yes, you can tile over existing tile, but only when the old tile is well-bonded, flat, clean, dry, and structurally sound, with no height or waterproofing problems in the way. If the old tiles are loose, cracked, hollow, or water-damaged, removing them is the safer call. If you're planning floor tile, a backsplash, or a bathroom update and hoping to skip demolition, that instinct makes sense: covering solid tile can save time and mess. But the condition of the existing surface decides everything. This guide gives you a clear way to tell which side of the line your project falls on. The short version we come back to often: tiling over tile isn't a shortcut, it's a substrate decision.
The Short Answer: Yes, But Only Under the Right Conditions
 Tiling over existing tile can work when the surface below checks every one of these boxes:
- Firmly attached to the substrate underneath, with no loose spots
- Flat and level enough for the new tiles
- Clean and free of wax, sealer, and soap scum
- Dry, with no active moisture
- Structurally sound, sitting on a stable base
- Acceptable height once the new layer is installed
- No hidden moisture issues or waterproofing problem
Why the Original Tile Matters So Much
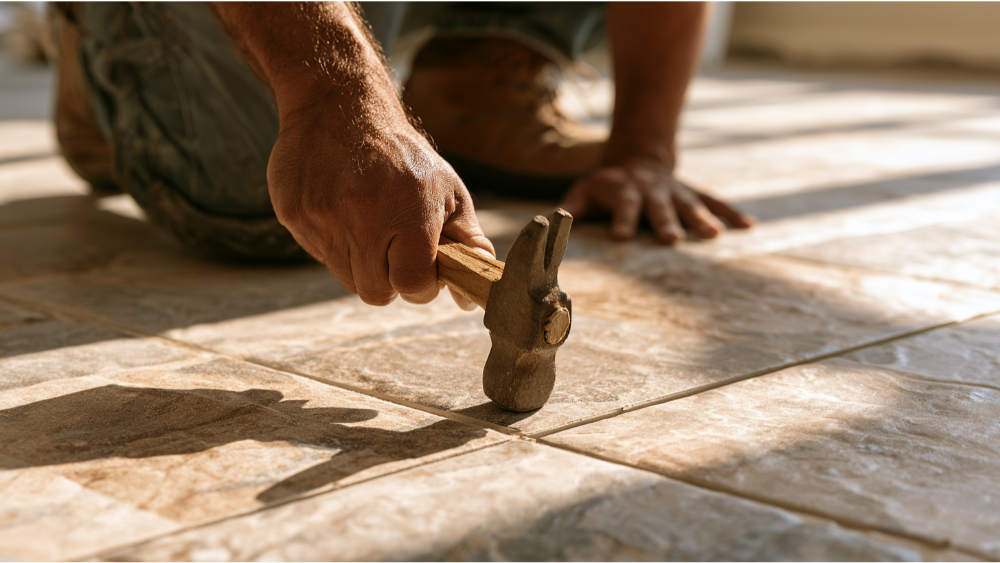
When you tile over tile, the original tile becomes your new substrate. Your beautiful new floor or wall is only as dependable as the bond holding that old tile down. If that bond is failing, the new tile fails right along with it. Placing tiles over a failing base is a terrible idea, no matter how good the finish looks on day one. So "well-bonded" isn't a nice-to-have. It's the whole game. The industry puts it plainly: the new tile's attachment is no better than the existing tile's attachment to what's beneath it. Long lasting adhesion starts with a base that can actually carry it. A few warning signals tell you the old bond may already be in trouble. Tap across the surface with a hard object and listen. A solid, consistent tap is good. A hollow sound means the tile may be lifting away underneath. Cracked grout, tiles that shift under pressure, and uneven edges (lippage) all point the same direction. When the old surface moves, new tiles tend to crack, often right along the old grout lines. That's why inspection comes before any promise.Green Light or Red Light? A Quick Comparison
Not sure which way your project leans? This table lines up the conditions that make covering reasonable against the ones that call for removal.| Condition | Green Light (Cover It) | Red Light (Remove It) |
|---|---|---|
| Bond | Firmly bonded, no hollow spots | Hollow-sounding or loose tiles |
| Tile and grout | No cracks, no loose grout | Damaged tiles or cracked grout |
| Surface | Flat, cleanable, can be scuffed or primed | Uneven or lipped surface |
| Structure | Stiff enough to carry added weight | Soft, flexing, or water-damaged floor |
| Space type | Dry, lower-risk (kitchen floor, foyer, backsplash) | Shower or wet area with unknown waterproofing |
| Clearance | Floor height and wall thickness leave room | Problems with doors, toilet flange, cabinets, transitions |
| Materials | Manufacturer-approved tile-over-tile adhesive | Old materials that may contain asbestos or hazardous dust |
When Installing New Tiles Over Existing Tile Can Work (The Green Light)
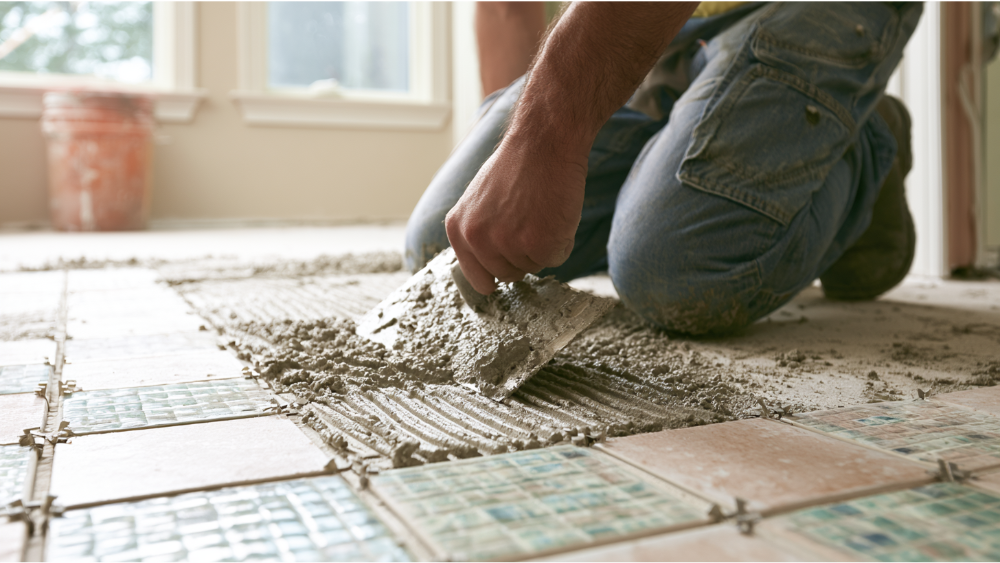 These are the conditions that make covering the old tile a reasonable choice:
- A dry, lower-risk space like a kitchen floor, foyer, or backsplash
- Existing tile in good shape, firmly bonded with no hollow spots
- No cracks and no loose grout
- A surface that can be cleaned and then scuffed or primed for grip
- Floor height and wall thickness that won't cause clearance problems
- A structure stiff enough to carry the added weight
- A manufacturer-approved tile adhesive system for tile-over-tile
When You Should Remove the Old Tiles (The Red Light)
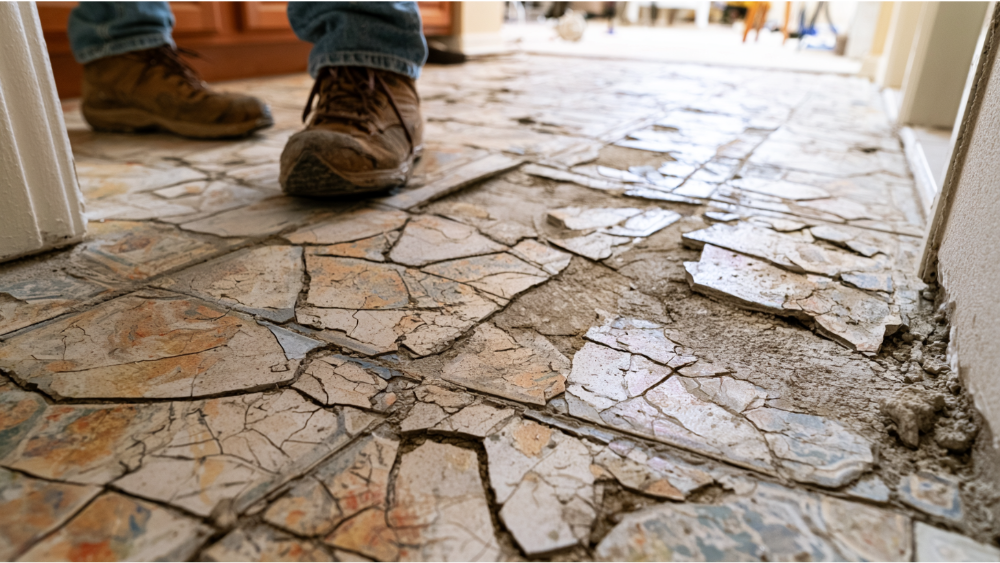 Sometimes covering is the wrong move, no matter how tempting. Remove the old tiles when you see:
- Hollow-sounding or loose tiles
- Cracked tile or cracked grout
- An uneven or lipped surface
- A soft, flexing, or water-damaged floor
- Existing tile sitting over a questionable subfloor or concrete slab
- A shower or wet area with unknown waterproofing
- Clearance problems with doors, a toilet flange, cabinets, appliances, or transitions
- Old materials that may contain asbestos or create hazardous dust
A Special Warning for Showers and Wet Areas
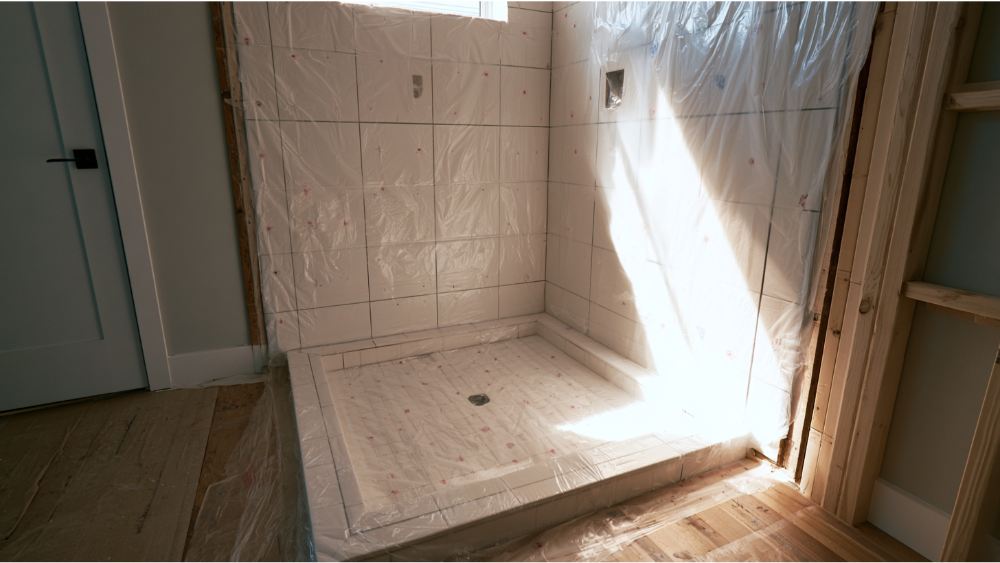 This is where most quick answers online go wrong. Tile and grout are not your waterproofing. The membrane hidden behind or beneath them is what actually keeps water out. This matters most in a bathroom, where water is constant.
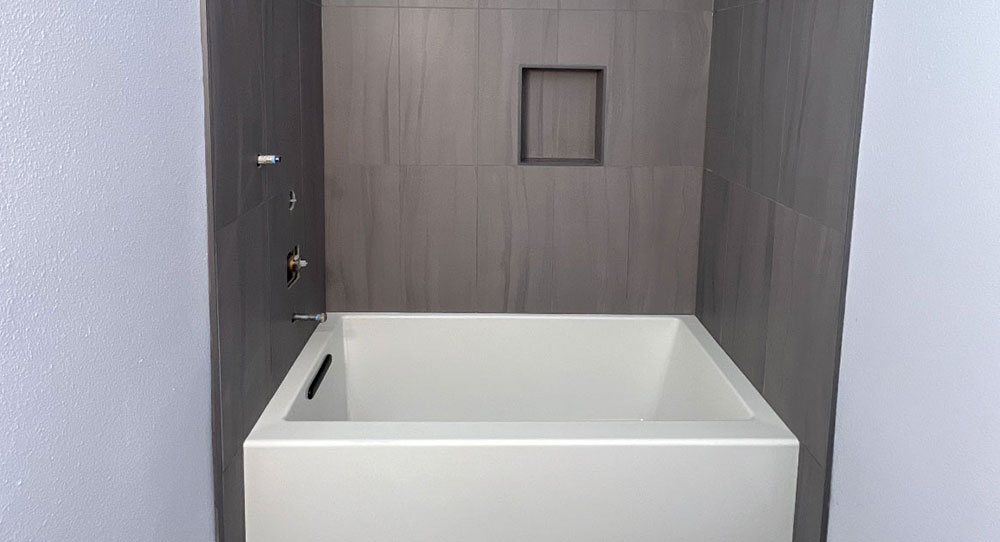
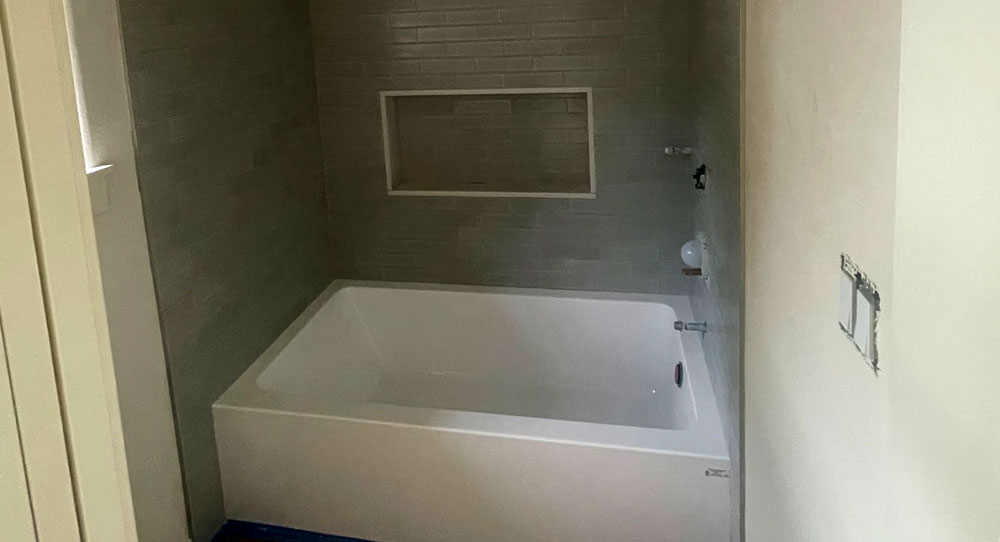
When you tile over an existing shower or tub surround, you can't see or trust that hidden membrane. Adding a second membrane over old tile can trap moisture between the layers, which creates its own failure. And once an installer accepts an existing wet surface "as is" and starts tiling, they effectively own whatever is hidden underneath.
Watch for leaks, musty odors, mold, loose bathroom tiles, or dark grout that never fully dries. Any of those point toward removal. In most shower situations, taking the old assembly down and rebuilding the waterproofing is the smarter, safer recommendation. In a bathroom, that peace of mind is worth the extra work.
This is where most quick answers online go wrong. Tile and grout are not your waterproofing. The membrane hidden behind or beneath them is what actually keeps water out. This matters most in a bathroom, where water is constant.
When you tile over an existing shower or tub surround, you can't see or trust that hidden membrane. Adding a second membrane over old tile can trap moisture between the layers, which creates its own failure. And once an installer accepts an existing wet surface "as is" and starts tiling, they effectively own whatever is hidden underneath.
Watch for leaks, musty odors, mold, loose bathroom tiles, or dark grout that never fully dries. Any of those point toward removal. In most shower situations, taking the old assembly down and rebuilding the waterproofing is the smarter, safer recommendation. In a bathroom, that peace of mind is worth the extra work.
What a Professional Should Check Before Saying Yes
This is what separates a responsible contractor from someone chasing the easy job. Before we ever recommend tiling over tile, a professional verifies:- Bond: a tap test across the surface to find hollow, lifting tiles
- Flatness: a straightedge check, since large-format tile needs a flat base (industry tolerance runs about 1/8 inch in 10 feet)
- Moisture: signs of water damage, staining, or trapped dampness
- Grout and lippage: cracked grout and uneven edges
- Clearances: door swing, floor transitions, cabinet and appliance fit
- Fixtures: toilet flange and fixture heights after the added layer
- Materials: whether a tile adhesive system is approved for your specific tile
- Prep work: whether the surface needs abrasion, primer, or full removal
- Permits: whether the work is part of a larger remodel that triggers one
Prep Work: How Original Tile Is Readied, Step by Step, When It's Suitable
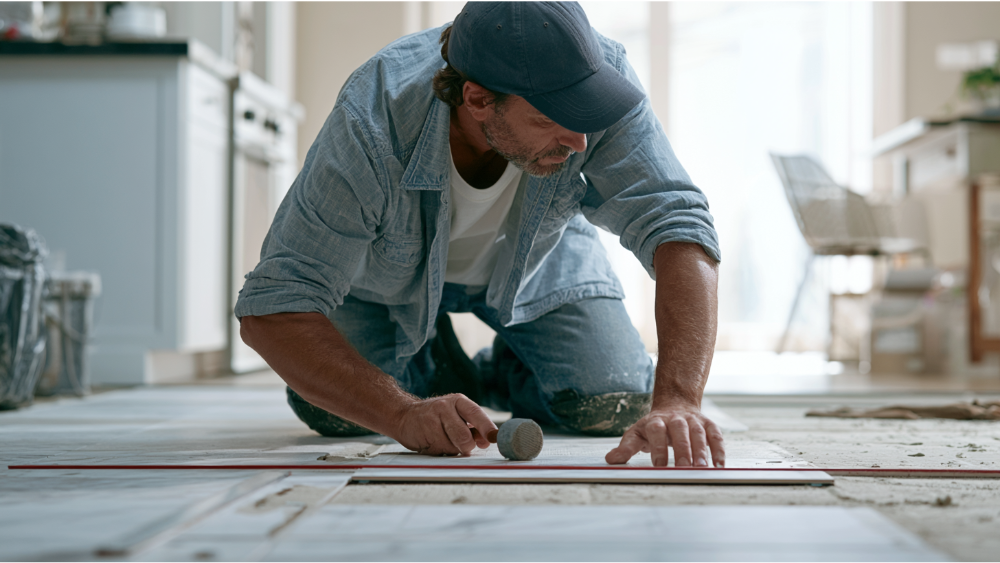
When the existing tile passes inspection, here's the general process a proper tile installation follows, step by step. It usually helps to move furniture out first so the crew has clear room and the right tools on hand:- Deep clean and degrease to strip wax, sealer, and soap scum, which act as bond breakers
- Remove any loose tile or grout and handle small necessary repairs
- Repair and flatten low spots, including corners where cracks like to hide
- Abrade or prime the surface so the adhesive can grip
- Fill old grout lines and skim as needed with thin-set mortar
- Set new tiles in a manufacturer-approved tile adhesive so they stick (epoxy mortar in more demanding cases)
- Confirm proper adhesive coverage under every tile once installed, then move on to grouting and sealing
- Respect movement joints and transitions
Comments