

Key Takeaway
To seal tile grout, clean the grout thoroughly, let it dry completely, then apply a penetrating grout sealer along the grout lines and wipe excess off the tile within the dwell time on the label. After the recommended wait, run a water test: if drops bead up, the seal is holding; if water soaks in, apply a second coat. Reseal cement-based grout roughly every one to two years, or whenever the water test shows absorption.
To seal tile grout, clean the grout and let it dry, repair any cracks or missing spots first, then apply a compatible penetrating grout sealer along the grout lines. Wipe the excess off the tile before it dries, let it cure according to the product label, and test with a few drops of water. If the water beads, you're done. If it soaks in, add another coat. This helps whether you just had new tile installed and were told to "seal the grout," you're tackling a bathroom or kitchen backsplash yourself, or you noticed your grout going dark every time it gets wet.
Sealing grout is simple once you know what problem you're solving. A good grout sealer keeps grout cleaner and more stain-resistant, but it won't waterproof a shower. Let's walk through it honestly, from cleaning to the final water test.
Do You Actually Need to Seal Your Grout?
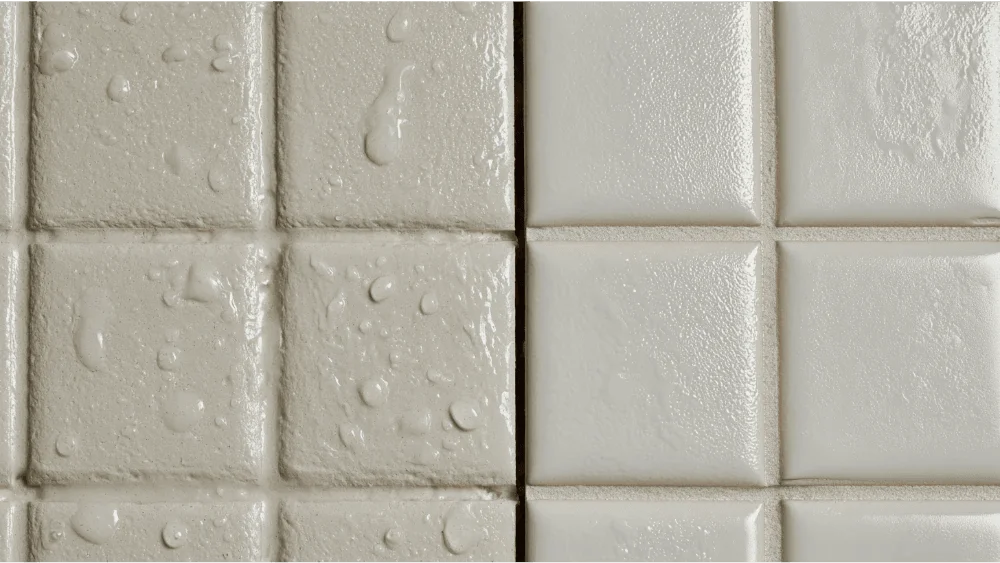
Grout type decides almost everything here, so start there. The tile itself matters too, but the tile grout is what usually needs the sealer.
Here's a quick reference for how the most common materials stack up, pulled from the guidance below.
| Material | Seal it? | Why |
|---|---|---|
| Cement based grout (sanded or unsanded) | Usually yes | Porous with a large microscopic surface area that absorbs stains; benefits from a penetrating sealer |
| Epoxy grout | Usually no | Nearly as stain-proof as the tile; one manufacturer lists absorption under 0.5% and says it never requires sealing |
| Pre mixed grout / ready-to-use grout | Check the label | Some are formulated so they don't need sealing; others still do |
| Natural stone | Often both tile and grout | Porous stone absorbs stains; soft stones like marble can stain from a splash of coffee |
| Glazed tiles (ceramic and porcelain) | Grout lines only | The tile face has almost no porosity, so seal the grout and leave the tile alone |
- Cement based grout (sanded or unsanded): Usually yes. The TCNA notes that cement based grout has a large microscopic surface area that absorbs stains, which is exactly why sealing it is a smart move. Sanded grout has fine sand mixed in for wider joints; unsanded grout is smoother and used for thin grout lines. Both are highly porous, and both benefit from a penetrating sealer that soaks in to repel water and stains. Because unsanded grout is often used on shower walls with very thin grout lines, sealing it well pays off in a spot that stays damp.
- Epoxy grout: Usually no. Epoxy grout is nearly as stain-proof as the tile itself. One manufacturer lists an absorption rate under 0.5% and says its epoxy grouts never require sealing. If your installer used epoxy grout in a tile shower, you can usually skip the sealer entirely and just keep it clean.
- Pre mixed grout or ready-to-use grout: Check the label. Some pre mixed grout is formulated so it doesn't need sealing, while others still do. Don't guess, because the tub or bag tells you.
- Natural stone: You may need to seal both the tile and the grout, since porous stone absorbs stains too. Marble and other soft stones can stain from something as ordinary as a splash of coffee.
- Glazed tiles (ceramic and porcelain): The tile face almost never needs sealing. MAPEI notes glazed tiles have almost no porosity, so you seal the grout lines and leave the tile alone.
If you're not sure what grout was used, whether it's old grout from a previous owner or new work, that's worth confirming before you buy anything. Sealing the wrong material is wasted effort.
What Grout Sealer Does, and What It Doesn't
Here's the honest version, because plenty of homeowners come to this topic scared of leaks.
What sealing does: A grout sealer helps grout resist stains and grime, slows how fast moisture soaks in, makes routine cleaning easier, and gives mold and mildew fewer footholds. On cement based grout, that's real, worthwhile stain resistance. It also keeps light-colored grout from turning into stained grout in traffic lanes and around sinks, where oils and dirt settle into porous grout fastest.
What sealing does not do: Grout sealer is not a waterproofing system. A technical white paper from a grout manufacturer is clear that tile and grout are not watertight surfaces, and while a grout sealant slows moisture penetration, it can't fully stop it. A true waterproof shower needs a bonded waterproofing membrane installed before the tile goes on, governed by its own standard (ANSI A118.10), not by any tile sealer.
Sealer also won't fix cracked, loose, missing, or powdery grout. It won't repair failed caulk. And it won't stop acid etching or surface wear. So if your real worry is a leak or crumbling shower grout, sealing is not the fix, and we'd rather tell you that now than let you seal a problem in place.
How Long Should Fresh Grout Dry Before Sealing?
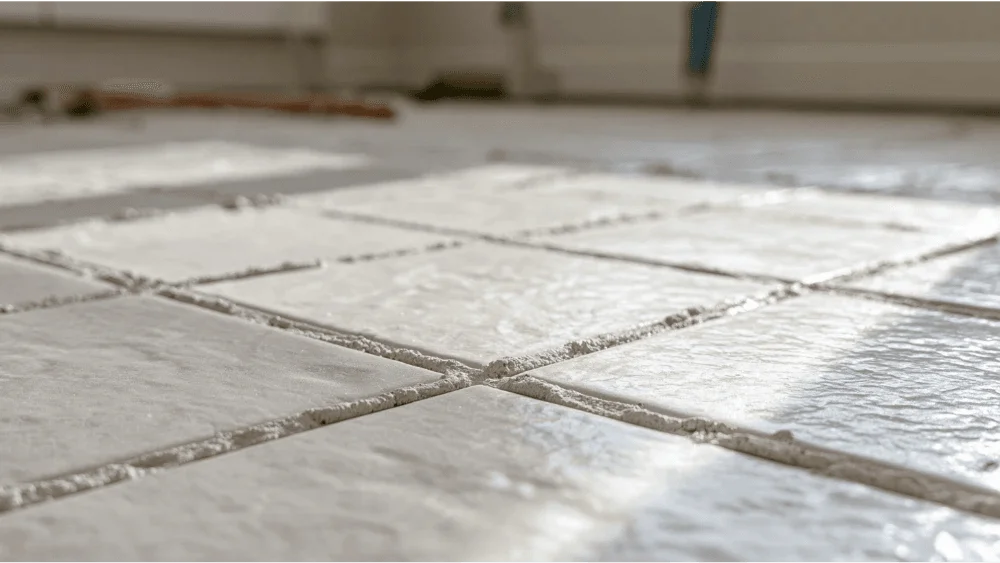
Fresh grout that is cement based needs to cure before it gets a sealer, and the honest answer is that the window varies by product. General guidance from MAPEI puts it at a minimum of 24 to 72 hours depending on the manufacturer. Some cement grout systems specifically call for 72 hours at 70°F (21°C). Certain sealer data sheets require new installations to dry a full 48 hours first. And a few product-specific same-day sealers allow application as soon as 2 hours after grouting, but only when the label says so. Don't generalize that last one.
Temperature and humidity matter. A cool, damp room slows curing, and if you seal grout before it is truly dry, trapped moisture stops the sealer from bonding and can lock in the conditions mildew loves. A bathroom with poor ventilation is a common example, so run the fan and give it extra time when in doubt.
The takeaway is simple: the label wins. Follow the cure time on your specific grout and your specific sealer, and say "often," never "always," when someone quotes you a magic number.
What You'll Need to Seal Grout
- A penetrating grout sealer compatible with your tile and grout (penetrating sealers are the better choice for showers and other damp areas)
- An applicator: a small applicator brush made for grout lines, a roller-bottle applicator, a foam brush, a sponge, or an aerosol
- Microfiber or cotton towels and paper towels for wiping
- A stiff nylon brush or scrub brush to work the lines during cleaning
- Gloves and eye protection
- Painter's tape for delicate tile edges, if needed
- A pH-neutral or alkaline purpose cleaner (not an acid)
Step 1: Clean the Tile and Grout Thoroughly
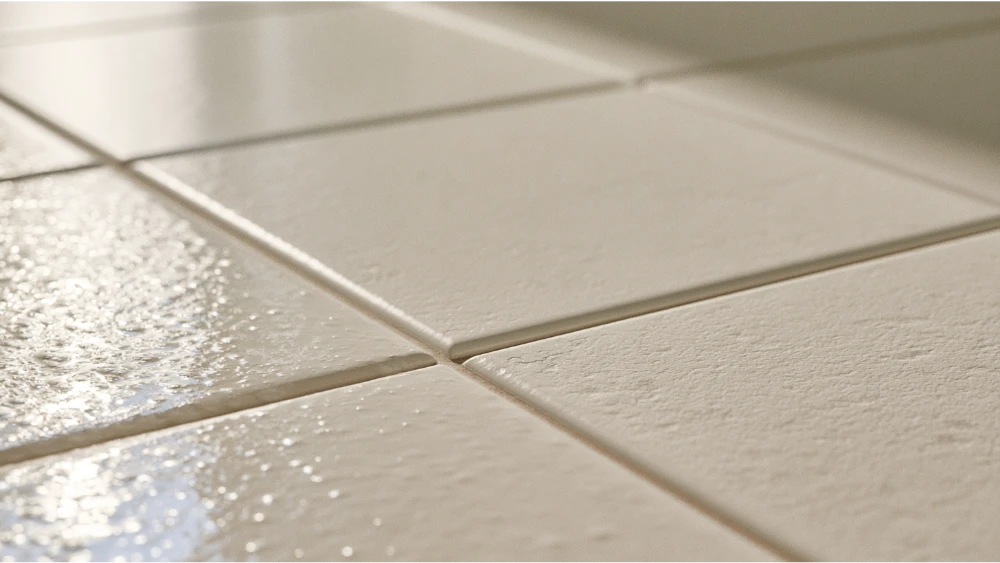
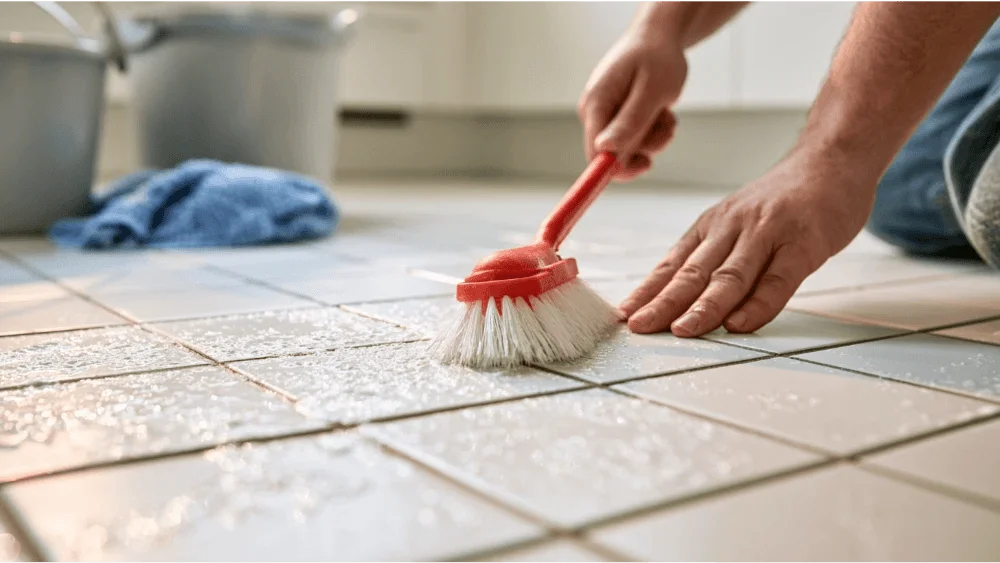
Sealer only bonds to clean grout. Dirt, soap film, oils, and old cleaner residue all get in the way, and sealing over them just traps the grime underneath. This cleaning step is the foundation for everything that follows.
Scrub the grout joints with your brush and rinse well. The TCNA points out that soap film left behind actually attracts dirt, so a thorough rinse matters. A steam cleaner can help lift built-up grime from dirty grout lines without harsh chemicals. Work a manageable area at a time so nothing dries back onto the tile before you rinse it. Be careful with your cleaner: cement is alkaline, and acids dissolve it, which is why grout manufacturers generally warn against acidic cleaners like straight vinegar. Reach for an alkaline or pH-neutral cleaner instead, and check the manufacturer's guidance for your tile.
Skip oil- or wax-based cleaners entirely. They leave a film in the grout that blocks the sealer and attracts dirt down the road. For stubborn stains in shower grout, a dedicated grout cleaner and a little more scrubbing beats piling on harsh chemicals that can damage the surface.
When you're done cleaning, let the grout become fully dry. This applies to old grout you're maintaining and fresh grout you just installed. Trapped moisture ruins the bond every time, so give it hours, not minutes.
Step 2: Repair Cracks, Old Grout, or Missing Spots First
Don't seal over failure. If grout is cracked, powdery, loose, or missing in spots, regrout those areas before you seal anything. One manufacturer's guidance is to remove the old grout to at least half the depth of the joint before regrouting so the new grout has something to grab. A grout saw or an oscillating tool makes that removal cleaner and faster.
Also know where grout doesn't belong. Changes of plane, like inside corners, tub edges, and where the wall meets the floor, need a flexible caulk or sealant, not rigid grout. Those spots move, and grout will crack there again if you force it. If the old caulk in your tile shower is peeling or moldy, cut it out and lay a fresh bead before you move on.
If tiles shift under your hand, sound hollow when you tap them, or the shower is actually leaking, stop. Sealing would lock the problem in and hide it. That's the point to call a tile professional and have the underlying issue looked at first.
Step 3: Test the Sealer in a Hidden Spot
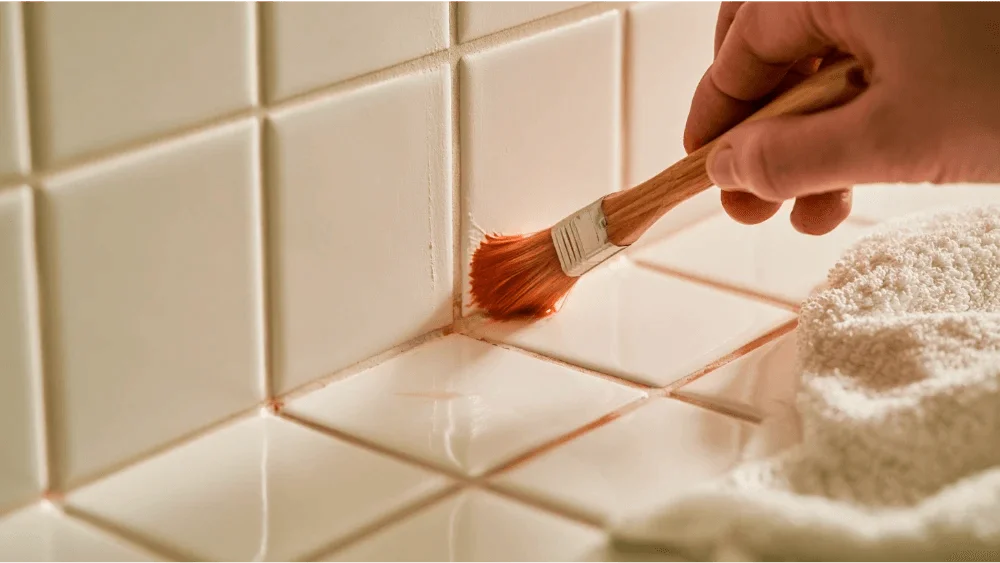
Always test in an inconspicuous area before you commit to the whole floor or wall. This matters most with marble, mosaic, natural stone, unglazed or textured tile, and polished surfaces.
Sealers can deepen grout color by several shades, and some can leave a haze, residue, or a sheen you didn't want. A quick test tells you exactly what you'll get. Premium and specialty materials are safe to seal when you handle them carefully, and a hidden-spot test is how you make sure the finished look is one you'll be happy with. Wipe a little sealer on with a sponge in a low corner, let it cure, and check the color and feel before you do the rest.
Step 4: Apply the Grout Sealer
Work in small sections so nothing dries before you can wipe it. Saturate the grout lines evenly without leaving them soaking wet.
It helps to understand the two sealer types. Penetrating sealers soak into the grout and chemically bond to repel water and water-based stains without coating the tile surface. The TCNA notes these are more durable, and they're the right pick for showers and damp areas. A topical or membrane forming sealer lays a topical layer over the surface instead. It can look a little plastic, wears down under foot traffic, and can trap moisture in wet areas, which is why it's a poor fit for showers.
Two thin coats generally beat one heavy coat. For glazed tiles like ceramic or porcelain, keep the sealer on the grout lines and off the tile face, since the tile doesn't need it. Very narrow grout lines are easiest with a fine applicator brush that lets you stay precise, while a sponge or roller-bottle works well on broad joints in a kitchen floor. Keep a dry towel in your other hand so you can catch any sealer that strays onto the tile right away.
Step 5: Wipe Excess Sealer Off the Tile
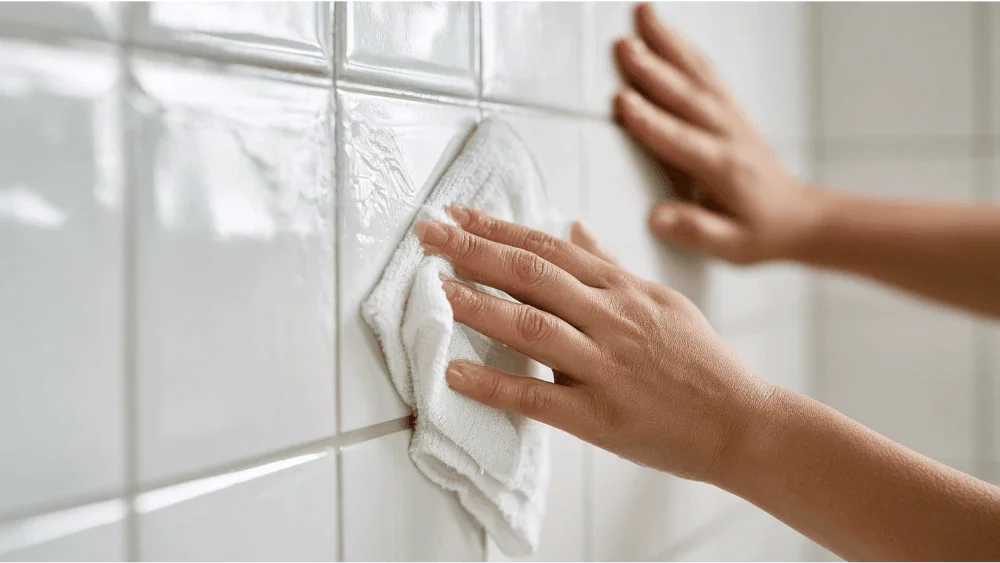
This is the step most people rush, and it's the one that leaves regrets. Sealer left sitting on glazed tiles dries into a stubborn haze that's a pain to remove later.
Let the sealer sit only for the dwell time on the label, often somewhere between 3 and 10 minutes. One data sheet says wipe the surface completely dry within 5 minutes of application; another calls for 10 to 15 minutes. That spread is exactly why you follow your product's instructions instead of a general rule. When the time's up, wipe the tile face dry with clean paper towels or a cloth, turning them often so you're not smearing sealant back onto the surface. If a light haze does appear, a fresh microfiber cloth while it's still soft usually clears it.
Step 6: Add a Second Coat and Test With Water
Whether you need another coat comes down to the label and a simple water test. After the recommended wait (some products say about 2 hours), drop a few drops of water onto the grout. If the water beads up, the sealer is doing its job and the grout is properly sealed. If it soaks in and darkens the grout, apply another coat and test again.
Some grout needs up to two or three thin coats for adequate protection, especially rougher, more porous grout that drinks up the first pass. But don't assume yours does. Test, then decide. If you are applying sealer for more than one coat, respect the minimum dry time between them, which is often around 30 minutes to an hour depending on the product.
Step 7: Let It Cure Before Water or Traffic
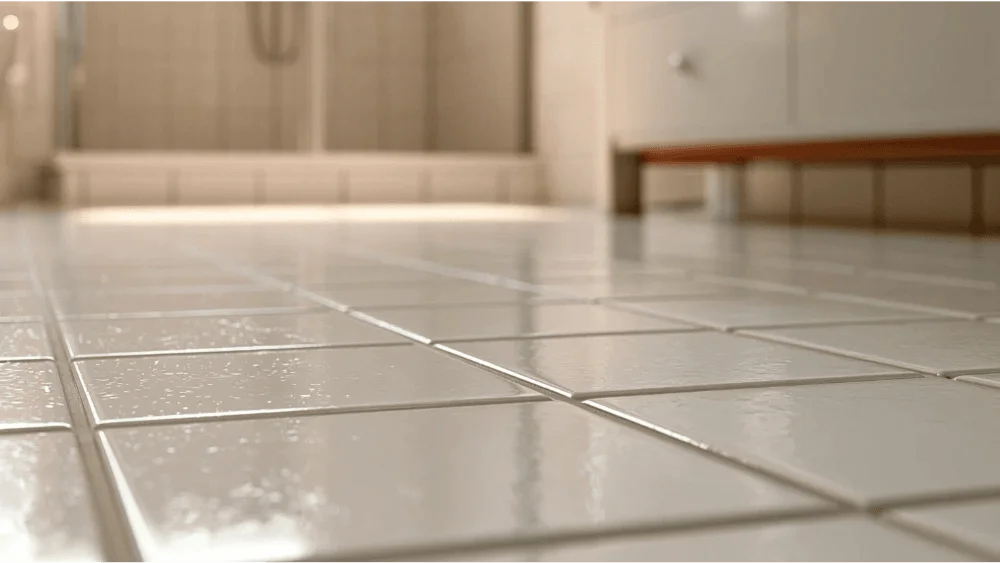
The label wins here too, so use it before you jump in the shower or walk the floor. As a sense of the ranges from sourced data sheets: full cure often runs 24 to 48 hours, surface use may be fine around 6 to 8 hours, and some products want the area kept dry for a minimum of 12 hours, with 36 to 72 hours described as optimal. Epoxy grout systems can differ again, with some allowing shower use in 48 to 72 hours and reaching full stain resistance around 7 days at 70°F (21°C).
We won't hand you one firm timeline, because your product decides it. Check the instructions on your sealer and grout before that first shower or the first foot on the floor. Rushing this is how a fresh seal gets washed away before it ever bonds.
How Often Should You Reseal Tile and Grout?
As a general rhythm, plan to reseal roughly every one to two years. High traffic areas like heavily used showers and kitchen floors may want it more often, closer to every 6 to 12 months, since the sealer wears where feet and water hit it most.
Better than the calendar, though, is the water test. Drop a little water on the grout now and then. As long as it beads, your protection is holding. Once it stops beading and starts soaking in, it's time to clean and reseal. Keeping up with light cleaning between seals also stretches how long the sealer lasts, since ground-in grime wears it down faster. Staying ahead of dirty grout is low-effort maintenance that prevents stains and protects the money and care you put into the tile in the first place.
When to Call a Tile Professional
We understand how frustrating it can be to keep chasing the same grout problem, so here's when sealing isn't the answer and a professional should take a look:
- Cracked grout keeps coming back no matter how many times you patch it
- Tiles feel loose or sound hollow when you tap them
- Shower grout stays wet, smells musty, or never fully dries
- Efflorescence (that chalky white residue) keeps returning
- Caulk at the corners and tub line fails again within months
- You have natural stone, marble, mosaic, or terrazzo that needs careful, correct sealing
- You're not sure what grout type was used, so you don't know how to treat it
Those are signs of a moisture or installation issue underneath, and no sealer fixes those. A second opinion is extremely helpful when you're stuck. Kibuk Tile And Construction is based in Vancouver, WA and serves Portland, OR and surrounding areas, and we take the same no-shortcuts approach to grout repair and tile work that we do to a full bathroom remodel. We'll be upfront and transparent about what your situation actually needs, whether that's a fresh seal or a repair that gets to the root of it. So, what are you waiting for? Call us today at (360) 608-4629 for a free estimate.
Frequently Asked Questions
Does all tile grout need to be sealed?
How long should grout dry before sealing?
How long after sealing shower grout can I shower?
How can I tell if my grout is already sealed?
Will grout sealer stop a shower leak?
More Posts on Tile and Grout Care
Looking for more posts on keeping your tile in top shape? Reach out and we'll point you toward the guidance that fits your project, or call us for a free estimate on repairs and installation.
Comments