
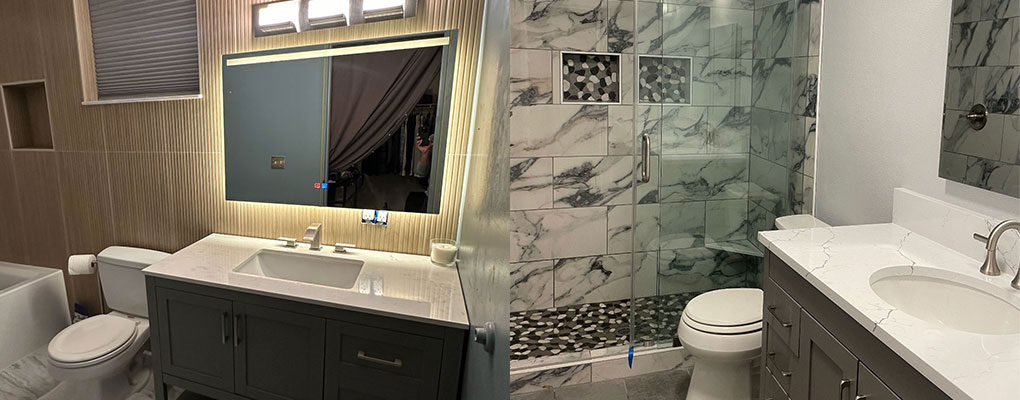


Key Takeaway: A durable tile installation relies entirely on treating tile as a full system rather than a surface finish, beginning with a clean, dry substrate that meets strict flatness and stiffness (L/360) criteria. You must achieve a minimum of 80% thinset coverage in dry areas and 95% in wet environments or natural stone installations by combing modified mortar in straight, one-directional ridges to collapse air pockets. Finally, integrating independent waterproofing membranes in wet spaces and accommodating soft expansion joints filled with flexible caulk will ensure the assembly handles structural movement without cracking or tenting.
Installing tile is a multi-step job: inspect and prepare the surface, plan the layout, install the right underlayment or waterproofing, spread thinset mortar, set and cut the tile, let it cure, then grout and finish the joints. That sequence looks simple written out. What most guides skip is that the finished tile you see is only the last layer. Whether it lasts five years or thirty comes down to the surface underneath, a smart layout, full thinset coverage, proper waterproofing, and the patience to let each step cure before moving on.
So if you're a homeowner planning a floor, a backsplash, a bathroom, or a shower and you're weighing whether to do it yourself or call someone, this is the honest version. No hype, no scare tactics. Just what a responsible tile installation actually involves. Plan on this being an intermediate-level project that runs across multiple days once prep and cure time are counted, not a single weekend.
Before You Start: What Kind of Tile Project Is This?
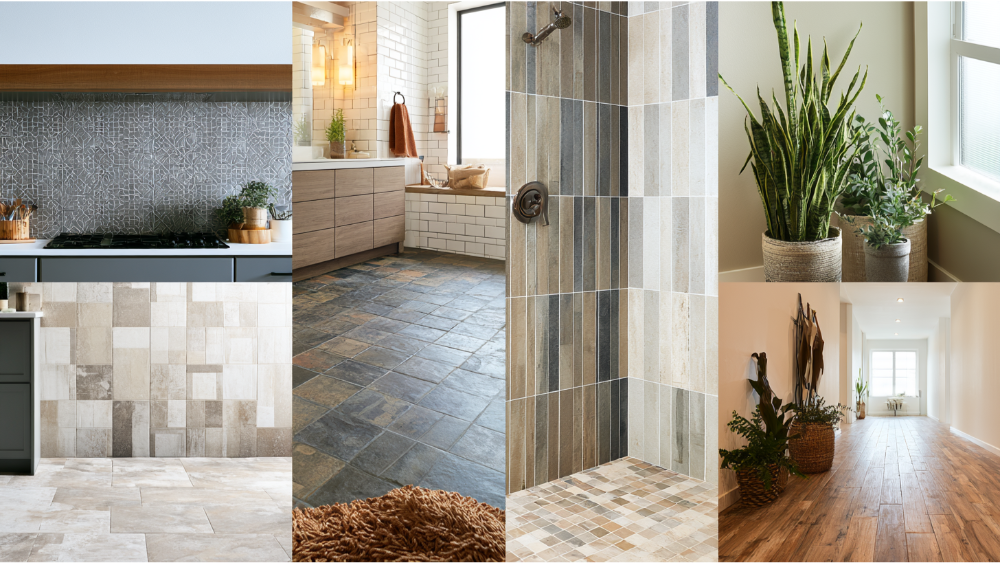 Where the tile goes changes almost everything about the job. So before you buy a single box or any of the materials, be clear on what you're actually building.
- Floor tile (dry rooms): living areas, hallways, entryways. Straightforward layout, but the subfloor has to be flat and stiff.
- Wall tile and backsplash: gravity and adhesive working against you; usually smaller and more forgiving, but layout lines matter more.
- Kitchen and bathroom floors: more moisture, more traffic, and often more cuts around cabinets and fixtures.
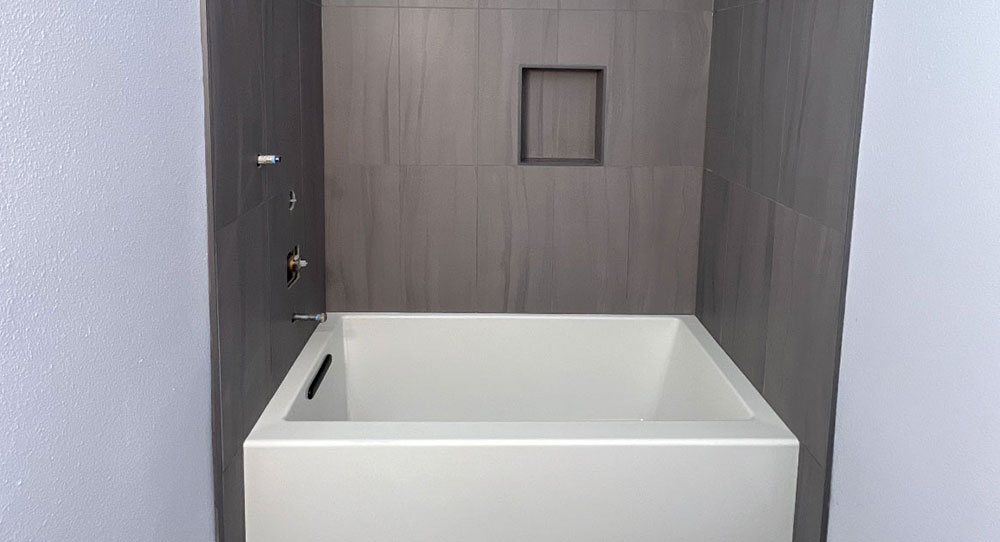
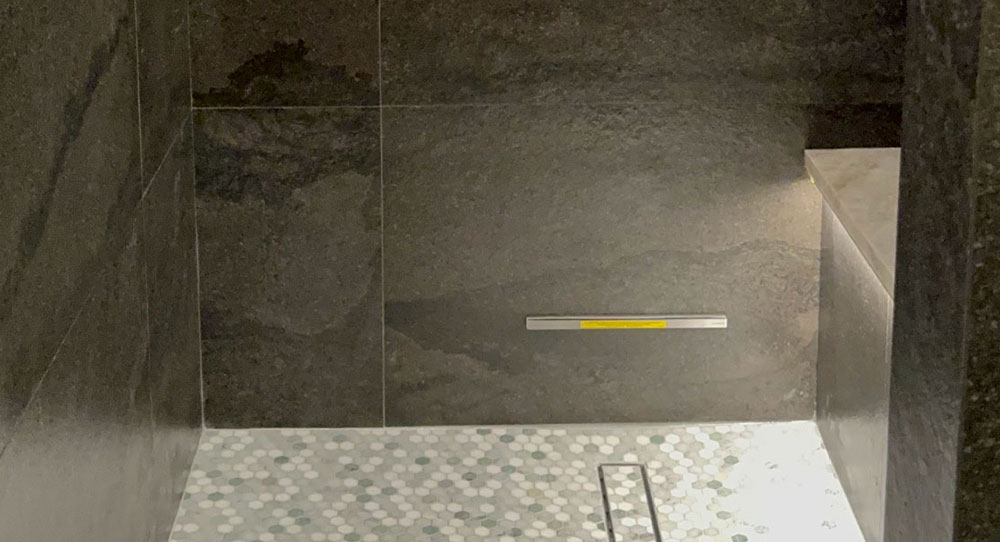
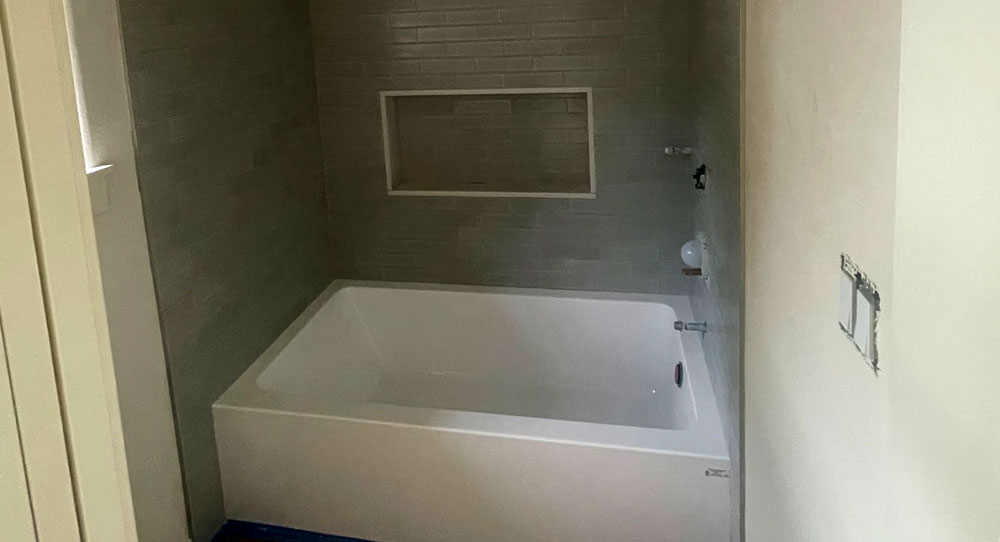
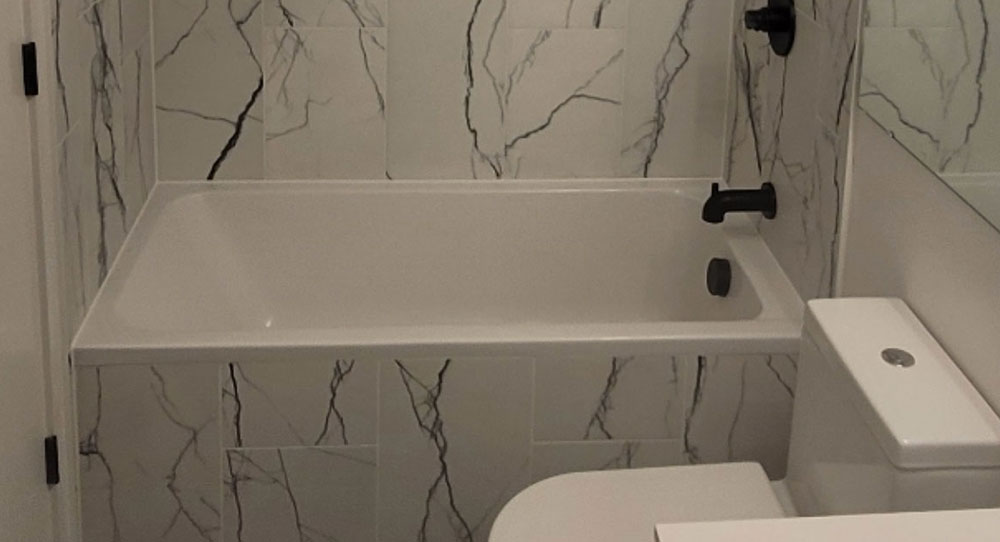
- Shower and tub surrounds: the hardest of the group. Waterproofing becomes part of the wall assembly, not a finishing touch.
Step 1 — Inspect and Prepare the Surface
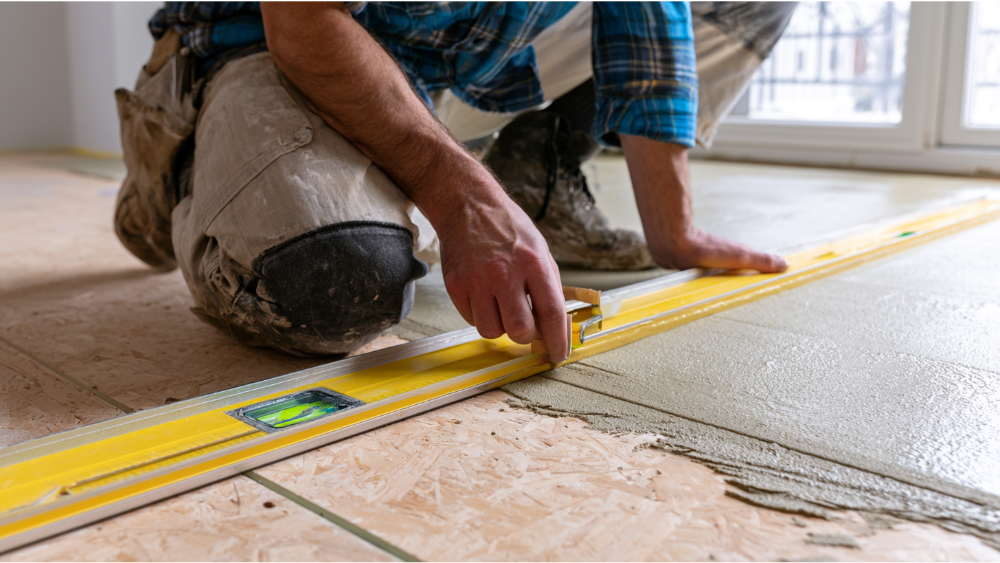 This is the step most guides rush, and it's the one that decides everything. Your substrate has to be clean, dry, flat, and stable enough to carry the weight of tile, thinset, grout, and whatever furniture sits on top of it.
Start with clean. Dust, old adhesive, and grease all keep thinset from bonding, and weak adhesion is where hollow spots and loose tiles begin. Then check that it's dry and sound. Soft spots, rot, and unstable areas have to be fixed before anything goes down.
Now the part nobody explains well: stiffness. A floor that flexes under load will crack tile no matter how well you set it. The Ceramic Tile and Stone industry uses a benchmark called L/360 for floor rigidity before tile underlayment goes in. In plain terms, a 10-foot joist span shouldn't deflect more than about 1/3 inch between the center and the ends. If your floor bounces when you walk across it, that's a red flag worth taking seriously.
One material note: OSB subfloor should not be tiled directly. Neither should a surface that's dipping or cracked. You correct those problems first, then add a proper substrate like cement board or an uncoupling membrane, which we cover in Step 3. If the base needs a lift, a leveling compound can bring low areas up to plane before anything else goes down.
This is the step most guides rush, and it's the one that decides everything. Your substrate has to be clean, dry, flat, and stable enough to carry the weight of tile, thinset, grout, and whatever furniture sits on top of it.
Start with clean. Dust, old adhesive, and grease all keep thinset from bonding, and weak adhesion is where hollow spots and loose tiles begin. Then check that it's dry and sound. Soft spots, rot, and unstable areas have to be fixed before anything goes down.
Now the part nobody explains well: stiffness. A floor that flexes under load will crack tile no matter how well you set it. The Ceramic Tile and Stone industry uses a benchmark called L/360 for floor rigidity before tile underlayment goes in. In plain terms, a 10-foot joist span shouldn't deflect more than about 1/3 inch between the center and the ends. If your floor bounces when you walk across it, that's a red flag worth taking seriously.
One material note: OSB subfloor should not be tiled directly. Neither should a surface that's dipping or cracked. You correct those problems first, then add a proper substrate like cement board or an uncoupling membrane, which we cover in Step 3. If the base needs a lift, a leveling compound can bring low areas up to plane before anything else goes down.
How flat does the floor need to be?
Flat matters because high spots and low ones cause lippage, where one tile edge sits higher than its neighbor, and they concentrate stress that cracks tile over time. For standard floor tile, a floor that's reasonably flat with dips knocked down and hollows filled will do. Large format tile is far less forgiving, and the tolerances tighten considerably. We'll get to those exact numbers later, because that's one of the situations where a tile floor installation quietly gets harder than it looked.Step 2 — Plan the Layout Before Any Thin Set Is Mixed
Good tile jobs are won on paper and on the dry floor, long before any thinset is mixed. Skip this and you end up with a sliver of tile at the doorway or an off-center pattern you'll notice every single day. Measure the room and calculate the square footage so you know how much tile and other materials to buy. Then buy extra. One national guide recommends adding 10% for cuts and breakage; another suggests 10% to 15%, especially if you're new to this. Running out mid-job and getting a slightly different dye lot is a headache you don't want. Find the center of the room by measuring and marking the midpoints of opposite walls, then snap chalk lines to cross at the center point. A laser level makes this faster and cleaner. Working from that center tile outward keeps the pattern balanced and pushes cut pieces to the edges where they're less obvious. Before you commit, dry-lay a row of tile with tile spacers along your lines. This shows you exactly where the cuts land. If a tiny sliver is about to sit at a visible edge or a doorway, shift your starting point to fix it. Small cut pieces at high-visibility spots are the mark of a rushed layout. Last habit: pull tile from several boxes as you work, not one box at a time. Natural shade variation blends across the tile surface instead of showing up as a patch. This kind of planning discipline is exactly the "no shortcuts" part of tile work. It costs you an hour up front and saves the whole finished look of the room.Step 3 — Choose the Right Underlayment or Waterproofing
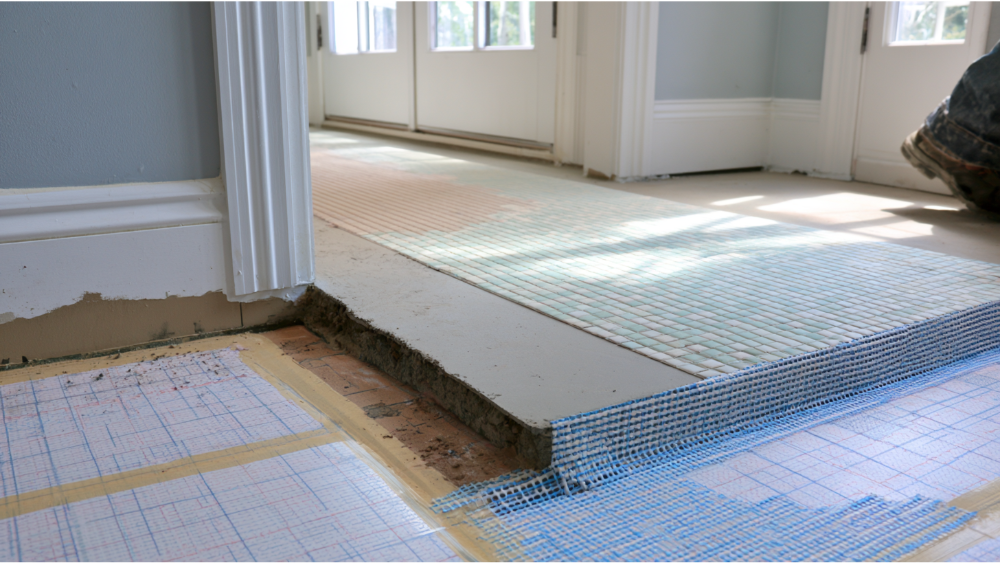 Between the subfloor and the tile sits a layer that does a specific job, and choosing the right materials here is part of why quality installations last. The common options:
- Cement board: a stable, tile-friendly surface that solves the OSB problem and gives thinset something reliable to grab.
- Uncoupling membrane or mat: lets the tile and substrate move independently, which absorbs minor movement and helps prevent cracking.
- Waterproof membrane: the moisture barrier in showers and wet areas, on both the floor and the wall.
Step 4 — Mix and Spread Thinset Mortar the Right Way
Thinset mortar is the cement-based adhesive that bonds tile to the substrate. It's made of cement, sand, and additives, and it comes in two broad types: modified and unmodified. Which one you use depends on your tile and your substrate, and the wrong pairing can undercut the bond. When in doubt, the tile and membrane manufacturers tell you what's compatible. Mix the thinset in a clean bucket to the right consistency, a smooth, peanut-butter texture that's firm enough to hold a ridge and wet enough to spread cleanly. A drill and paddle in the bucket beats hand-mixing for a lump-free batch. Follow the ratios on the bag, and if the product calls for slaking (letting it rest a few minutes, then remixing), do it. That step lets the chemistry activate and it matters more than it seems. Mix only as much as you can use before it starts to stiffen in the bucket. To apply thinset, first key in a thin coat with the flat side of the trowel, pressing thinset into the substrate. Then comb ridges with the notched side of the trowel, all running in one direction. A notched trowel sized to the tile is the tool for this: bigger tile needs a bigger notch so there's enough mortar to fill the back. Combing one way (not in swirls) lets air escape when you set the tile, which means better contact underneath. Only spread as much thinset as you can cover while it's still fresh and tacky. Thinset that's skinned over on top has lost most of its grab, and setting tile into it leaves you with weak bonds you can't see until a tile pops loose years later. This is exactly the point in the installation process where corners get cut and where that shortcut comes back to haunt a homeowner. Watch your thinset time as you go; the working window is shorter than most people think.Step 5 — Laying Tile and Checking Your Coverage
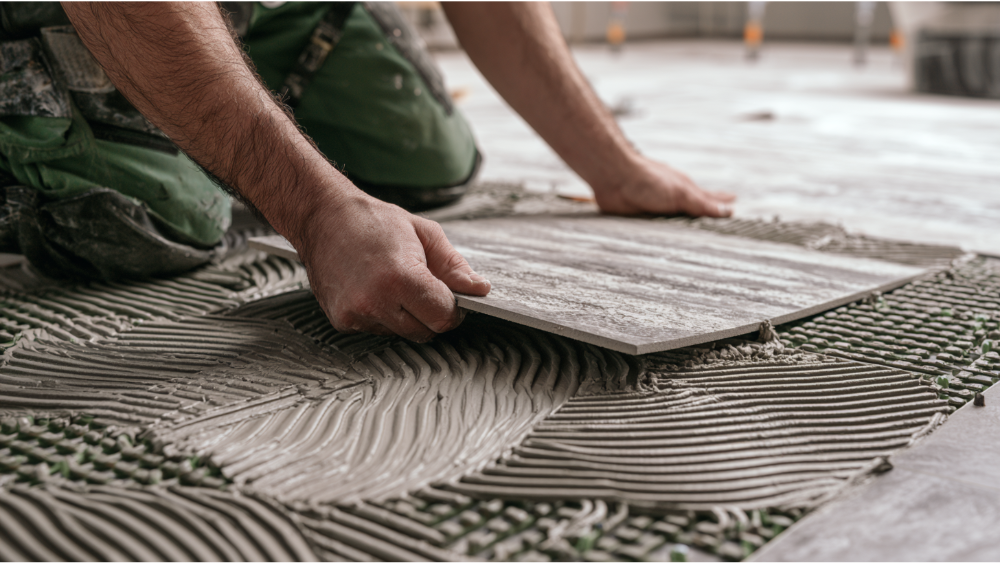 Set your first tile against the layout line, then press and give it a slight twist or back-and-forth wiggle. That motion collapses the thinset ridges and flattens them into full contact. When you're laying tile, drop spacers at the corners to keep your grout joints even, and keep checking your lines as you go so nothing drifts. The first row sets the tone for the whole floor, so take your time and get it dead straight before you build off it. Working out from one wall is fine too as long as your reference lines are square.
Now the single most important quality check in all of tile work: thinset coverage. The tile needs mortar under most of its back, not just a few dabs. Here are the standards the industry actually uses:
Set your first tile against the layout line, then press and give it a slight twist or back-and-forth wiggle. That motion collapses the thinset ridges and flattens them into full contact. When you're laying tile, drop spacers at the corners to keep your grout joints even, and keep checking your lines as you go so nothing drifts. The first row sets the tone for the whole floor, so take your time and get it dead straight before you build off it. Working out from one wall is fine too as long as your reference lines are square.
Now the single most important quality check in all of tile work: thinset coverage. The tile needs mortar under most of its back, not just a few dabs. Here are the standards the industry actually uses:
- Most installations: at least 80% average contact under the tile.
- Showers, wet areas, and exteriors: 95% coverage.
- Natural stone: 95% coverage, with no voids larger than 2 square inches and no voids within 2 inches of any corner.
Step 6 — Cut Tile, Handle Edges, and Clean as You Go
You'll need to cut tile to fit walls, baseboards, and fixtures. Match the tool to the cut:- Wet tile saw: clean straight cuts and anything large or thick, especially with a diamond blade for dense material.
- Snap cutter: quick straight cuts on standard tile.
- Tile nippers: small notches and curves around pipes and corners.
Step 7 — Let It Cure, Then Grout by Applying Grout to the Joints
Patience is a construction skill. Most installations wait about 24 hours before grouting so the thin set can set. But that number isn't a law. The manufacturer's data sheet controls it, and temperature, humidity, and tile size all shift the timing. Rush this and you'll move tile that hasn't locked in, weakening the bond you worked to build. Before you grout, pull the spacers so they don't get buried in the joints. Once it's cured, grout the joints. Pick grout based on joint width and material. For cementitious grout, the rule of thumb runs like this:- Joints under 1/8 inch: unsanded grout.
- Joints 1/8 inch and larger: sanded grout.
- Joints larger than 3/8 inch: a more heavily sanded grout.
When can you walk on it?
Follow the cure guidance on your specific mortar and grout products. Foot traffic too soon can shift tile that hasn't fully locked, so give it the time the data sheet calls for rather than a number you read online. The finished product is only as good as the time you gave it to set.What Makes Tile Installation Harder Than It Looks
Plenty of tile jobs are within reach for a careful DIYer. Others carry enough risk that a mistake costs far more than hiring help would have. Here's where the difficulty climbs:- Large format tile: once an edge runs over about 15 inches, the substrate flatness rules tighten sharply. ANSI A108.02 calls for no variation greater than 1/8 inch in 10 feet and no more than 1/16 inch in 24 inches. Big tiles bridge over dips instead of following them, so any high spot shows up as lippage.
- Marble and natural stone: demands 95% thinset coverage, careful handling, and often sealing. Stone shows every flaw in the setting.
- Mosaic: tiny pieces on sheets mean layout, spacing, and consistent bedding get fiddly fast.
- Terrazzo: a beautiful, durable surface with a unique look, and a specialty installation well outside typical DIY territory.
- Showers and wet rooms: the waterproofing assembly on floor and wall has to be right, or you're building a hidden leak.
- Uneven floors and damaged substrates: the fix usually costs more time than the tile itself.
- Older homes: tile work often means demolition around painted trim and baseboards, which raises lead-safe concerns we cover below.
DIY or Professional: When to Pause and Make the Call
 A good DIY candidate is a small, dry room with a simple layout and a sound, flat substrate. A backsplash or a modest entryway in tile flooring is a reasonable place to learn the basics of laying tile, especially in dry areas where waterproofing isn't a factor.
Bring in an experienced installer when the job includes a shower or wet area, large format tile, natural stone, terrazzo, a complicated layout, substrate repair, or any sign of structural movement. The same goes if you're tiling over water or fire damage, or you suspect hidden damage under the old floor. Those are the projects where the cost of getting it wrong dwarfs the cost of doing the tile installation right the first time. Access to the space matters too; tight rooms and awkward corners slow the work and raise the chance of a mistake.
At Kibuk Tile And Construction, we work with residential clients across Portland, OR and Vancouver, WA on jobs of every size, from a single repair to a full bathroom. We stay upfront and transparent about what your tile installation project actually needs, because for us the sale is never more important than the work. If you're not sure which side of the line your project falls on, that's exactly the kind of thing a free estimate is for.
A good DIY candidate is a small, dry room with a simple layout and a sound, flat substrate. A backsplash or a modest entryway in tile flooring is a reasonable place to learn the basics of laying tile, especially in dry areas where waterproofing isn't a factor.
Bring in an experienced installer when the job includes a shower or wet area, large format tile, natural stone, terrazzo, a complicated layout, substrate repair, or any sign of structural movement. The same goes if you're tiling over water or fire damage, or you suspect hidden damage under the old floor. Those are the projects where the cost of getting it wrong dwarfs the cost of doing the tile installation right the first time. Access to the space matters too; tight rooms and awkward corners slow the work and raise the chance of a mistake.
At Kibuk Tile And Construction, we work with residential clients across Portland, OR and Vancouver, WA on jobs of every size, from a single repair to a full bathroom. We stay upfront and transparent about what your tile installation project actually needs, because for us the sale is never more important than the work. If you're not sure which side of the line your project falls on, that's exactly the kind of thing a free estimate is for.
Comments