


Key Takeaway: The most effective way to clean tile grout without damaging it is to start with a gentle pH-neutral cleaner or a homemade paste of baking soda, hydrogen peroxide, and mild dish soap worked in with a nylon brush. Avoiding aggressive, everyday use of acidic cleaners like vinegar or harsh chemicals like bleach prevents cement-based grout joints from eroding, discoloring, or losing their protective seal. Always match your cleaning solution to your specific tile type, and test a hidden area first to ensure you do not permanently etch or damage delicate surfaces like natural stone.
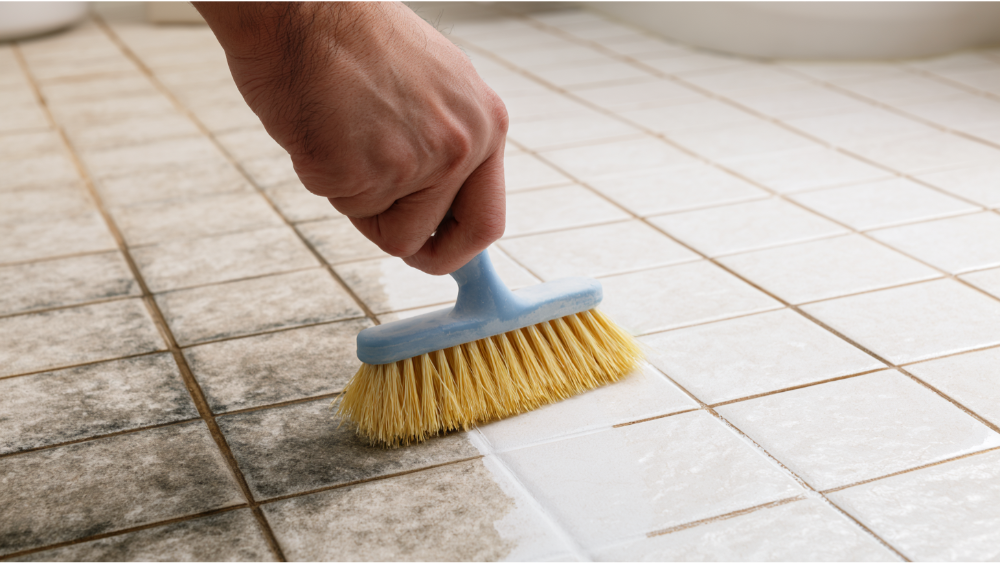
For most ceramic or porcelain tile, start mild. Sweep or vacuum away loose dirt, then use a pH-neutral tile grout cleaner or a paste of baking soda, hydrogen peroxide, and a little mild dish soap. Let the solution sit a few minutes, scrub the grout lines with a nylon grout brush, rinse well, and dry the surface completely. That handles the majority of everyday grime and light stains.
Before you go all in, test your cleaner in a hidden spot. And skip routine vinegar, bleach, ammonia, abrasive powders, and acid cleaners, especially near natural stone.
If you're staring at dark, stained, or moldy grout and just want something that works without wrecking the tile, you're in the right place. Here's the part most guides miss: the best way to clean depends on what stained the grout, what kind of tile you have, and whether the grout is still sound.
Before You Clean, Identify Your Tile and Grout
 Grout stains faster than the tile around it for one reason: the joint is usually porous and cement-based, so it soaks up soil that a glazed tile shrugs off. That's also why the wrong product can quietly shorten its life.
A two-minute check saves you from most mistakes. Look at three things:
Grout stains faster than the tile around it for one reason: the joint is usually porous and cement-based, so it soaks up soil that a glazed tile shrugs off. That's also why the wrong product can quietly shorten its life.
A two-minute check saves you from most mistakes. Look at three things:
- Tile type: Ceramic and porcelain are forgiving. Natural stone (marble, limestone, travertine) is acid-sensitive and etches easily, so acids are off the table.
- Grout type: Cement-based grout is porous and stains. Epoxy or specialty grout is nearly stain-proof and doesn't need sealing.
- Sealed or unsealed: A penetrating sealer bonds into the grout and repels water-based stains. A topical sealer coats the surface but wears off over time.
The Safest Way to Clean Everyday Dirty Grout
For routine cleaning of tile grout, this method works on almost any sound ceramic or porcelain installation:- Sweep or vacuum first so you're not just grinding loose dirt into the joints.
- Apply a pH-neutral tile grout cleaner. For light work, warm water and a non-abrasive cloth or sponge are plenty.
- Agitate with a nylon grout brush. Never use a metal brush, which scratches both grout and glaze. A bit of elbow grease here beats any harsh chemical.
- Rinse thoroughly with fresh water. Leftover cleaner attracts soil and makes grout look grimy again fast.
- Dry the surface completely.
The Baking Soda and Hydrogen Peroxide Mixture (When It Helps)
When neutral cleaning leaves grout looking dull or discolored, a peroxide paste is the honest next step. It's best for light-to-moderate stains on cement grout, and the hydrogen peroxide helps brighten the joint without eating away at it. Combine 3/4 cup baking soda, 1/4 cup hydrogen peroxide, and 1 tablespoon of mild dish soap into a paste. Spread the mixture so it covers the grout lines, let it sit 5 to 15 minutes, then scrub with a nylon brush and rinse well. The dish soap boosts the cleaning power; the rinse keeps residue from dulling the joint again. Test a hidden area first, especially with colored grout or anything next to natural stone. This is a solid way to clean grout in a lot of homes. It isn't a universal cure for every tile type, and we'd rather be upfront about that than send you scrubbing the wrong way. For a stubborn example, some folks add a little borax to the paste for extra scrubbing power.What to Use by Stain Type
Match the method to the problem. If you snapped a photo of the mess before you started, compare it against this list to zero in fast. The right process depends on the severity of what you're dealing with:| Stain | What to use | Watch out for |
|---|---|---|
| Everyday soil | pH-neutral tile grout cleaner | Rinse to avoid residue |
| Kitchen grease | Mild alkaline cleaner labeled safe for tile/grout | Not for acid-sensitive stone |
| Soap scum and mildew | Surface-safe soap-scum remover | No acid on natural stone |
| Hard water / mineral deposits | Acid cleaner on acid-resistant surfaces only, by label | Product-specific dwell and dilution; can etch stone |
| Pink or orange biofilm | Clean and dry, then improve ventilation | It returns in damp, poorly aired rooms |
| Black mold or mildew | Detergent and water (see below) | Moisture is the real fix |
| Rust / orange metal stains | Product labeled for your surface, or call a pro | Random acids can make it worse |
| Efflorescence (white stuff, chalky film) | Find the moisture source first | Don't just add more water |
Cleaners and a Steam Cleaner That Can Damage Grout
 This is where the popular hacks go sideways. A few worth slowing down on:
Vinegar. It's acidic. Occasional use on cement grout may not cause harm, but frequent use can weaken and discolor it over time. On marble, limestone, or travertine, it etches the surface. That 1:1 vinegar-and-water spray you see in every social post is a real risk on stone.
Bleach. Bleach is a disinfectant, not a first-line cleaner for ordinary dirt. Cleaning removes soil; disinfecting kills germs. They aren't the same job. If you do disinfect, never mix bleach with vinegar, ammonia, or other chemicals, because the combination can create dangerous vapors. Follow the product label and keep the room ventilated.
Ammonia, abrasive powders, toilet bowl cleaner, and acidic grout-haze removers. Use these only when the label and your tile and grout type confirm they're safe. A commercial grout cleaner can work, but read the directions and match it to your surface. Abrasives scratch, and acids can etch. This holds true even on tough surfaces like a concrete or glass shower enclosure.
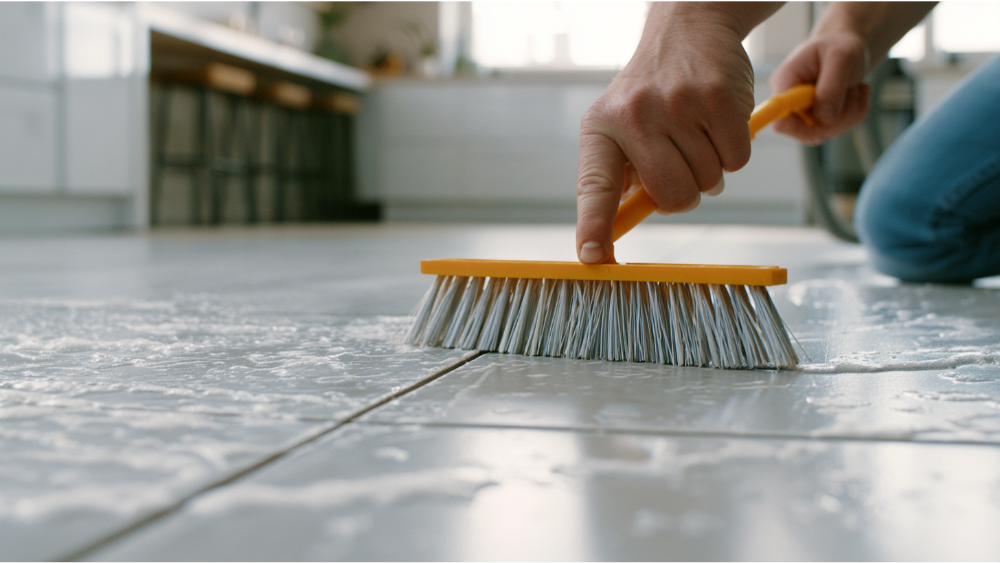
Steam cleaner. A steam cleaner can lift embedded soil well. On sealed grout, though, heat and moisture may affect the sealer, so dry the area and reseal if needed.
This is where the popular hacks go sideways. A few worth slowing down on:
Vinegar. It's acidic. Occasional use on cement grout may not cause harm, but frequent use can weaken and discolor it over time. On marble, limestone, or travertine, it etches the surface. That 1:1 vinegar-and-water spray you see in every social post is a real risk on stone.
Bleach. Bleach is a disinfectant, not a first-line cleaner for ordinary dirt. Cleaning removes soil; disinfecting kills germs. They aren't the same job. If you do disinfect, never mix bleach with vinegar, ammonia, or other chemicals, because the combination can create dangerous vapors. Follow the product label and keep the room ventilated.
Ammonia, abrasive powders, toilet bowl cleaner, and acidic grout-haze removers. Use these only when the label and your tile and grout type confirm they're safe. A commercial grout cleaner can work, but read the directions and match it to your surface. Abrasives scratch, and acids can etch. This holds true even on tough surfaces like a concrete or glass shower enclosure.
Steam cleaner. A steam cleaner can lift embedded soil well. On sealed grout, though, heat and moisture may affect the sealer, so dry the area and reseal if needed.
Why Grout Gets Dirty Again So Fast, and Should You Seal It?
If grout darkens again days after cleaning, the culprit is usually one of these: leftover cleaner residue, an unsealed or worn-out sealer, dirty mop water pushing soil into the joints, bathroom humidity, cracked grout, or water moving behind the tile in your house. Sealing helps with the first few. A sealer improves stain resistance; it does not make grout stain-proof. Use the water-drop test to decide: if water beads, the sealer is working. If it soaks in, the grout may need another coat so water can't penetrate the joint. Follow the label for the product you choose. New grout typically needs to cure 48 to 72 hours before sealing. And be skeptical of blanket "reseal every year" rules; go by how the grout actually performs and what your sealer's directions say. Worth a mention: the rest of your maintenance plan matters just as much as the sealer. In damp Pacific Northwest bathrooms, drying and ventilation matter more than any product. A joint that stays wet and never fully dries will get dirty again, and mildew will keep coming back no matter how well you sealed it. Getting this right at the outset is the whole point of a good cleaning routine.When Cleaning Won't Fix It, and When to Call Kibuk Tile And Construction
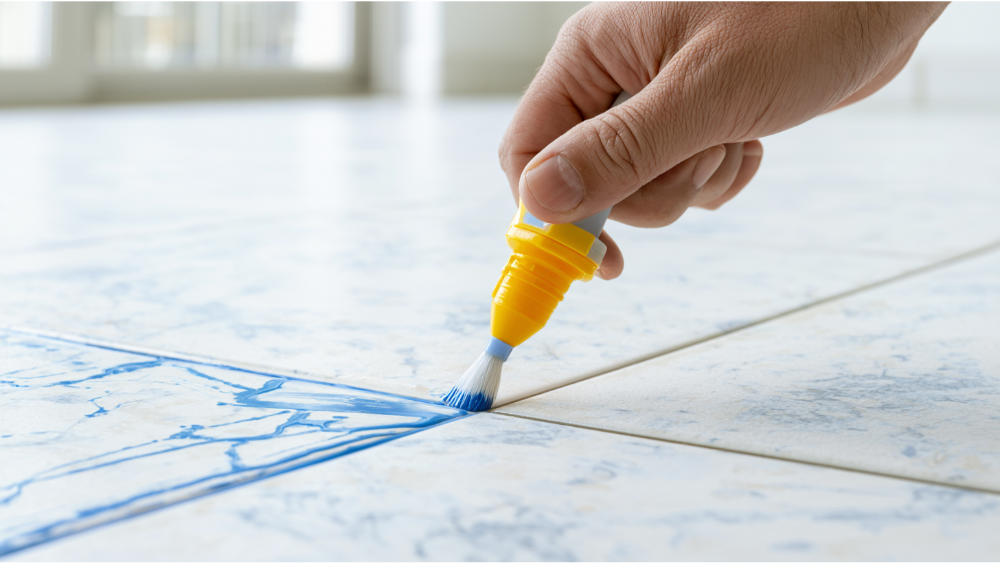 Some problems aren't cleaning problems. Watch for cracked, missing, powdery, or crumbling grout; loose or hollow-sounding tile; failed caulk; mold or mildew that returns after you've cleaned and dried; stains that don't budge after proper cleaning; etched stone; or signs of water damage behind shower tile. In those cases you may need to replace the grout rather than keep scrubbing it.
Recurring shower mold is a moisture issue, not a scrubbing one. Fix the moisture or it comes back. Dry wet areas within 24 to 48 hours, aim to keep indoor humidity below 60% (ideally 30% to 50%), and run the fan. A moldy patch larger than about 10 square feet, roughly 3 feet by 3 feet, calls for professional guidance.
Damp bathrooms and shower grout that keeps darkening are common across the Portland and Vancouver metro. When the grout is failing rather than just dirty, that's a repair or regrouting question that can span a whole room, and it's worth having someone tackle it before water gets behind the tile. Handling it now sets you up for a better future and fewer repeat headaches.
We're happy to take a look. Call us today for a free estimate at (360) 608-4629. We're here Monday through Saturday, 7AM to 9PM. So, what are you waiting for?
Some problems aren't cleaning problems. Watch for cracked, missing, powdery, or crumbling grout; loose or hollow-sounding tile; failed caulk; mold or mildew that returns after you've cleaned and dried; stains that don't budge after proper cleaning; etched stone; or signs of water damage behind shower tile. In those cases you may need to replace the grout rather than keep scrubbing it.
Recurring shower mold is a moisture issue, not a scrubbing one. Fix the moisture or it comes back. Dry wet areas within 24 to 48 hours, aim to keep indoor humidity below 60% (ideally 30% to 50%), and run the fan. A moldy patch larger than about 10 square feet, roughly 3 feet by 3 feet, calls for professional guidance.
Damp bathrooms and shower grout that keeps darkening are common across the Portland and Vancouver metro. When the grout is failing rather than just dirty, that's a repair or regrouting question that can span a whole room, and it's worth having someone tackle it before water gets behind the tile. Handling it now sets you up for a better future and fewer repeat headaches.
We're happy to take a look. Call us today for a free estimate at (360) 608-4629. We're here Monday through Saturday, 7AM to 9PM. So, what are you waiting for?
Comments