
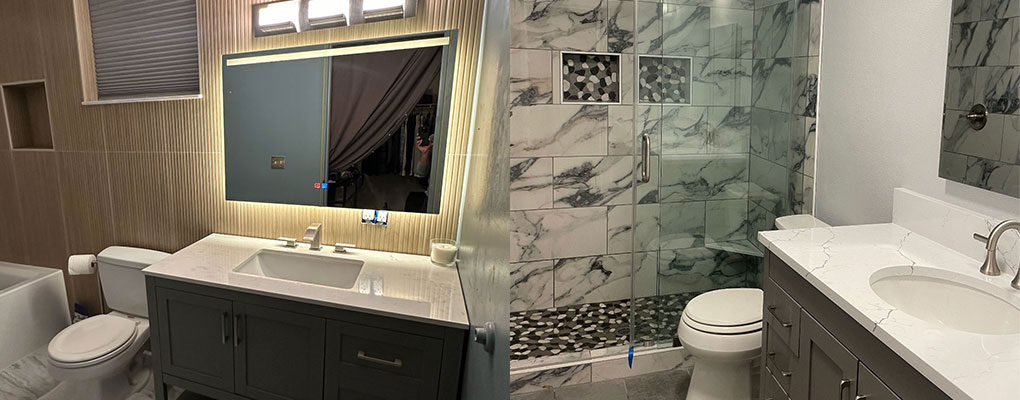


Key Takeaway: The most common cause of tile failure is treating it as a surface finish rather than an integrated structural system, leading to loose, cracked, or leaking installations over time. To ensure a professional and lasting result, the underlying substrate must meet strict flatness and rigidity standards, polymer-modified thin-set mortar must be combed in straight lines to achieve up to 95% directional coverage, and true wet areas must feature an independent, bonded waterproofing membrane behind the tile. Skipping essential steps like layout planning, installing soft perimeter expansion joints, or rushing the 24-hour mortar cure before grouting will compromise the entire project's integrity.
Most DIY tile jobs fail for the same reason: the installer treats tile as a surface finish instead of a full system. The tile looks fine on day one, then cracks, loosens, or leaks months later. The biggest common mistakes happen before the tile ever looks bad: skipping substrate prep, choosing the wrong adhesive, poor mortar coverage, ignoring movement and waterproofing, and rushing layout, curing, and grout.
If you're weighing whether to tile a room yourself or call someone, this guide is for you. We're not going to walk you through every step of spreading mortar. Plenty of guides do that. We're going to teach you the judgment behind a tiling project that lasts, so you can avoid the expensive mistakes that day-one photos never show.
Tile Is a System, Not Just a Surface
Here's the idea the whole thing rests on. What you see is the tile and the grout. What you don't see is everything holding it up: the substrate underneath, the adhesive bonding it, how much of that mortar actually touches the tile, the movement joints that let it flex, and the waterproofing in wet areas. A failure in any hidden layer can wreck a good-looking installation. A clean, dry, flat tile surface is what lets the tile bond and stay bonded. Skip that and tiles crack later. In a shower, a waterproof assembly behind the tile is what keeps water out of your framing. The finish gets all the attention. The layers under it decide whether the entire installation survives.Mistake #1 — Skipping Surface Prep on Tile Floors and Walls
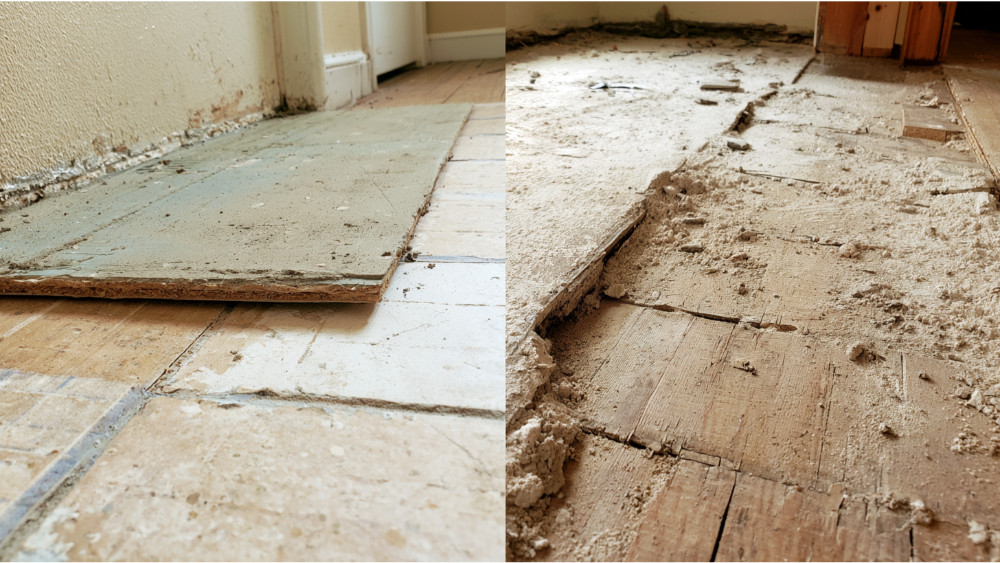 This is the single biggest failure point, and it's usually invisible in the finished job until something cracks. Your surface has to be four things: clean, dry, sound, and flat.
People confuse flat and level. Flat means no humps or dips. Level means horizontal. Tile floors don't need to be perfectly level, but they do need to be flat. A sloped shower floor is intentional, but it still has to be flat.
Flatness has real numbers behind it, drawn from ANSI/TCNA standards:
This is the single biggest failure point, and it's usually invisible in the finished job until something cracks. Your surface has to be four things: clean, dry, sound, and flat.
People confuse flat and level. Flat means no humps or dips. Level means horizontal. Tile floors don't need to be perfectly level, but they do need to be flat. A sloped shower floor is intentional, but it still has to be flat.
Flatness has real numbers behind it, drawn from ANSI/TCNA standards:
- Tile with all edges under 15 inches: no more than 1/4 inch of variation in 10 feet.
- Tile with at least one edge 15 inches or longer: tighter, at 1/8 inch in 10 feet.
Mistake #2 — Choosing the Wrong Adhesive for the Tile Type and Space
DIYers reach for premixed mastic because it looks easier than mixing mortar. Sometimes that's fine. Often it's a mistake that fails quietly. For most jobs, polymer-modified thin set mortar is the right call. Premixed Type 1 adhesive has real limits printed on the bucket. Per one manufacturer's data sheet, it caps out around 6 inches by 6 inches for floor tile and 12 inches by 12 inches for wall tile, and it's not approved for shower floors, water-immersion areas, exteriors, or over waterproofing and uncoupling membranes. Use it where it doesn't belong and it never fully cures. The trowel matters too. Larger tiles need a bigger notch. Tiles over 16 inches often call for a 3/4-inch trowel so there's enough thin set under them. And plan ahead on your quantities: a 50-pound bag of thin set covers roughly 40 to 50 square feet, so buy enough materials for the whole job plus your cuts. The right adhesive depends on the tile and the substrate, and large format tile and wet areas change the answer. Not all products are created equal. Modern tile adhesives are formulated for specific conditions, so read the technical data sheet for the exact product you buy. It tells you the size limits, the trowel, and where the product is allowed. That sheet is the difference between a bond that holds and one that lets go.Mistake #3 — Bad Troweling, Poor Coverage, and Skipping Spacers
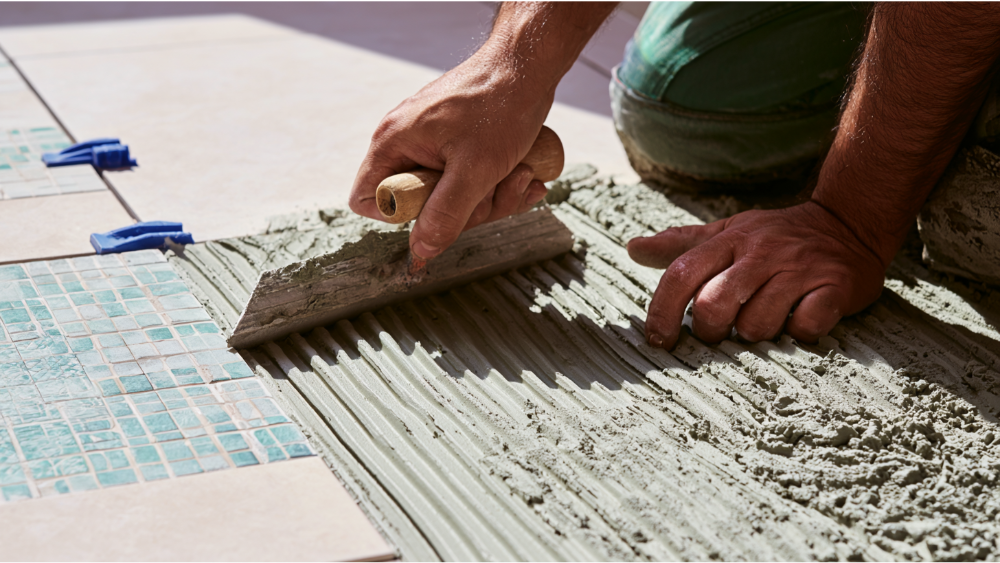 Two failures ride together here, and both come from rushing the set.
Coverage is not optional. ANSI requires an average of at least 80% mortar contact in dry areas and 95% in showers and areas exposed to the outdoors. Natural stone needs 95% too, with no voids larger than 2 square inches and none within 2 inches of the corners. Fall short and you get hollow spots, cracked tile, and a bond that fails under weight.
Getting there is about technique. Comb the adhesive in straight, one-directional ridges. Set the tile by sliding it back and forth perpendicular to those ridges so they collapse and fill in. Don't swirl the mortar in circles and don't spot-bond the corners. Both leave unsupported gaps. Every few tiles, lift one and look at the back. If the thin set didn't transfer across most of it, your trowel, your mortar, or your technique needs adjusting.
The wrong trowel size throws everything off. Too small and you starve the tile. Too big and you get lippage and squeeze-out. Back-buttering can help mortar transfer on porcelain, large format, and stone, but it does not replace proper coverage in the bed. It's a supplement, not a shortcut, and it isn't universally required.
Then there are tile spacers. Skip them and your grout lines wander and your layout drifts. Leveling clips help keep edges even, but they can't rescue a bad substrate or bad coverage. They align tiles. They don't hold them.
Two failures ride together here, and both come from rushing the set.
Coverage is not optional. ANSI requires an average of at least 80% mortar contact in dry areas and 95% in showers and areas exposed to the outdoors. Natural stone needs 95% too, with no voids larger than 2 square inches and none within 2 inches of the corners. Fall short and you get hollow spots, cracked tile, and a bond that fails under weight.
Getting there is about technique. Comb the adhesive in straight, one-directional ridges. Set the tile by sliding it back and forth perpendicular to those ridges so they collapse and fill in. Don't swirl the mortar in circles and don't spot-bond the corners. Both leave unsupported gaps. Every few tiles, lift one and look at the back. If the thin set didn't transfer across most of it, your trowel, your mortar, or your technique needs adjusting.
The wrong trowel size throws everything off. Too small and you starve the tile. Too big and you get lippage and squeeze-out. Back-buttering can help mortar transfer on porcelain, large format, and stone, but it does not replace proper coverage in the bed. It's a supplement, not a shortcut, and it isn't universally required.
Then there are tile spacers. Skip them and your grout lines wander and your layout drifts. Leveling clips help keep edges even, but they can't rescue a bad substrate or bad coverage. They align tiles. They don't hold them.
Mistake #4 — Rushing Tile Layout, Tile Cutting, and Large Format Lippage
 Layout is where a job either looks intentional or looks amateur. Dry-lay your tiles first, without any adhesive, and work from a center or a focal line. The goal is to avoid thin slivers at walls and doorways. Take proper measurements and plan where you'll cut tiles around toilets, tubs, cabinets, and thresholds before you commit. Pull tiles from several boxes and check for shade and size variation so your tile pattern doesn't end up with an obvious color block in one corner. Buy at least 10% more tile than the room measures, because cuts and breakage add up fast, and confirm you have enough tile before the tile laying begins.
Tile cutting cleanly with the right tools
Your tools decide how clean your edges look. A manual score-and-snap tile cutter handles straight cuts on a lot of ceramic. For porcelain, stone, and any notched or L-shaped cut, a diamond wet saw gives you precise cuts and far less breakage. A tile cutter is fine for simple straight lines, but slick cuts around a toilet flange are what separate a tidy job from a sloppy one, and those often need the wet saw. There are great videos online that show the wet saw technique if you want to see it before your next tiling project. Keep a nipper and a rubbing stone on hand to clean up edges after you cut tiles.Preventing lippage with larger tiles
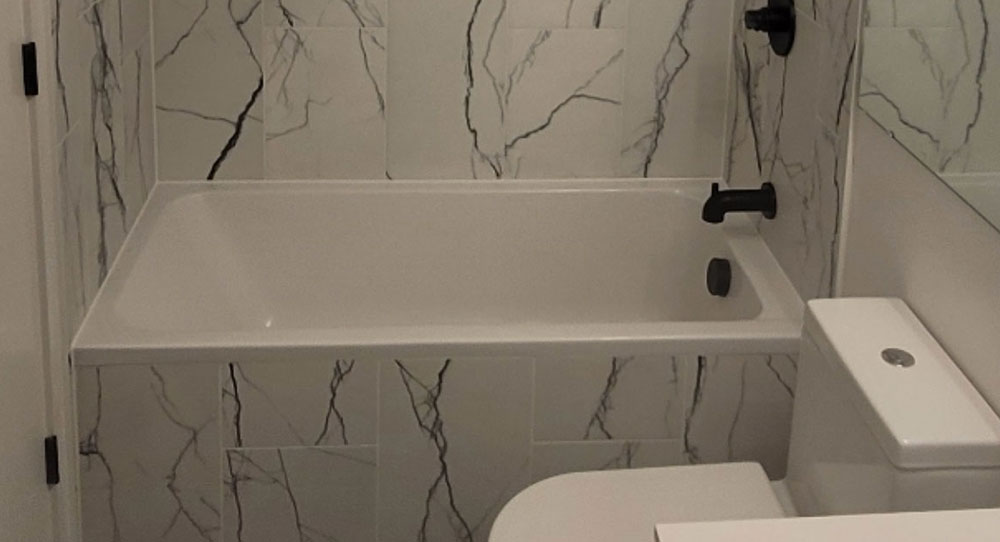
Large format tiles are unforgiving. A slightly wavy floor and the natural warpage in big tiles show up as uneven edges, especially with tight grout lines. Offsetting a large format pattern more than about a third amplifies that lippage, so a running-bond layout for large format tiles is riskier than it looks. Lay a straightedge across your tiles as you go and catch high edges before the adhesive sets.Mistake #5 — Ignoring Expansion Joints, Waterproofing, and the Grouting Process
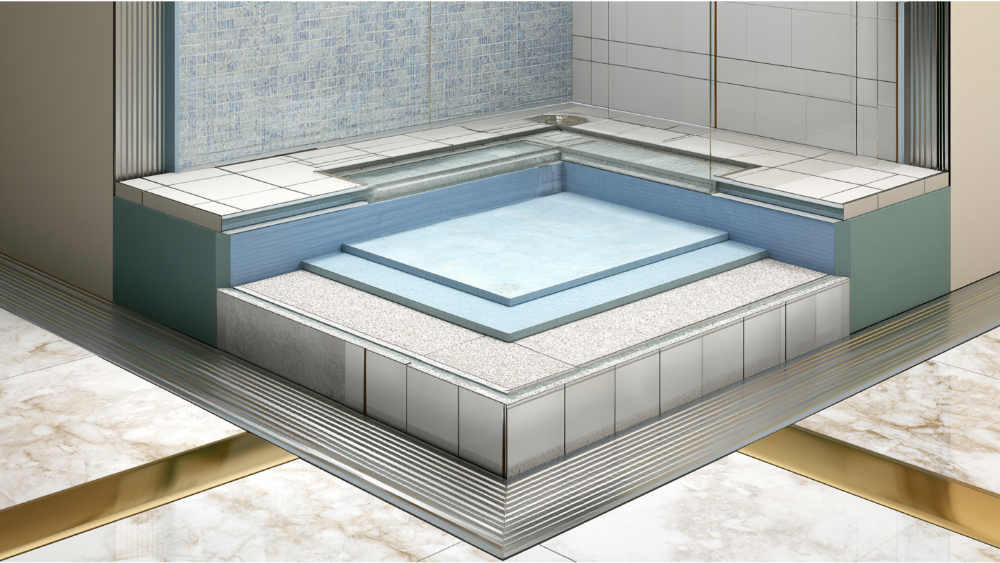 Three hidden failures live here, and each one can undo an otherwise clean installation process.
Expansion joints. Tile expands and contracts. Grout is rigid and doesn't. Industry guidance (EJ171) calls for soft movement joints at perimeters, at changes of plane, and roughly every 20 to 25 feet in interior installs (8 to 12 feet in sunlit or exterior areas). Fill those with flexible sealant, not grout. Skip them and you get cracked grout, then cracking tile. Where the floor material or height changes between rooms, plan the transition so you don't leave a trip hazard.
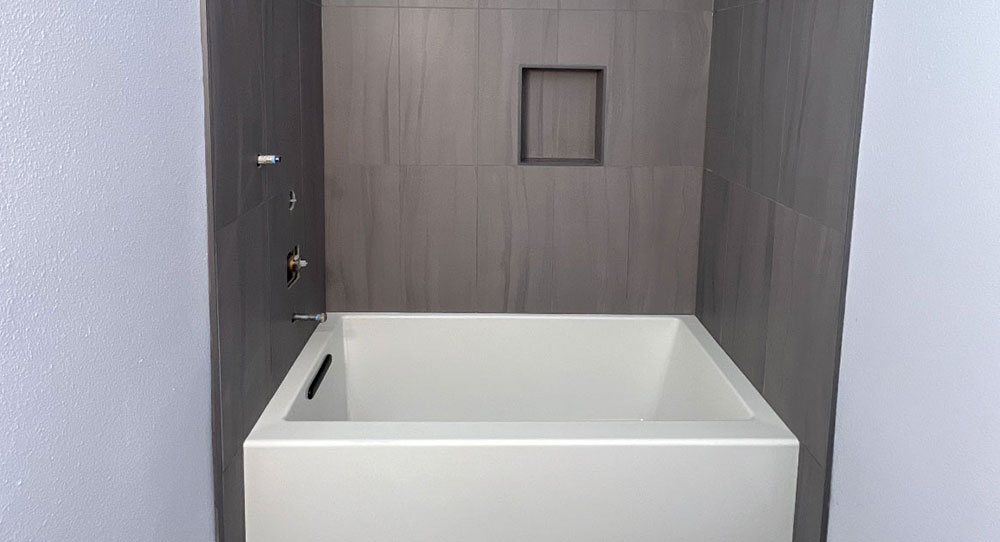
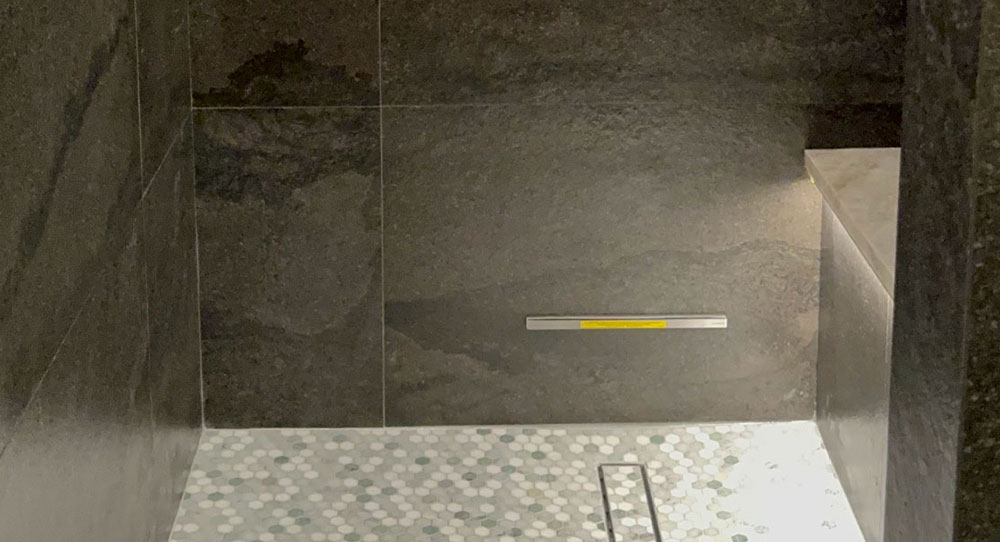
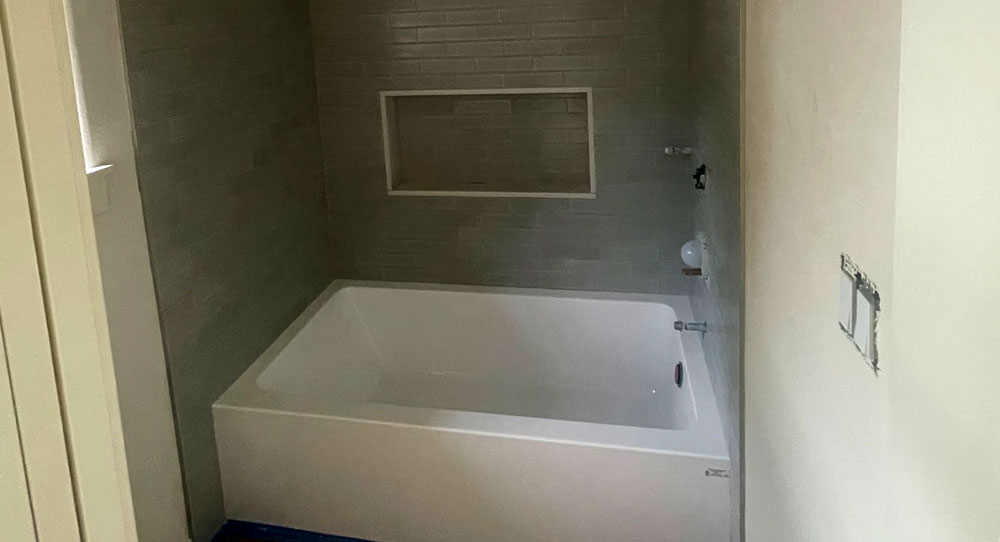
Waterproofing. This is the one that sends most people to a professional, and it should. Tile and grout are not waterproof. Cement board is not automatically a waterproofing layer either. A shower needs a proper bonded waterproofing system behind and under the tile. Grout helps keep water and stains out of the joints on the surface, but the assembly is what protects your framing from moisture. Get this wrong and the damage hides inside the wall until it's expensive.
Cure time and the grouting process. Grout only after the adhesive has cured. Most installations reference about 24 hours, but rapid-set products can be ready in 2 to 3 hours, so follow the data sheet rather than a rule of thumb. Wait roughly 24 hours before putting weight on fresh tile. When you grout:
Three hidden failures live here, and each one can undo an otherwise clean installation process.
Expansion joints. Tile expands and contracts. Grout is rigid and doesn't. Industry guidance (EJ171) calls for soft movement joints at perimeters, at changes of plane, and roughly every 20 to 25 feet in interior installs (8 to 12 feet in sunlit or exterior areas). Fill those with flexible sealant, not grout. Skip them and you get cracked grout, then cracking tile. Where the floor material or height changes between rooms, plan the transition so you don't leave a trip hazard.
Waterproofing. This is the one that sends most people to a professional, and it should. Tile and grout are not waterproof. Cement board is not automatically a waterproofing layer either. A shower needs a proper bonded waterproofing system behind and under the tile. Grout helps keep water and stains out of the joints on the surface, but the assembly is what protects your framing from moisture. Get this wrong and the damage hides inside the wall until it's expensive.
Cure time and the grouting process. Grout only after the adhesive has cured. Most installations reference about 24 hours, but rapid-set products can be ready in 2 to 3 hours, so follow the data sheet rather than a rule of thumb. Wait roughly 24 hours before putting weight on fresh tile. When you grout:
- Mix to a peanut-butter consistency. Use sanded grout for wider joints and pick the right type for your joint width.
- Spread diagonally across the joints with a rubber float.
- Don't over-wet during cleanup, since too much water weakens and discolors the grout and leaves grout haze on the tile.
- Mask delicate edges with masking tape when you need a clean line against trim or glass.
Portland and Vancouver Homeowner Notes: Permits, Older Homes, and When to Call a Pro
 A few local things are worth knowing before you start. In Oregon, applying finish tile to walls, floors, and ceilings generally does not require a building permit. But once tile work ties into plumbing, electrical, structural changes, a shower rebuild, or a layout change, permits may apply. Check with your local building department first.
Older homes around here carry extra risk. Homes built before 1978 may have lead paint (covered by the EPA's Renovation, Repair and Painting rule), and homes built before January 1, 2004 may contain asbestos, per Oregon DEQ. Don't saw, sand, scrape, or grind unknown materials. Identify what you're dealing with before any demo.
Here's the honest part. Some tile is genuinely DIY-friendly:
A few local things are worth knowing before you start. In Oregon, applying finish tile to walls, floors, and ceilings generally does not require a building permit. But once tile work ties into plumbing, electrical, structural changes, a shower rebuild, or a layout change, permits may apply. Check with your local building department first.
Older homes around here carry extra risk. Homes built before 1978 may have lead paint (covered by the EPA's Renovation, Repair and Painting rule), and homes built before January 1, 2004 may contain asbestos, per Oregon DEQ. Don't saw, sand, scrape, or grind unknown materials. Identify what you're dealing with before any demo.
Here's the honest part. Some tile is genuinely DIY-friendly:
- A small backsplash
- A simple floor over a sound, flat substrate
- Non-wet wall tile
- Straightforward ceramic or porcelain
- Showers and wet rooms, including a bathroom floor that has to shed water
- Large format tiles
- Marble and natural stone
- Mosaic repair and terrazzo
- Tile floors with bounce or cracks
- Older-home demo with possible lead or asbestos
- Any job where you're unsure about waterproofing, substrate prep, or coverage
Comments