
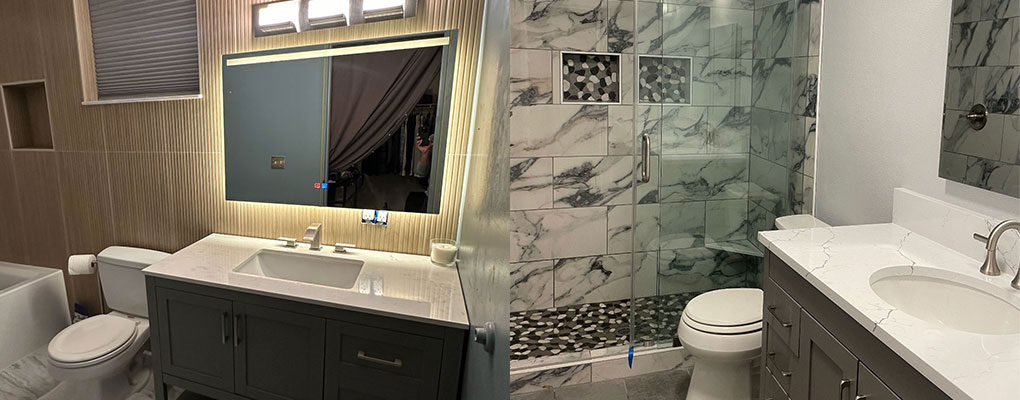

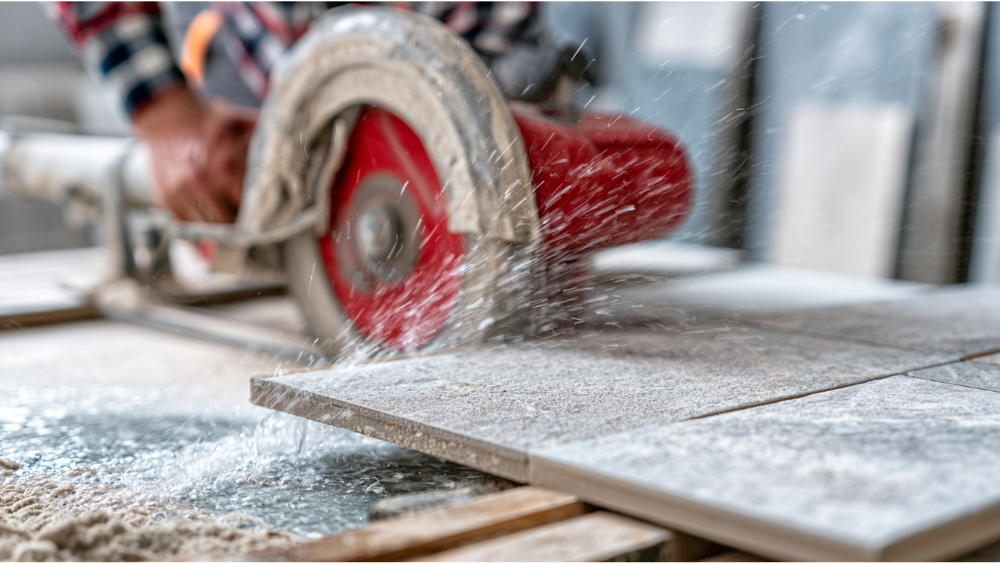

Key Takeaway: To cut tile with a clean, chip-free edge, you must match the cutting tool to the density of the material, using a manual score-and-snap cutter for simple ceramic tile and a continuous-rim diamond blade wet saw for dense porcelain or natural stone. Maintaining a slow feed rate, fully supporting the tile to prevent flexing, and applying painter's tape along the marked line are essential techniques for protecting the delicate surface glaze from microfractures. For irregular notches, curves, or pipe holes, rely on an angle grinder or diamond hole saw making shallow, gradual passes under proper dust control and safety gear.
To cut tile with a clean edge, match the tool to the material and the cut. Use a manual score-and-snap cutter for straight cuts on ceramic tile and many porcelain tiles, a wet saw for dense porcelain, natural stone tiles, and any edge that will show, and an angle grinder, tile nippers, rotary tool, or diamond hole saw for curves, notches, and holes. Then get the details right: mark carefully, support the tile fully, cut slow, control the dust, and smooth the cut edge afterward.
Whether you're planning a backsplash, a bathroom floor, a shower wall, or you're staring at a tile that just snapped in the wrong place, the principle is the same. A clean cut doesn't come from muscling tile through a tool. It comes from matching the right tool to the material, supporting the tile, keeping dust down, and finishing the cut edge to match how visible it'll be. That's the heart of how to cut tile with tools and techniques that get a clean edge.
Before You Cut, Know What Kind of Tile You Have
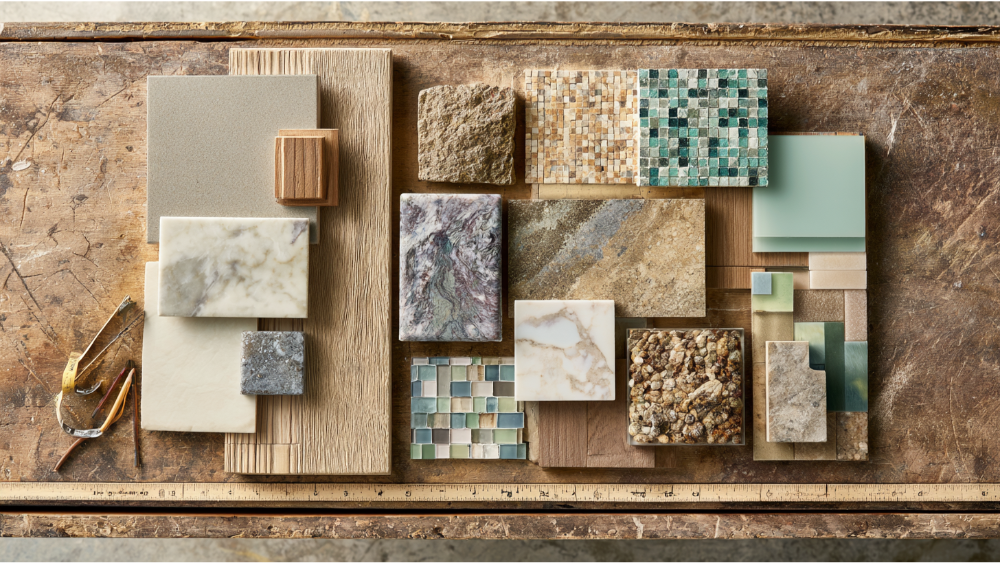 The tile you have decides the tool you need. Density and hardness change how a material cuts, so start there. Different kinds of tile react differently to the same blade, and knowing that up front saves you from chipping.
- Ceramic wall tile is the softest and most forgiving. It scores and snaps cleanly and rarely needs a wet saw for straight cuts.
- Porcelain is technically a ceramic, but it's dense. The Tile Council of North America defines porcelain as impervious tile with water absorption of 0.5% or less (ASTM C373). That density means it fights back against simple hand scoring, so cutting porcelain tile usually wants a diamond blade.
- Marble tiles and natural stone chip and scratch easily, and their edges are often exposed on thresholds and niches. These need a fine diamond blade and careful finishing.
- Mosaic sheets involve lots of small cuts, so nippers and a wet saw both earn their keep here.
- Glass tiles and specialty materials are delicate and prone to cracking, so they call for the gentlest approach and a glass cutting blade made for the job.
Quick Tool-Selection Guide: Which Cutter for Which Cut?
| Tool | Best for | Tile types |
|---|---|---|
| Manual tile cutter | Straight cuts | Ceramic tile and many porcelain tiles up to about 3/8 in. |
| Wet saw | Long cuts, visible edges, repeat cuts | Dense porcelain, natural stone tiles |
| Angle grinder | Curved cuts, notches, installed tile, irregular shapes | Ceramic, porcelain, stone |
| Tile nippers | Small adjustments, gentle curves, mosaic fitting | Small tiles, mosaic |
| Diamond hole saw / rotary tool | Holes for pipes and fixtures | Most tile |
| Rubbing stone / diamond hand pad | Edge finishing | Ceramic, porcelain, stone |
Safety First: Dust, Eyes, Ears, and Older Homes
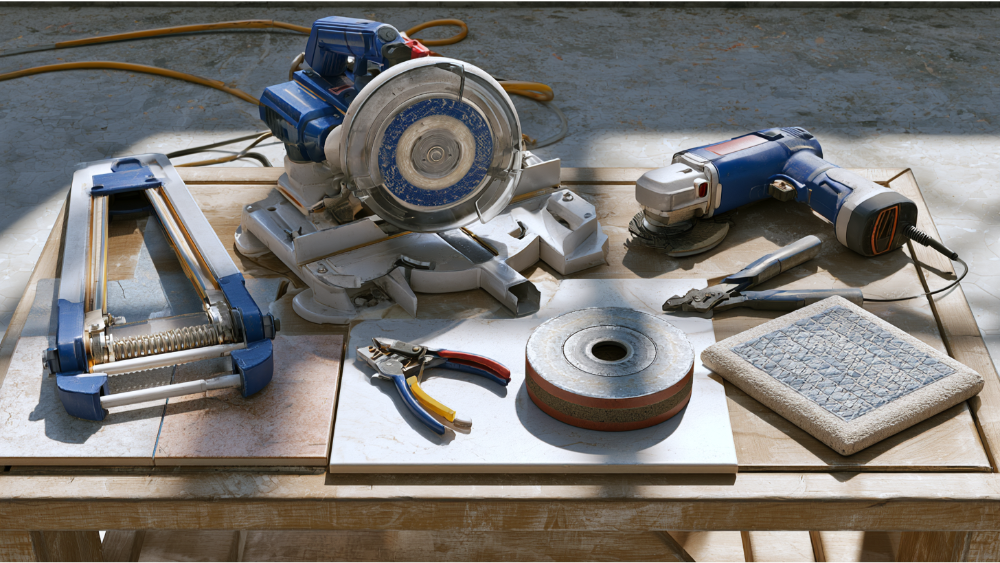 Cutting tile throws off sharp fragments and fine dust, so gear up before you start. Wear impact-rated safety glasses or goggles. OSHA requires eye and face protection against flying particles, and for grinder work a face shield is worth adding on top.
Power saws and grinders are loud. NIOSH recommends limiting noise exposure to 85 dBA over an eight-hour day, so put in ear protection for anything beyond a quick cut.
Dust is the part people underestimate. Dry tile cutting on mineral-based materials and stone can release respirable crystalline silica, and OSHA sets a permissible exposure limit of 50 micrograms per cubic meter over an eight-hour shift. Wet cutting substantially reduces that dust, which is one more reason to reach for a wet saw or a dust-collection setup on power tools.
Older homes need extra caution. In housing built before 1978, cutting or demo can disturb lead paint, which is covered by EPA's Renovation, Repair and Painting rule for paid work. Old flooring, adhesives, and backing may also contain asbestos, and the EPA warns you not to saw, sand, or drill suspected material, but to have it sampled by an accredited pro first. Plenty of older homes around Portland and Vancouver fall into this category, so don't cut or demo blindly.
Cutting tile throws off sharp fragments and fine dust, so gear up before you start. Wear impact-rated safety glasses or goggles. OSHA requires eye and face protection against flying particles, and for grinder work a face shield is worth adding on top.
Power saws and grinders are loud. NIOSH recommends limiting noise exposure to 85 dBA over an eight-hour day, so put in ear protection for anything beyond a quick cut.
Dust is the part people underestimate. Dry tile cutting on mineral-based materials and stone can release respirable crystalline silica, and OSHA sets a permissible exposure limit of 50 micrograms per cubic meter over an eight-hour shift. Wet cutting substantially reduces that dust, which is one more reason to reach for a wet saw or a dust-collection setup on power tools.
Older homes need extra caution. In housing built before 1978, cutting or demo can disturb lead paint, which is covered by EPA's Renovation, Repair and Painting rule for paid work. Old flooring, adhesives, and backing may also contain asbestos, and the EPA warns you not to saw, sand, or drill suspected material, but to have it sampled by an accredited pro first. Plenty of older homes around Portland and Vancouver fall into this category, so don't cut or demo blindly.
How to Measure and Mark Tile for a Clean Cut
Measure twice. Then mark your line on the finished, glazed face so you can see exactly where the cut will land. Use a square or a straight edge to draw a true line, not a freehand guess. That little bit of precision up front is what separates clean edges from a ragged one. A simple trick that saves a lot of chipping: run painter's or masking tape along the cut line before you mark it. The tape supports the glaze at the surface and gives you a crisp line to follow. One more habit that pays off. Plan your layout so tile edges land where they'll be hidden, tucked under trim, into corners, or against a wall, whenever the design allows. A cut you can't see doesn't have to be perfect, so save your best work for the corners and edges people actually notice.How to Cut Tile With a Manual Tile Cutter
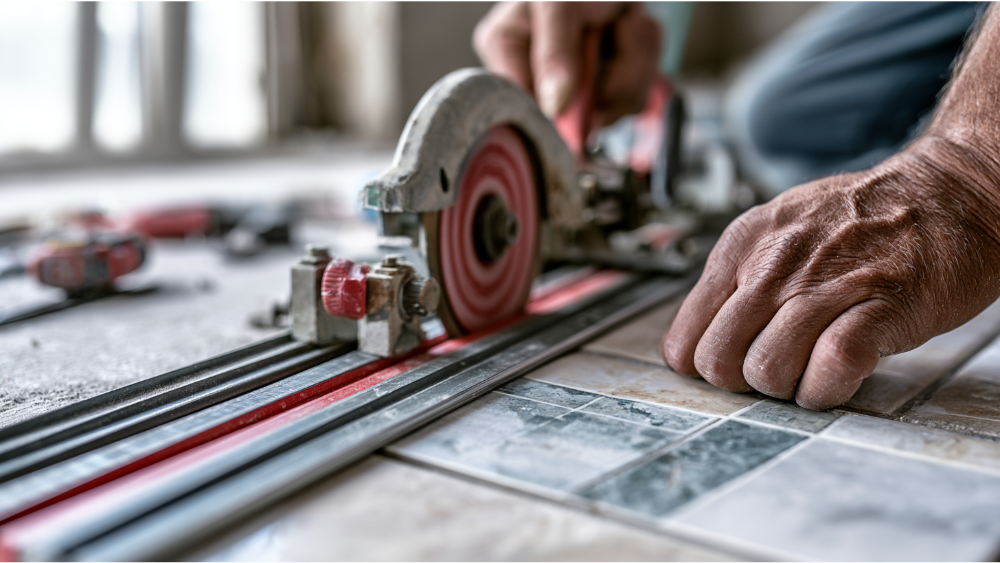 A manual tile cutter is your best bet for straight cuts on ceramic tile and thinner porcelain. This cutting method works by scoring the glaze, then snapping along the score.
- Set the tile square against the fence, glazed side up, and align your mark under the scoring wheel.
- Make one controlled, complete score in a single pass. Going over the same line twice is a common cause of chipping.
- Position the breaker bar over the scored line and apply even, gentle pressure. The tile should snap clean along the score.
- Smooth the cut edge before you set the tile.
Cutting Porcelain Tile and Stone With a Wet Saw
A wet saw is the tool for dense porcelain, natural stone tiles, visible edges, and any project with a lot of repeat cuts. The water does two jobs: it cools the diamond blade and it controls both dust and chipping.- Confirm water is flowing over the blade and the pan is topped off. Never cut dry. A blade running without water overheats and chips the tile.
- Use the right blade. A continuous-rim, fine-grit diamond blade gives smoother edges and minimizes microfractures in porcelain and stone. If your current one is worn, a new blade often solves chipping on its own.
- Let the blade reach full speed before you feed the tile. A common tip is 15 to 20 seconds, but follow your saw's manual.
- Feed the tile slowly and keep it flat and fully supported the whole way through.
- Ease off pressure near the end of the cut. That's where chip-out happens most, because the tile wants to break away before the blade finishes.
How to Cut Tile With an Angle Grinder or Diagonal Cuts
 An angle grinder handles the cuts a straight cutter can't: curves, notches, diagonal cuts, irregular shapes, and tile that's already installed. Fit the grinder with a diamond blade, and for cutting porcelain tile reach for a thin turbo or mesh diamond blade. For glass tiles, swap in a glass cutting blade so the material doesn't crack.
An angle grinder is the dustiest method by a wide margin, so cut outdoors or with dust collection, and wear full protection including a face shield.
For technique, score the line first, then make shallow passes and deepen the cut gradually rather than forcing through in one go. Keep the tile supported so the grinder isn't fighting a flexing surface, and never twist the tool inside the cut. More control means fewer chips and a cleaner cut edge.
An angle grinder handles the cuts a straight cutter can't: curves, notches, diagonal cuts, irregular shapes, and tile that's already installed. Fit the grinder with a diamond blade, and for cutting porcelain tile reach for a thin turbo or mesh diamond blade. For glass tiles, swap in a glass cutting blade so the material doesn't crack.
An angle grinder is the dustiest method by a wide margin, so cut outdoors or with dust collection, and wear full protection including a face shield.
For technique, score the line first, then make shallow passes and deepen the cut gradually rather than forcing through in one go. Keep the tile supported so the grinder isn't fighting a flexing surface, and never twist the tool inside the cut. More control means fewer chips and a cleaner cut edge.
How to Cut Curves, Holes, and L Cuts in Tile
Some shapes need a different approach.- Gentle curves and mosaic fitting: use tile nippers to bite off small amounts a little at a time.
- L cuts and notches: cut the two straight legs on a wet saw as far as they'll safely go, then finish the inside corner with an angle grinder or nippers. This keeps you from overcutting past the corners on the saw.
- Circular holes for pipes and drains: use a diamond hole saw. A rotary tool works for smaller openings.
How to Smooth a Cut Tile Edge
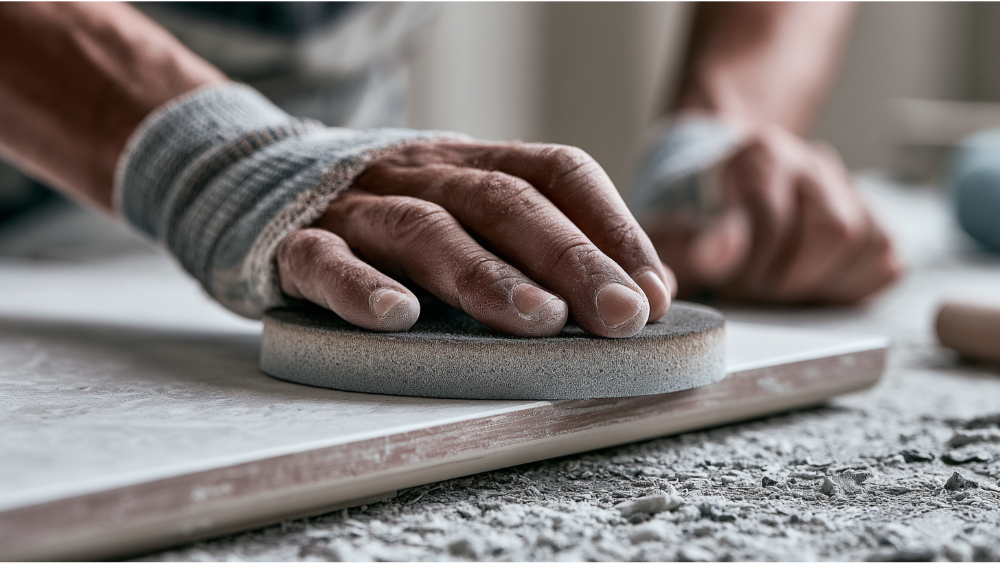
Almost every cut needs some finishing. A rubbing stone or a tile file knocks down sharp edges and small burrs on ceramic tile and porcelain. A diamond hand pad smooths porcelain and stone further and can bring an edge close to factory quality while removing tiny chips. For exposed natural stone like a marble threshold or a visible shower niche, polishing pads restore the finish. Here's the distinction most guides skip: a cut hidden under trim, grout, or caulk doesn't need the same finish as an edge you'll see every day. Finish the edge to match how visible the cut will be, keep it neat where it counts, and don't waste time polishing something nobody will ever notice.Why Your Tile Keeps Chipping (Troubleshooting)
If your tile is chipping, run through this list:- Wrong blade for the material. A coarse or general blade tears dense porcelain.
- Dull or glazed-over blade. A fresh, fine-grit diamond blade or a new blade altogether often fixes chipping on its own.
- Feeding too fast. Slow down and let the tool do the work.
- Tile not fully supported. Large-format tiles flex during the cut and crack. Back them up completely and keep them flat.
- Vibration from a loose tile or a worn saw.
- Cutting too narrow a sliver, which almost always breaks and leaves chipping along the edge, no matter how carefully you're applying pressure.
- Using a snap-style manual cutter on dense porcelain that really needs a wet saw.
- Skipping the tape or score step that protects the glaze.
Comments