
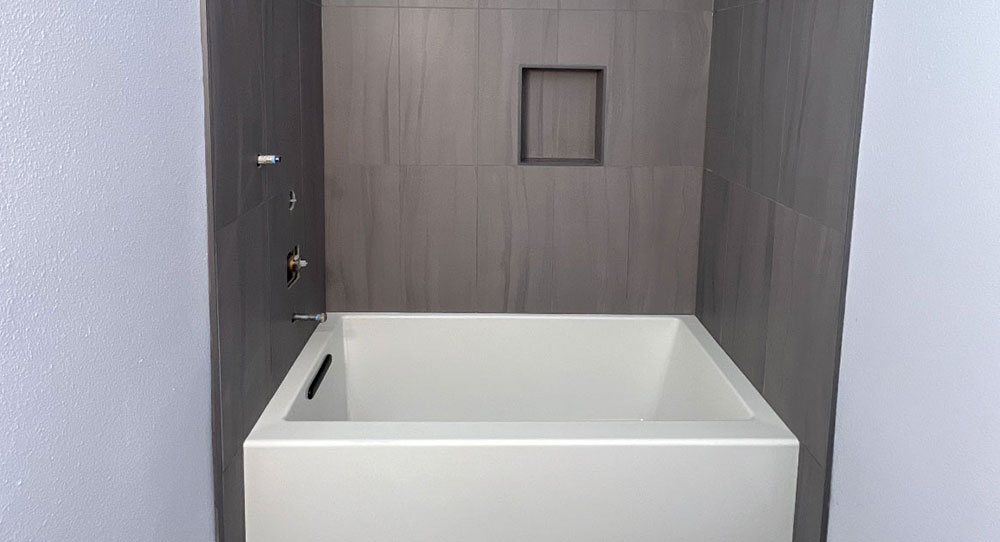
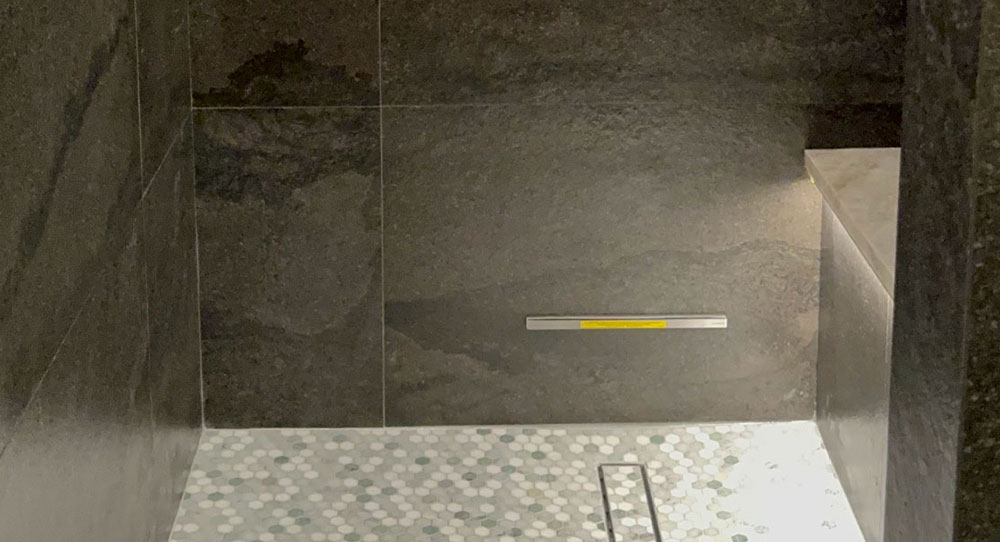
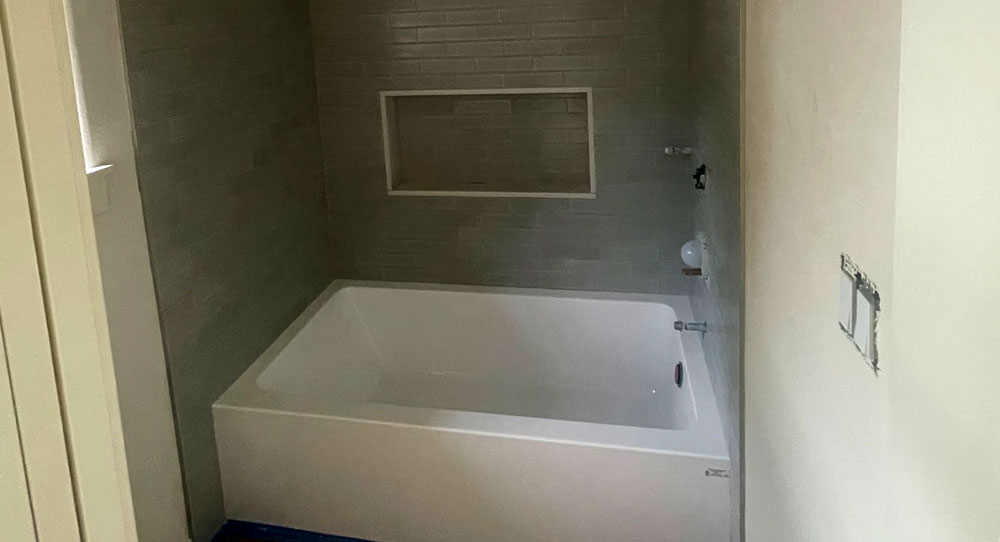
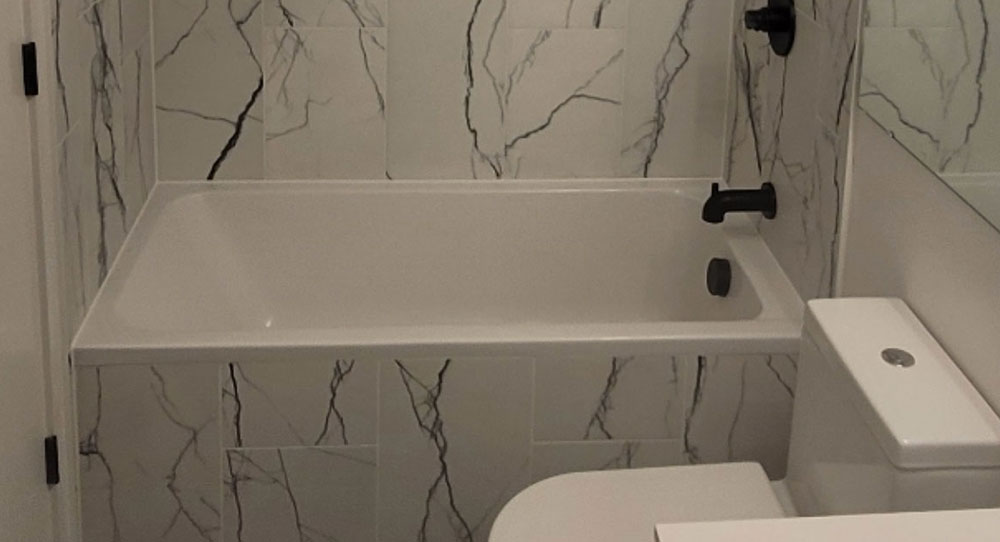
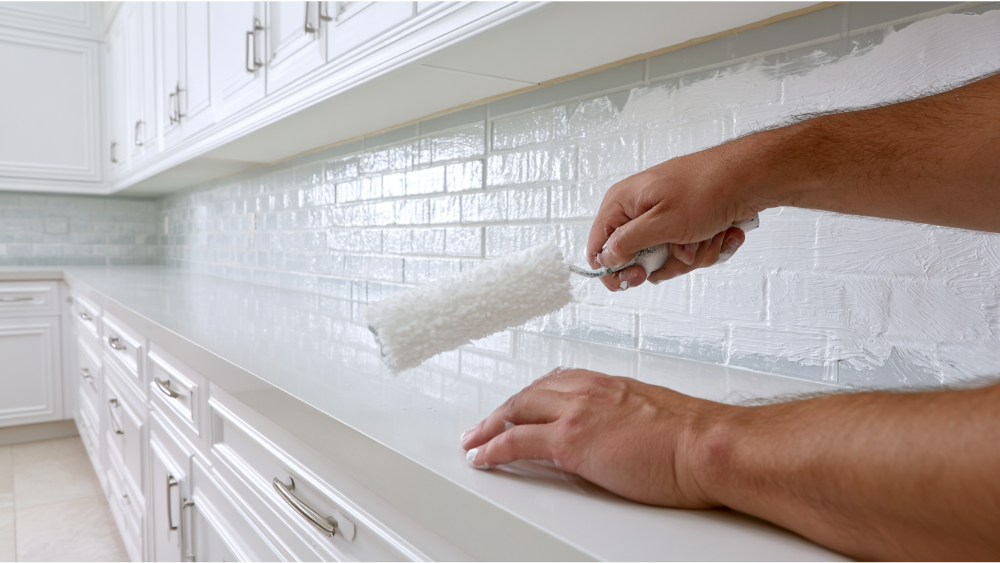

Key Takeaway: Tile can be painted as a temporary cosmetic refresh, but it will only hold up long term on dry, vertical surfaces like kitchen backsplashes or accent walls that experience low impact. It is highly discouraged for high-moisture zones, countertops, or floors because foot traffic and standing water quickly destroy the topcoat, causing the paint to blister, chip, and peel within months. For a successful application on dry tile, you must completely degloss the slick surface by sanding and apply a specialized high-adhesion bonding primer before building up thin layers of premium topcoat.
Yes, you can paint tile. But whether it holds up depends almost entirely on where that tile lives. Paint works best on clean, repaired, well-prepped vertical tile that stays mostly dry. Think a dry accent wall or a kitchen backsplash away from the stove. It's a cosmetic bridge, not a fix for shower floors, high traffic areas, countertops, or anywhere water pools and people walk. Done right and cared for, a painted tile floor or wall can look good for a few years. Done in the wrong spot, it can start peeling in months.
If you're weighing a cheaper cosmetic update against tearing out old tile, this is for you. We're going to walk through it surface by surface, so you know what actually lasts. There's a difference between can you and should you, and that difference is the whole point.
Can You Paint Tile? What Actually Holds Up by Surface
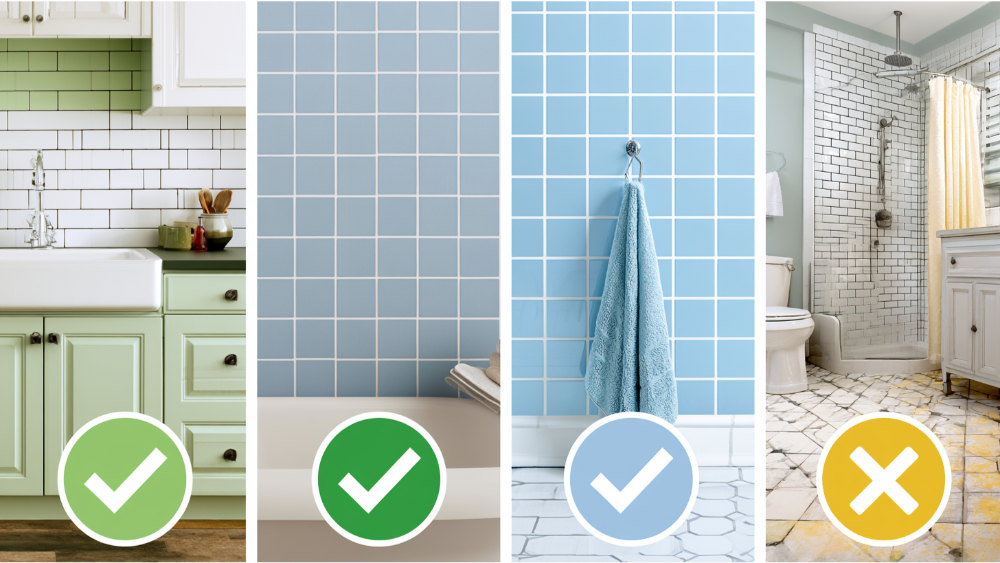 Not all painted tile ages the same. Wall tile that stays dry and untouched can hold up for years. A tile floor takes foot traffic and can start showing wear and tear in as little as six months. Wet zones invite chipping and peeling paint. Here's how the common surfaces stack up.
| Surface | Holds Up? | Why |
|---|---|---|
| Dry decorative wall tile | Good | Stays dry, rarely touched, low abrasion |
| Kitchen backsplash (away from grease/heat) | Fair to Good | Fine with solid prep; grease and scrubbing shorten its life |
| Bathroom wall outside the spray zone | Fair | Some humidity, but no direct water |
| Fireplace or accent tile, dry | Good | Low touch, no moisture |
| Shower wall | Temporary/risky | Constant moisture leads to blistering and peeling |
| Shower floor | Not recommended | Standing water plus foot traffic destroys the finish |
| Bathroom floor | Not recommended long-term | Traffic and moisture wear it fast |
| Kitchen or high traffic floor tile | Not recommended | Foot traffic wears the topcoat quickly |
| Countertops | Not recommended | Hot pots, knives, and abrasive cleaners ruin it |
| Cracked/loose tile or failing grout | Do not paint | Repair first; paint hides the problem, it doesn't solve it |
| Natural stone or glass | Caution | Often a poor candidate; adhesion is unreliable |
Why Does Paint Peel and Fail on Tile?
Tile is built to be hard, slick, and water-resistant. Those same qualities are exactly what paint struggles against. When a paint tile job fails, it's usually one of these reasons:- The glaze is too slick. That glossy finish is designed to repel things, including primer and paint. Without deglossing, the coating has nothing to grab.
- Moisture gets underneath. Direct and frequent water exposure causes the finish to blister, and peeling paint creeps from the edges in.
- Foot traffic wears it down. A floor tile takes abuse wall tile never sees, and the topcoat thins out and scuffs.
- Harsh cleaners break it down. Bleach and abrasive scrubbing degrade floor paint far faster than they'd ever hurt real glazed tile.
- Heat and knives on counters. Hot pans and utensils cut, scorch, and lift a painted surface.
- The tile underneath is moving. Cracks, loose tile, failed grout, or water trapped behind the wall will telegraph right through any coating.
Where Does Painting Tile Actually Make Sense?
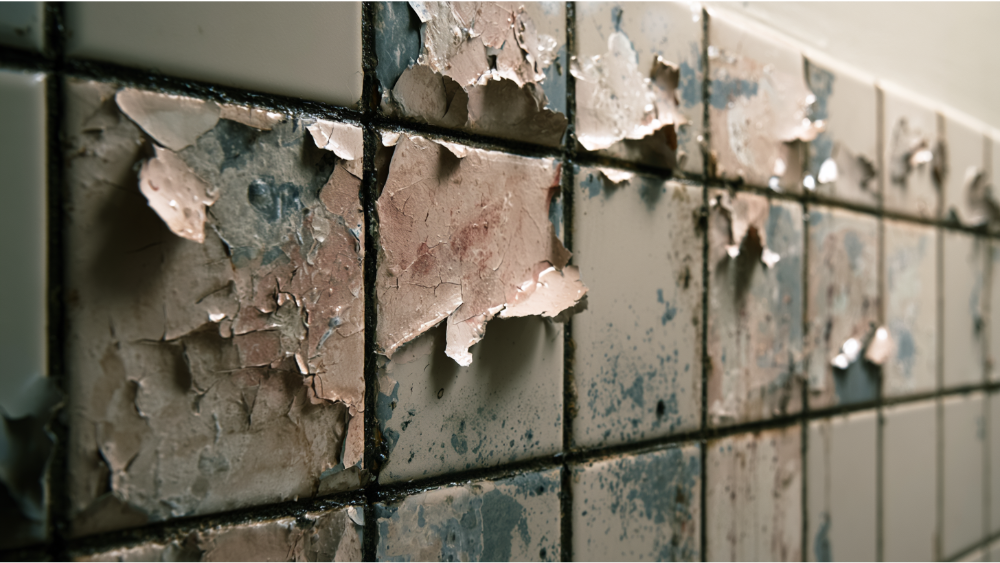 Paint isn't the wrong answer everywhere. On the right surface, it's a genuinely smart, budget friendly way to freshen a space without a full replacement. The green-light spots share one thing: they stay dry and mostly untouched.
- Decorative wall tile that's dated but sound.
- Accent walls where you want a new color without new tile.
- A low-splash kitchen backsplash set back from the stove and away from constant scrubbing.
- A fireplace surround in a dry, low-touch spot.
- A porch or a few areas of low traffic areas where a coated surface won't see daily abuse.
- A short-term refresh on sound tile you plan to remodel later anyway.
Where Painting Tile Usually Backfires
The red-light list is just as important. These are the spots where a painted tile floor disappoints fast, no matter how carefully you prep:- Shower floors and any constantly wet shower or tub zone.
- Heavy traffic areas like kitchens, entries, and hallways where a tile floor takes daily use.
- Kitchen countertops.
- Damaged tile assemblies where the real problem is under the surface.
- Any floor where slip resistance matters.
What Kind of Floor Paint Sticks to Tile? Choosing the Right Paint
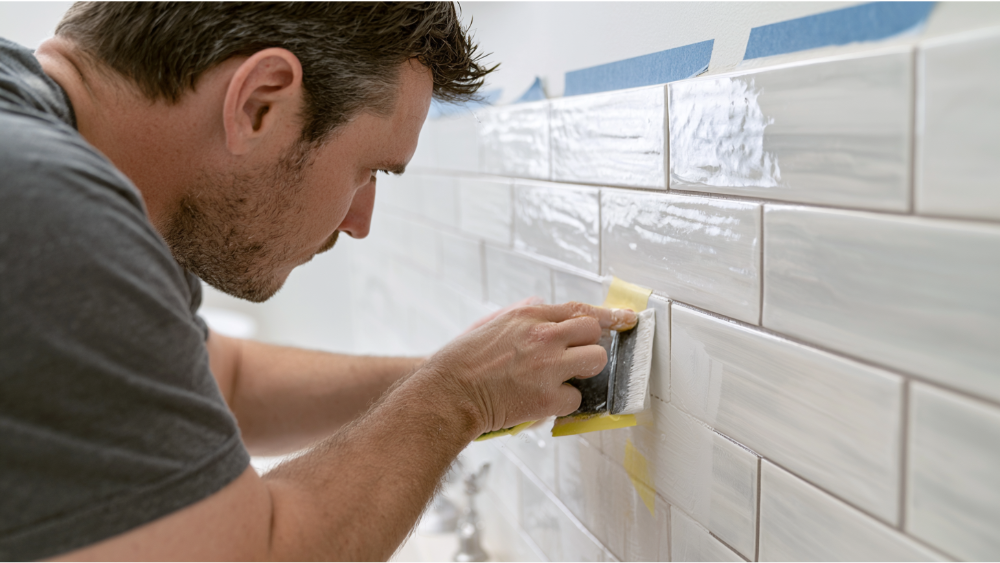 There's no single magic can. What holds up is a system, and the base of that system is a high-adhesion bonding primer. That's the non-negotiable part. Skip it, and even good topcoat has nothing to hold onto. An oil based paint or primer can improve grip on especially slick surfaces.
On top of that primer, the top coat depends on the spot. For dry wall tile, a quality acrylic or latex paint works, and a clear polyurethane or epoxy layer adds protection against chipping. For a porch, an exterior patio paint made for foot traffic is a better match than interior wall paint. For certain higher-moisture applications, two-part epoxy acrylic tub-and-tile refinishing systems are more durable than ordinary wall paint. But even those have limits: they're not made for constant immersion or continuous high humidity like a sauna or a shower floor that never dries out. Chalk paint gets asked about a lot for tile projects, and it's fine as a base coat for a decorative look on a dry surface, but it needs a tough clear sealer over it or it won't survive real use.
Manufacturers like Sherwin Williams give conservative, honest guidance here, and it's worth following. Sherwin Williams recommends decorative wall tile in dry areas as the better use case and specifically doesn't recommend painting a ceramic tile floor, because foot traffic shortens the topcoat's life. Choosing the right paint starts with reading the actual product data sheet before you commit. Labels tell you what a coating is rated for, and they change.
There's no single magic can. What holds up is a system, and the base of that system is a high-adhesion bonding primer. That's the non-negotiable part. Skip it, and even good topcoat has nothing to hold onto. An oil based paint or primer can improve grip on especially slick surfaces.
On top of that primer, the top coat depends on the spot. For dry wall tile, a quality acrylic or latex paint works, and a clear polyurethane or epoxy layer adds protection against chipping. For a porch, an exterior patio paint made for foot traffic is a better match than interior wall paint. For certain higher-moisture applications, two-part epoxy acrylic tub-and-tile refinishing systems are more durable than ordinary wall paint. But even those have limits: they're not made for constant immersion or continuous high humidity like a sauna or a shower floor that never dries out. Chalk paint gets asked about a lot for tile projects, and it's fine as a base coat for a decorative look on a dry surface, but it needs a tough clear sealer over it or it won't survive real use.
Manufacturers like Sherwin Williams give conservative, honest guidance here, and it's worth following. Sherwin Williams recommends decorative wall tile in dry areas as the better use case and specifically doesn't recommend painting a ceramic tile floor, because foot traffic shortens the topcoat's life. Choosing the right paint starts with reading the actual product data sheet before you commit. Labels tell you what a coating is rated for, and they change.
The Hard Work of Prep: The First Coat Isn't Where It Starts
If a painted tile floor peels early, prep is almost always the reason. This is the hard work DIY excitement tends to rush on any paint tile project, and it's the part that decides everything. Painting tile properly means covering all the details in the right order. Here's the honest sequence:- Give it a thorough cleaning and degrease. Use a mild cleaner and water to lift dirt, then wipe with a damp rag. Skip bleach and harsh chemicals that leave residue and degrade paint.
- Remove soap scum and mineral deposits. Anything left behind becomes a weak spot.
- Repair chips and cracks first, and kill any mildew. Paint won't bridge a crack, it'll just crack with it.
- Remove old caulk where the job requires it.
- Sand and degloss. You're creating a rough surface so the primer can grip. This is the step that makes or breaks adhesion.
- Remove all sanding dust with a tack cloth. Dust ruins the bond.
- Apply painter's tape along baseboards, edges, and anywhere you want a clean line before you prime.
- Prime, then test. Roll the bonding primer with a foam roller for an even film, and test adhesion on one tile before committing to the entire floor.
- Build in thin coats. Multiple thin coats beat one thick one. Let the first coat dry, then lay a second coat of top coat for durability.
- Stencil last, if you're adding pattern. Wait for the base color to dry, tape your stencil down flat, and use light coats so paint doesn't bleed under the edges. On smaller tiles the pattern lines up faster and makes a huge difference in a small space.
- Let it cure fully. It may feel dry to the touch in an hour, but real water exposure should wait several days to a week, depending on the product.
A Safety Note for Older Homes (Pre-1978)
Because almost every paint tile job involves sanding or deglossing, an older house needs a word of caution. If yours was built before 1978, existing coatings could contain lead, and sanding releases that dust into the air. This matters just as much in a new house that was renovated with older salvaged material. The EPA's Renovation, Repair and Painting Rule covers pre-1978 homes. Anyone paid to disturb paint in those homes must be certified, and firms can't advertise or perform covered work without it. There's a minor-repair exception, generally 6 square feet or less indoors or 20 square feet or less outdoors, with important exceptions. The plain takeaway: don't casually sand unknown old coatings in an older home without thinking through lead-safe practices.Paint Doesn't Fix Waterproofing, and That Matters
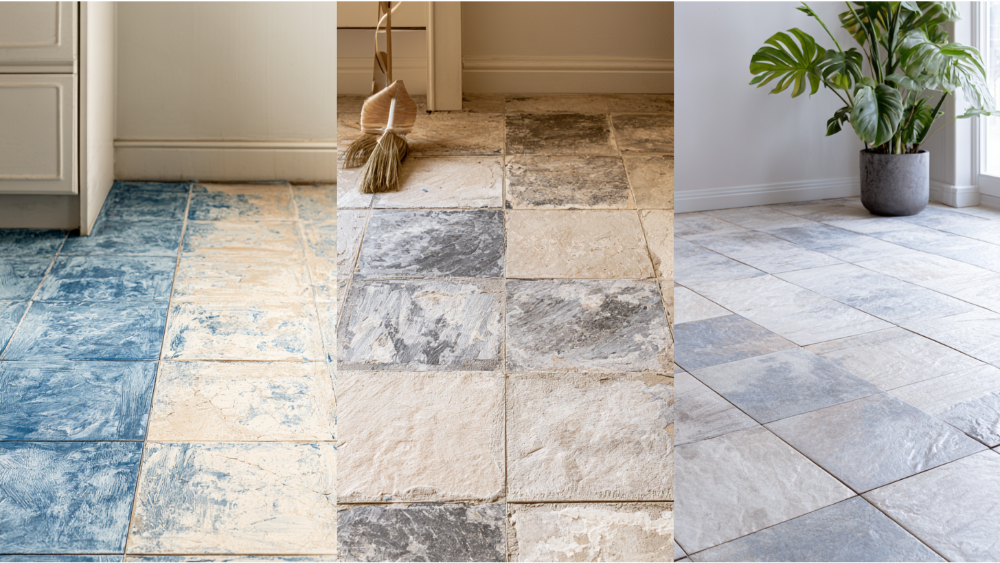 Here's what most DIY articles and the original post you found online won't tell you. Tile, grout, mortar, and backer board are not waterproof on their own. In a real wet area, the waterproofing lives behind the tile in a membrane, a principle spelled out in the TCNA Handbook. The tile and grout are the finish, not the barrier.
So when someone tries to paint tile over a crumbling grout line or a loose tile in a shower, they're covering a symptom. Paint won't stick to a moving surface, and if water is getting behind the wall, paint on the front does nothing to stop it. Worse, it can delay the repair the home actually needs while the damage keeps spreading. If your shower leaks, or the grout is failing, or tiles feel loose near the sink, paint is the wrong tool. That's a repair question, not a paint question.
Here's what most DIY articles and the original post you found online won't tell you. Tile, grout, mortar, and backer board are not waterproof on their own. In a real wet area, the waterproofing lives behind the tile in a membrane, a principle spelled out in the TCNA Handbook. The tile and grout are the finish, not the barrier.
So when someone tries to paint tile over a crumbling grout line or a loose tile in a shower, they're covering a symptom. Paint won't stick to a moving surface, and if water is getting behind the wall, paint on the front does nothing to stop it. Worse, it can delay the repair the home actually needs while the damage keeps spreading. If your shower leaks, or the grout is failing, or tiles feel loose near the sink, paint is the wrong tool. That's a repair question, not a paint question.
Should You Paint, Repair, or Replace Your Tile?
Once you know what your tile actually needs, the decision gets simpler. Here's how the options line up in real life:- Paint is a cosmetic bridge, best on dry vertical tile you're not ready to replace.
- Regrout or recaulk is maintenance for tile that's tired but structurally sound.
- Tile repair is the localized fix when only a few tiles are cracked or loose.
- Replacement or a full redo is the durable, long-term answer for a wet, worn, or failing tile floor.
- New tile or terrazzo is the upgrade play, adding long-term value with a fresh look that's easy to keep clean.
Comments