


Key Takeaway: A chipped tile can be patched using color-matched epoxy or a specialized repair kit if the damage is small, shallow, and the tile remains structurally sound and firmly bonded underneath. However, full replacement is necessary if the tile moves, sounds hollow when tapped, contains radiating cracks, or sits within a wet area like a shower where water can bypass the surface and rot the subfloor. For successful aesthetic patches, clean the chip thoroughly, protect the surrounding edges with tape, and ensure the filler is leveled flush before it cures completely.
Here's the short answer. Patch a chipped tile if the damage is small, shallow, and the tile is still firmly bonded to what's under it. Replace it if the tile is cracked through, loose, sounds hollow when you tap it, sits in a shower or wet area where water could get behind it, or lives in a spot where a visible patch will bother you every time you walk past.
You found a chip. Now you want a clear yes or no, not a lecture. This guide gives you a decision-first walkthrough, not just another epoxy tutorial. The trick to tile repair isn't hiding the chip. It's figuring out what caused it before you cover it up, because a small chip can either be a quick easy fix or the first sign of something happening underneath.
We're Kibuk Tile And Construction, based in Vancouver, WA and serving Portland, OR and the surrounding area. No prices, no pressure here. Just a straight read on what your tile is telling you.
First, Inspect the Damaged Area Before You Decide
 The patch-versus-replace call comes down to one thing: is the tile still bonded and supported, or not? A chip that looks bad on the surface can be perfectly fine underneath. A chip that looks minor can sit on top of a tile that's already coming loose. So before you buy filler, look closer at the damaged area.
Run through this quick check:
The patch-versus-replace call comes down to one thing: is the tile still bonded and supported, or not? A chip that looks bad on the surface can be perfectly fine underneath. A chip that looks minor can sit on top of a tile that's already coming loose. So before you buy filler, look closer at the damaged area.
Run through this quick check:
- Is the tile firmly attached, or does it wiggle when you press on it?
- Does it sound hollow when you tap it with a coin or your knuckle?
- Is the chip only in the glaze, or can you see the raw tile body?
- Are there cracks radiating out from the chip?
- Is the grout around it cracked or missing?
- Is it in a shower, tub surround, or bathroom floor where water is a factor?
- Do you have a matching spare tile tucked away somewhere?
When Patching a Chipped Tile Makes Sense
So when can you skip the demolition and just patch it? When the tile passes the inspection above. A patch is the right move when all of this is true:- The chip is small.
- The tile doesn't move.
- It doesn't sound hollow.
- There's no water-exposure concern.
- It's in a low-visibility spot, or you're fine with a cosmetic match that's close but not perfect.
How to Fix a Chipped Tile: Patch It or Replace It on Ceramic and Porcelain
 If your tile passes the test, here's the general process to fix chipped tile. Read the whole thing before you start, because the filler you choose depends on the size of the chip.
- Clean and dry the chip. A little dish soap and water clears out grease and dust. Wipe it down and let it dry completely before you fill anything.
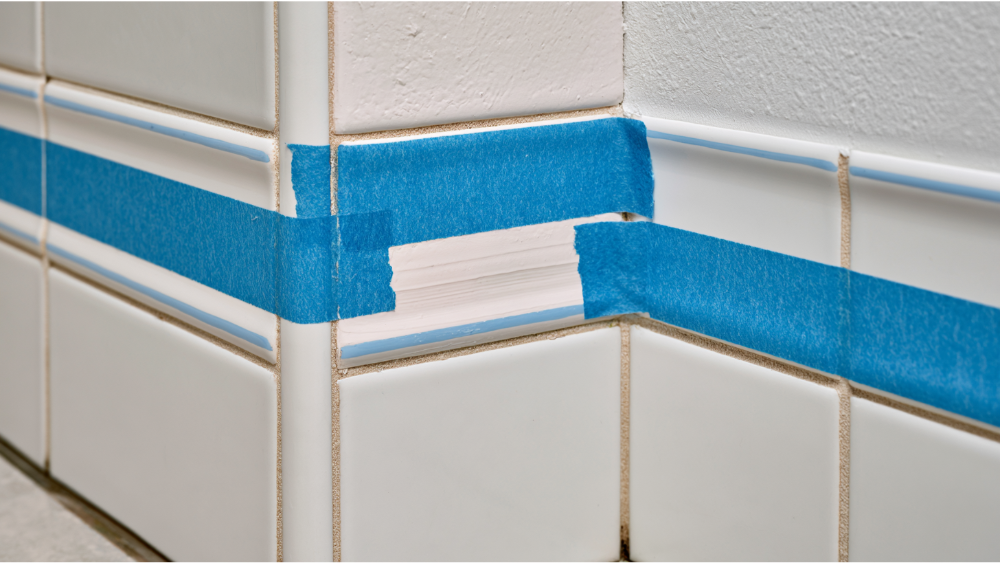
- Protect the surrounding tile. Tape off the area so stray filler doesn't cure where you don't want it.
- Pick your filler by chip size. A dab of nail polish or matching paint can handle small chips on a ceramic tile. A small tile repair kit works for slightly larger cosmetic damage. For wider or deeper chips, a two-part epoxy is the more suitable material because it holds better. On a non-glossy, multi-colored tile, color-matched grout can sometimes fill the gap and blend in.
- Mix and tint for color. Match the filler to the tile as closely as you can. Repair kits exist specifically for this. MagicEzy Tile REPAIREZY comes in 14 pre-colored shades, and the Ankita Tile Repair Kit includes seven pigments you can mix and blend, so you're rarely stuck with one flat color. This is where color matching earns its keep, because the wrong shade turns a small repair into an eyesore.
- Fill flush and clear the excess before it sets. The product fills the void, and you want it level with the tile surface, not mounded up.
- Let it cure per the product label. Cure times vary by product, so follow the manufacturer's instructions rather than a number you read somewhere. Let the epoxy dry completely before you touch it again.
- Sanding, blending, and sealing only when the product calls for it. Not every filler needs this step. When it does, light sanding levels the patch flush with the surrounding surface, and a dab of matching paint or glaze finishes the blend for a seamless finish.
A Quick Safety Note Before You Start
Uncured epoxy and resin can irritate your skin and eyes. Follow the label or safety data sheet, open a window or run a fan for ventilation, wear gloves, and use eye protection anywhere splashing is possible. Keep your tools and any leftover epoxy away from children and pets while it cures.When Replacing the Tile Is the Better Choice
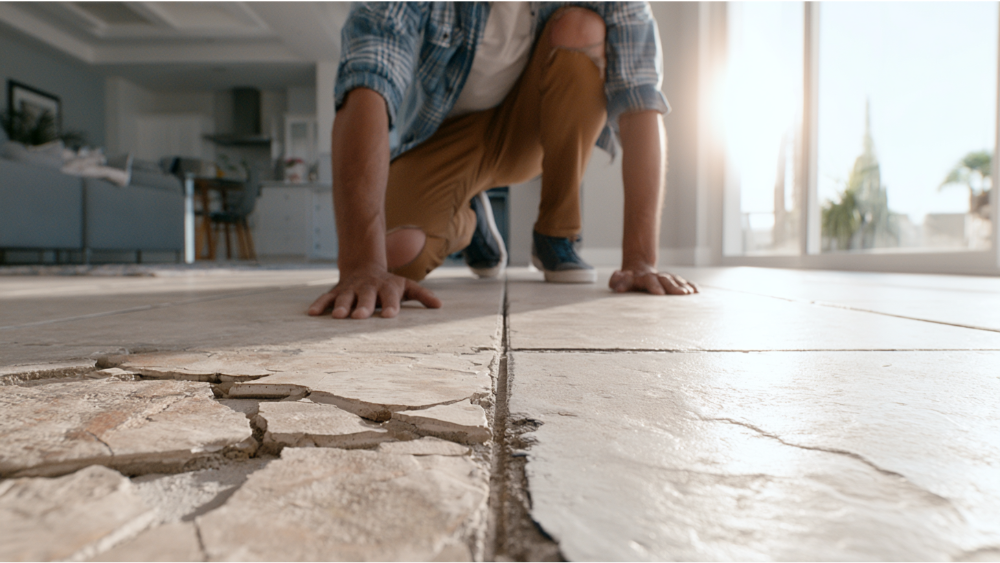
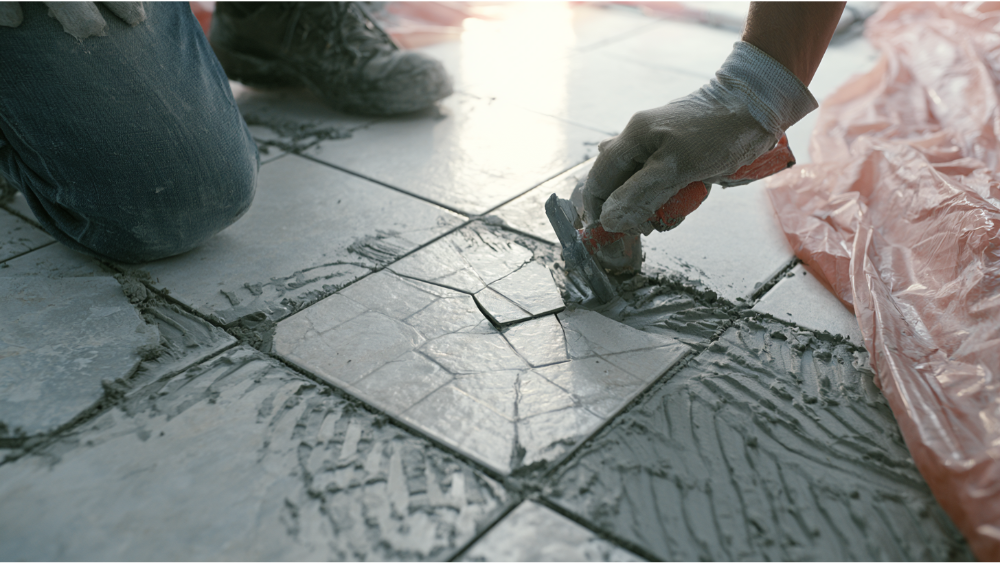
Sometimes a patch is the wrong answer, and the honest move is replacing the tile and setting a new one. Replace it when you see any of these:- The tile is loose or moves when you press it.
- It sounds hollow and shows cracking or movement.
- The chip is deep, or the tile body is breaking apart.
- Cracks run through the whole tile.
- It's a focal point where a patch will always catch your eye.
- It's a wet-area tile and water may be sitting behind it.
- You're dealing with multiple chips or the same tile failing again and again.
Chipped Shower or Bathroom Wall Tile Deserves Extra Caution
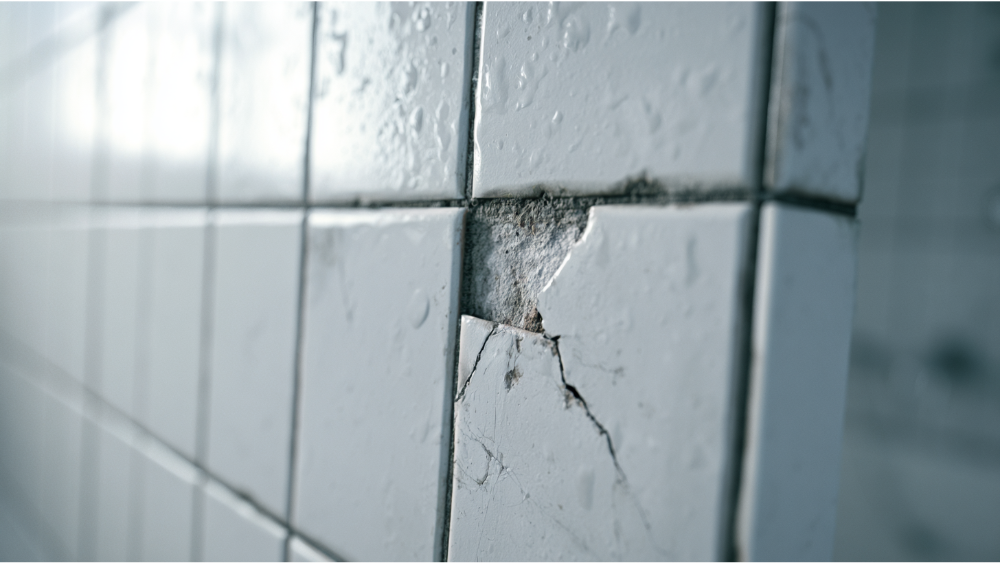 Here in the Pacific Northwest, our homes deal with a lot of moisture, so a chipped shower or bathroom wall tile deserves a harder look than a chip on a dry kitchen wall. The reason comes down to a fact many homeowners don't realize: tile is not the same as waterproofing.
A shower relies on a water barrier behind or under the tile to keep moisture out of the wall and floor structure. The tile and grout are the finish, not the seal. The Ceramic Tile Education Foundation, drawing on TCNA guidelines, separates limited-water areas like bathroom and kitchen floors from true wet areas like shower floors, shower walls, and tub walls that get soaked regularly. Those wet areas play by stricter rules.
A chip near a grout joint, a corner, a niche, a drain, or a fixture can open a path for water to reach the backing material. If that happens, a surface patch won't fix it. Cracked grout makes it worse, because failing grout lines give water an even easier route behind the tile. The water is already behind the tile.
If you suspect moisture is getting back there, don't wait. The EPA advises drying water-damaged materials within 24 to 48 hours to help prevent mold. We know how unsettling it is to spot damage in a bathroom and not know how bad it is, and that kind of stress is exactly what we try to take off your plate. The safe move is to get a chipped wet-area tile inspected before you patch over it, so a small problem doesn't turn into a wall you have to open up.
Here in the Pacific Northwest, our homes deal with a lot of moisture, so a chipped shower or bathroom wall tile deserves a harder look than a chip on a dry kitchen wall. The reason comes down to a fact many homeowners don't realize: tile is not the same as waterproofing.
A shower relies on a water barrier behind or under the tile to keep moisture out of the wall and floor structure. The tile and grout are the finish, not the seal. The Ceramic Tile Education Foundation, drawing on TCNA guidelines, separates limited-water areas like bathroom and kitchen floors from true wet areas like shower floors, shower walls, and tub walls that get soaked regularly. Those wet areas play by stricter rules.
A chip near a grout joint, a corner, a niche, a drain, or a fixture can open a path for water to reach the backing material. If that happens, a surface patch won't fix it. Cracked grout makes it worse, because failing grout lines give water an even easier route behind the tile. The water is already behind the tile.
If you suspect moisture is getting back there, don't wait. The EPA advises drying water-damaged materials within 24 to 48 hours to help prevent mold. We know how unsettling it is to spot damage in a bathroom and not know how bad it is, and that kind of stress is exactly what we try to take off your plate. The safe move is to get a chipped wet-area tile inspected before you patch over it, so a small problem doesn't turn into a wall you have to open up.
What Does It Mean If a Tile Sounds Hollow?
You tapped the tile, it sounded hollow, and now you're worried. Here's the reality. According to TCNA, a hollow sound doesn't always mean immediate failure, but it isn't ideal, and it should be looked at in context rather than shrugged off. A hollow tile usually points to missing support underneath. TCNA lists a few common causes: movement in the floor or wall, poor thinset coverage under the tile, moisture-related subfloor problems, or excessive deflection (a floor that flexes too much under weight). Proper installation is meant to prevent this. Industry standards call for at least 80% mortar coverage under ceramic tile and porcelain tiles in dry areas, and 95% coverage in wet or exterior areas. Natural stone needs 95% coverage across the board. When you hear hollow, there's a good chance some of that support is simply not there. That's why a hollow-sounding tile is worth an inspection before you patch it. You may be treating the symptom while the real cause sits underneath.What If You Can't Find a Matching Replacement Tile?
This is the frustrating one. The tile's discontinued, or you never had spares, and now you're stuck. You still have options:- Patch it if the tile is structurally sound and the spot is low-visibility. A close cosmetic match, sometimes as simple as tinted epoxy or matching paint, may be all you need.
- Steal a donor tile from a hidden area, like inside a closet or under an appliance, then patch the spot you took it from.
- Replace a small section with an intentional accent or a contrasting insert, so the repair reads as a design choice instead of a mismatch.
- Consider a larger update if the tile is discontinued and the damage is spread across several tiles anyway.
How Different Types of Tile Change the Repair
Keep in mind that different types of tile don't all repair the same way. Ceramic, porcelain, marble, mosaic, and terrazzo each behave differently under a filler or a saw. The same goes for stone tops like granite countertops, which read very differently from a piece of slate on a floor. Each one calls for its own approach to color matching, polishing, and sealing, and the difference in surface texture matters, because a natural stone like marble is far more particular than a standard ceramic tile. That's exactly the kind of judgment call worth a second opinion from someone who works with these materials every day.How to Prevent Chipped Tiles in the Future
 Once your tile's back in shape, a few habits keep it that way:
- Put felt pads under furniture legs, since dragging wood chairs is a common culprit.
- Lift heavy items instead of dragging them across tile floors.
- Use mats in entryways and other impact-prone spots.
- Address loose grout or hollow-sounding tiles early, before the normal wear and tear turns into cracks.
- Reseal grout lines as needed so water stays where it belongs.
- Make sure any new tile is properly installed and fully supported from day one.
Comments