


Key Takeaway: To successfully grout tile without risking a weak or crumbly finish, the grout must be mixed to a thick peanut butter consistency and firmly packed diagonally into clean joints using a rubber float held at a 45-degree angle. Controlling water levels is the most critical factor, as using too much water during the mixing phase or while wiping the tile face with a damp sponge will wash out the color and severely compromise the grout's structural strength. Once the joints firm up, the remaining surface haze must be buffed away with a dry microfiber cloth before allowing the installation to fully cure and receiving a protective penetrating sealer.
To grout tile, let the tile and adhesive set for at least 24 hours, clean out the grout lines, and mix your grout to a thick peanut butter consistency. Then press it firmly into the lines with a rubber float held at about 45 degrees, wait 15 to 30 minutes for it to firm up, and wipe the surface with a barely damp sponge. Buff off the haze and let it cure. The biggest thing that separates a job that lasts from one that crumbles is water: too much of it in the mix or the sponge weakens the grout. So if you're finishing a backsplash, a floor, or a bathroom project and you want it done right, take your time on setup, cleanup, and cure.
Before You Start: Is This a Good DIY Grouting Job?
 Not sure if this is a weekend job or a sign of a bigger problem? Here's how to tell.
Good DIY candidates are simple: a kitchen backsplash, a small floor area, or fresh tile with stable, evenly spaced grout lines. If the tiles are solid and the lines are clean, you can absolutely do this yourself.
Call a pro if you see any of these:
Not sure if this is a weekend job or a sign of a bigger problem? Here's how to tell.
Good DIY candidates are simple: a kitchen backsplash, a small floor area, or fresh tile with stable, evenly spaced grout lines. If the tiles are solid and the lines are clean, you can absolutely do this yourself.
Call a pro if you see any of these:
- Loose or shifting tiles
- Grout cracking throughout, not just in one spot
- A leaking or damp shower
- A soft or flexing floor underfoot
- Natural stone or glass that scratches easily
- Water damage behind or under the tile
- A pre-1978 home where the work disturbs old paint
Tools and Materials You'll Need
Gather all your tools and materials before you mix, because once grout starts setting, the clock is running.- Grout (matched to your tile and joint width)
- Margin trowel
- Rubber grout float
- Two buckets, including one mixing bucket for powder
- Grout sponge
- Microfiber cloth or cheesecloth
- Gloves and eye protection
- A respirator or dust mask for powdered grout
- A paddle mixer for powder
- Sealer, if the grout calls for it
How to Choose the Right Grout
 Cement-based grout is the most common, and it comes in two forms you shouldn't mix.
Sanded vs. Unsanded
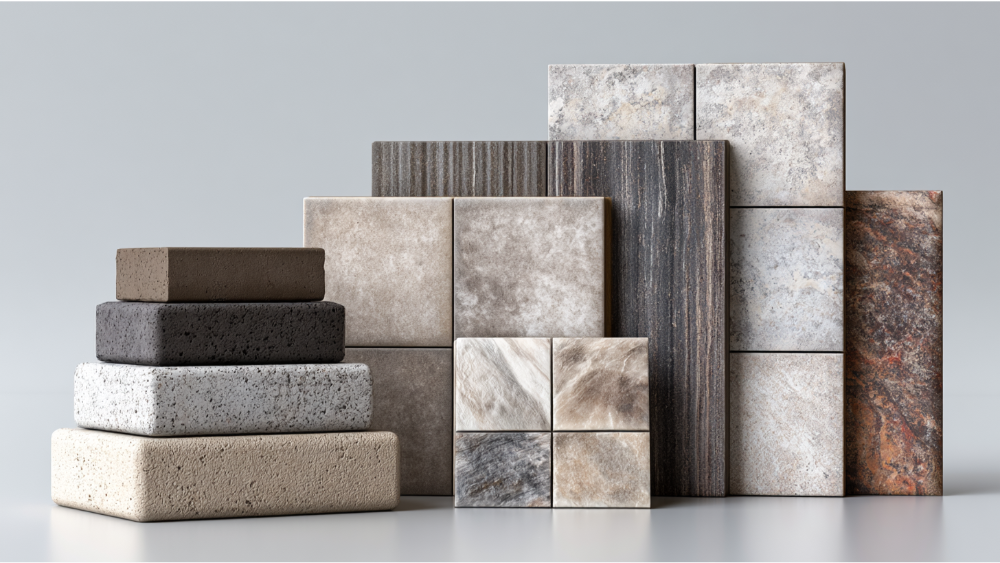
The TCNA guidance is straightforward. Grout lines smaller than 1/8 inch generally use unsanded grout for narrower joints, joints 1/8 inch and larger use sanded, and anything over 3/8 inch usually needs a wide-joint grout. Sanded grout is stronger in wider lines, but the sand will scratch marble, polished stone, and glass, so keep unsanded on those tiles.Epoxy, Urethane, and Premixed
Epoxy grouts resist stains well and rarely need sealing, but they cost more and are harder to work with. Urethane grouts need a full 7 days to cure before water exposure. Premixed options skip the mixing grout step, which is handy for a small job. Grout color changes the whole look of a finished wall or floor, so pick it deliberately. And always follow the manufacturer's instructions. They tell you the right water amount, cure time, and whether the grout is durable enough for where you're putting it.How to Prepare the Grout Joints
Confirm the mortar or adhesive is fully set before you grout. That's at least 24 hours in most cases, but check your adhesive label. Rushing this pulls tiles out of line. Pull out the spacers. Clean dust, debris, and any excess adhesive out of the grout joints so the grout has room to grab. You want about two-thirds of the tile depth open for grout. Don't grout over a beveled edge, since that surface is often glazed and the grout won't hold. If your tile is highly absorptive and the product allows it, dampen it lightly. Never leave standing water in the joints. Getting this prep right is the quiet part of the process that a professional finish depends on.Mixing Grout to the Right Consistency
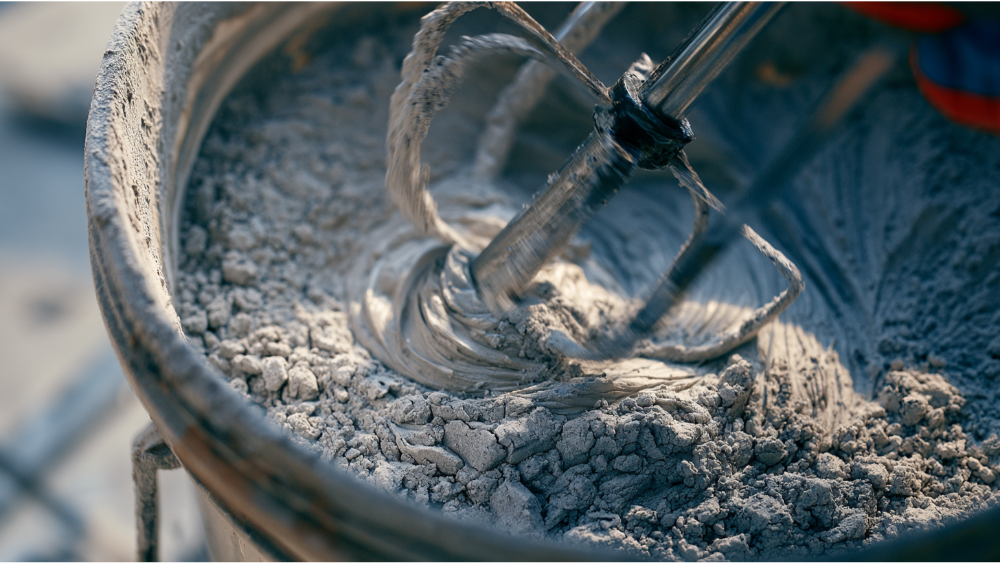 Measure clean water carefully and keep every batch the same. When mixing grout, stir the powder into the water, per the label, until it reaches a thick, peanut-butter-like consistency that holds its shape on the float. Use a paddle mixer on low speed so you don't whip in air.
Let the mix slake for 5 to 10 minutes, then give it a quick remix. Here's the mistake that ruins more grout than anything else: don't add water to loosen it once it starts stiffening. TCNA warns that retempering makes grout cure weak and crumbly, even though it looks workable again for a few minutes. Mix batches you can actually use inside the pot life, often 30 minutes to an hour. Premixed grout skips this step entirely.
Measure clean water carefully and keep every batch the same. When mixing grout, stir the powder into the water, per the label, until it reaches a thick, peanut-butter-like consistency that holds its shape on the float. Use a paddle mixer on low speed so you don't whip in air.
Let the mix slake for 5 to 10 minutes, then give it a quick remix. Here's the mistake that ruins more grout than anything else: don't add water to loosen it once it starts stiffening. TCNA warns that retempering makes grout cure weak and crumbly, even though it looks workable again for a few minutes. Mix batches you can actually use inside the pot life, often 30 minutes to an hour. Premixed grout skips this step entirely.
How to Apply the Grout With a Float
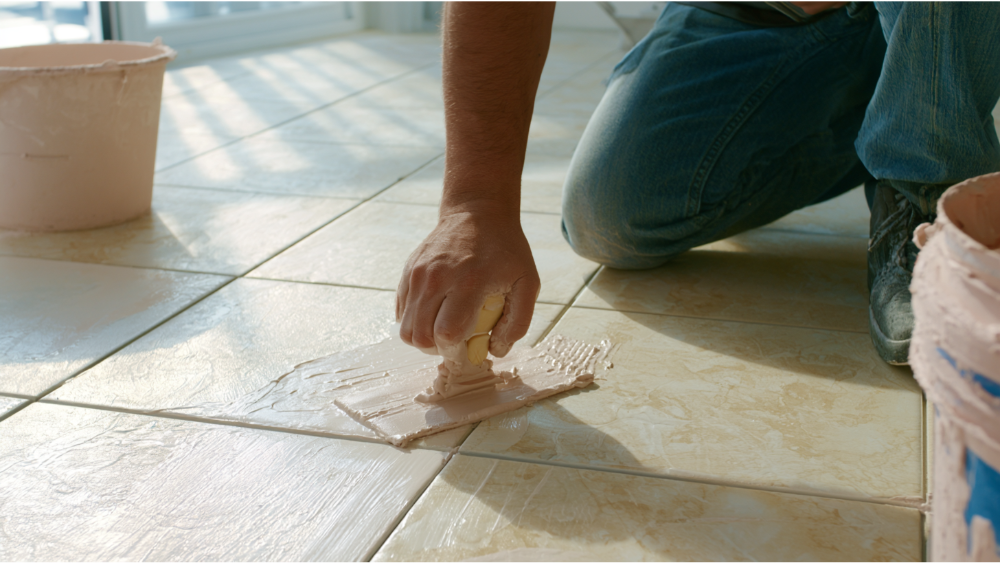
Load the float, hold it at about 45 degrees, and start grouting diagonally across the lines. Working diagonally packs the joints instead of dragging grout back out of them. Press firmly. Well-packed grout lines are what make the work last, so don't just skim the surface. Work in small sections at a time. Once a section is packed, tip the float up to about 90 degrees and scrape the excess grout off the tile face before it sets. Work quickly across each small area so nothing hardens on the surface. The cleaner you get it now, the less haze you'll fight later. On a wall tile layout, work from the top down so falling crumbs land on tile you haven't finished yet.How to Clean Tiles and Remove Excess Grout
Wait until the grout firms up before you touch it, usually 15 to 30 minutes, though very absorptive tile may be ready in 5 to 10. Follow the label. Set up two buckets and use a damp grout sponge that's well wrung. It should never drip. Wipe lightly and diagonally across the lines so you don't scoop grout out of the joints. As you clean, keep the sponge flat so the edges don't dig into fresh grout. Change your rinse water often with clean water, and work in small sections of 20 square feet or less so nothing dries hard before you reach it. The warning is the same as the mixing step: too much water washes the color out and weakens the grout. Give the bucket a rinse when the water clouds, and a barely damp grout sponge beats a soaking one every time when you're removing excess grout.How to Buff Off Grout Haze
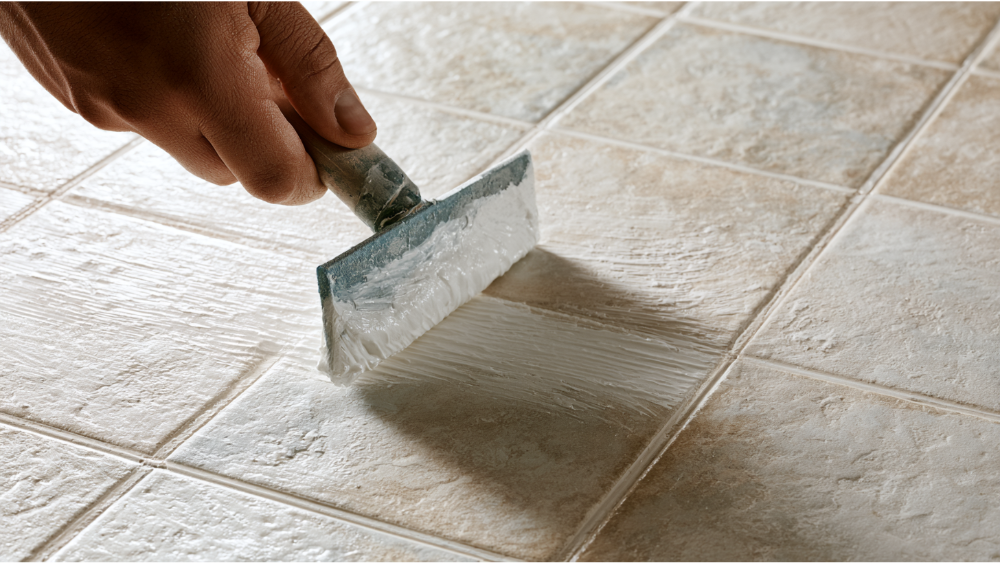 After the surface dries and the grout stays put, you'll see a light hazy film across the tile. That's normal. Buff it off in a gentle circular motion with a dry cloth of microfiber or cheesecloth once the grout has set up firmly. This last pass is your final cleaning, and it's what leaves you with a clean, professional finish instead of a dull film.
If the haze lingers, use a manufacturer-approved haze remover and test it on a spare tile or an inconspicuous spot first, especially on delicate or stone tile. Don't over-wet the surface while you're at it.
After the surface dries and the grout stays put, you'll see a light hazy film across the tile. That's normal. Buff it off in a gentle circular motion with a dry cloth of microfiber or cheesecloth once the grout has set up firmly. This last pass is your final cleaning, and it's what leaves you with a clean, professional finish instead of a dull film.
If the haze lingers, use a manufacturer-approved haze remover and test it on a spare tile or an inconspicuous spot first, especially on delicate or stone tile. Don't over-wet the surface while you're at it.
How to Cure and Seal Grout
Fresh grout needs protection from foot traffic, water, and dirt while it cures. Timing varies by product, so follow the label first, then treat these as common examples: keep off floors for about 3 hours, wait 24 hours before regular cleaning, allow light traffic around 24 hours and heavier traffic near 72 hours, and expect the grout to be fully cured up to 28 days out. Cement-based grout is porous and usually benefits from a penetrating sealer applied after the recommended cure window. Sealing your grout lines helps them shed spills and resist staining, and a spray-on sealer makes this easy for DIY. Epoxy and some high-performance grouts may not need sealing at all. Whatever product you use, the label instructions tell you when the surface is ready for sealing. One thing we want you to be clear on: grout and sealer are not a waterproofing system. A shower stays dry because of the waterproofing membrane behind the tile, not the grout on the surface. If a shower is leaking, the fix is behind the tile, not in the joints. That's true whether you're working on a wall or a floor.Common Grouting Mistakes to Avoid
Most grout failures come down to a handful of avoidable errors:- Using the wrong grout type for the joint width or tile
- Too much water in the mix or the sponge
- Cleaning too soon or scrubbing too hard
- Grouting over old grout (you can't just top it, you have to remove at least two-thirds of the old depth)
- Leaving gaps because you didn't pack all the joints fully
- Grouting inside corners and wall-to-floor joints where flexible caulk belongs (rigid grout there cracks and lets water in)
- Assuming grout waterproofs a shower
- Ignoring loose tiles or spreading cracks
Comments