

Key Takeaway
To tile a backsplash, prep a clean, flat wall, spread adhesive in small sections, set tiles with spacers, let it cure fully, then grout the joints and caulk every seam where tile meets countertops or cabinets. Wall flatness must stay within 1/4 inch over 10 feet or tiles will crack and lift. Simple ceramic subway tile on a sound wall is a reasonable DIY job, but marble, glass, complex patterns, or damaged walls call for a professional.
To tile a backsplash, start by measuring and planning your layout, then prep a clean, flat wall. Turn off the power and remove your outlet covers. Spread the right adhesive in small sections, set your tiles with spacers, and let everything cure. Then grout the joints, and finish by caulking the spots where the tile meets the countertops, cabinets, and corners.
That's the whole job in one paragraph. But if you're a homeowner planning a kitchen backsplash tile project or a bathroom refresh, deciding whether to do it yourself or call someone in, there's a truth worth knowing before you buy a single box of tile: the part you can see is only half the work. Wall prep and layout are what decide whether your backsplash still looks sharp in five years or starts cracking and lifting after one. A tile backsplash isn't just for looks either. It protects the wall behind your range and sink from water, grease, and stains, so getting the setup right actually matters.
Is Tiling a Backsplash a Good DIY Project?
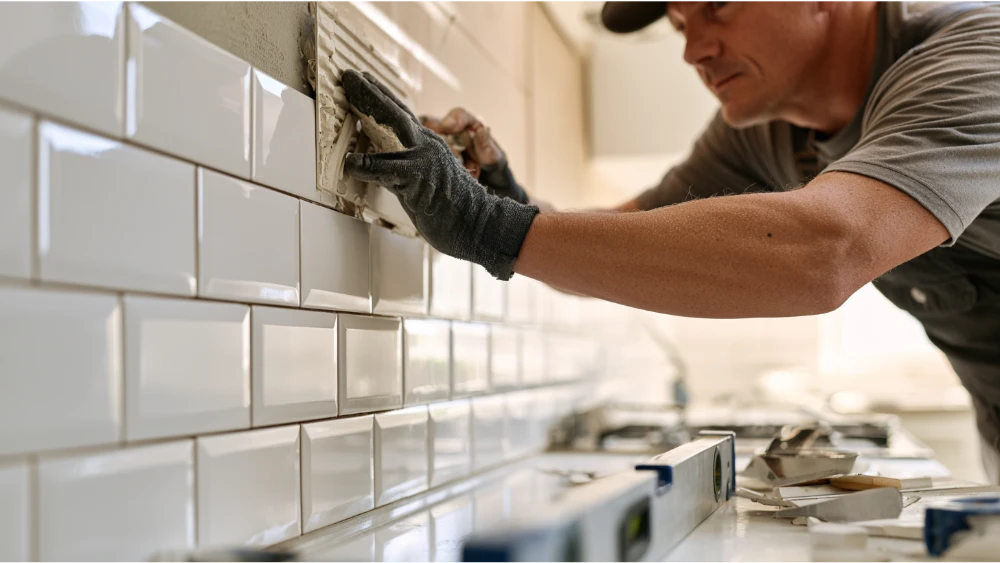
Some backsplashes are a great weekend project. Others will humble you fast. So which is which?
We understand it can feel intimidating, especially if you've never spread mortar or cut a tile. Here's our honest take: a simple ceramic subway tile on a flat, sound wall with only a few cuts is a reasonable DIY job for a careful beginner. You'll learn a lot, and the mistakes are forgiving.
But some conditions push a backsplash out of DIY territory. When that's your situation, calling a professional before you start usually costs less than fixing a rushed install later.
- Good DIY fit: simple ceramic subway tile, a flat wall, few cuts, a basic straight-set layout.
- Better to call a pro: an uneven or damaged wall, marble, glass, mosaics, or handmade tile, a herringbone or diagonal pattern, lots of outlets, a full-height backsplash, or any electrical work beyond swapping a cover plate.
Our promise for the rest of this guide is straightforward. We'll walk you through every step. And we'll tell you honestly where the risk gets high enough that a professional is the smarter call. No shortcuts, no glossing over the hard parts.
Tools and Materials You'll Need
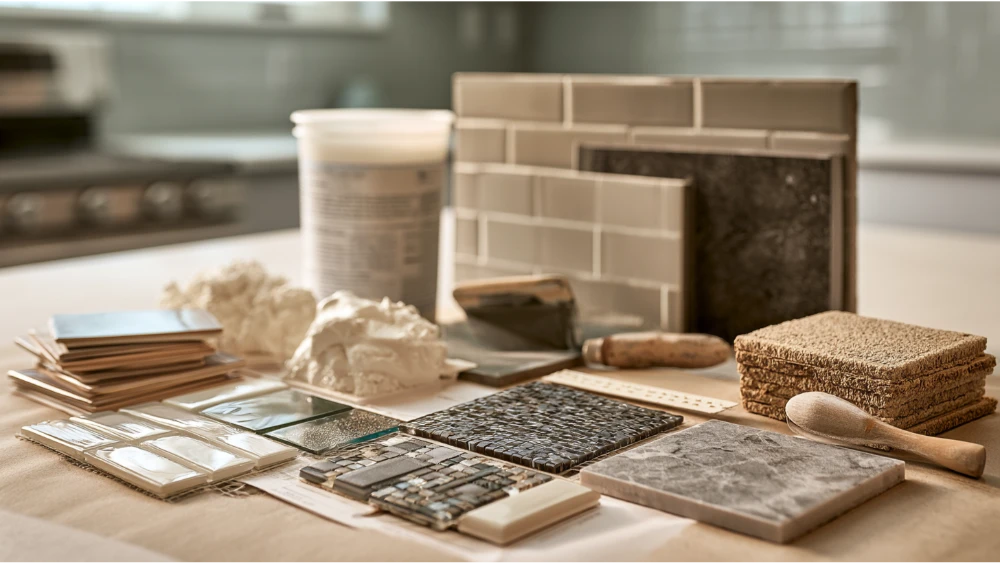
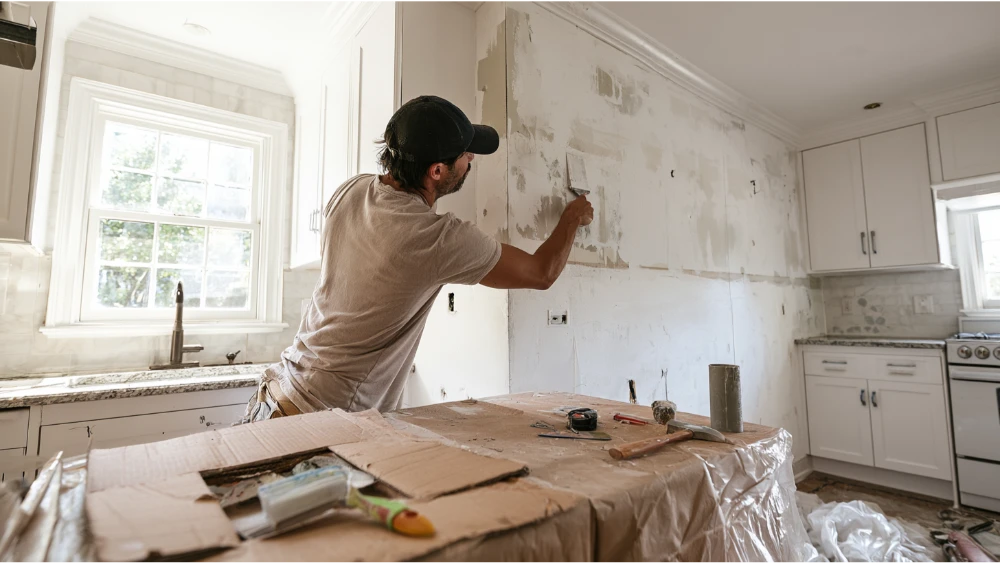
Gather everything before you start. Stopping mid-job to run to the store while adhesive skins over on the wall is how good installs go sideways.
- Tile: your chosen tile, plus extra to order (more on how much below).
- Setting materials: thinset mortar or mastic adhesive, and a notched trowel sized to your tile.
- Layout tools: a level, a straightedge, a pencil, tile spacers, and a laser level if you have one.
- Cutting tools: a snap tile cutter for straight cuts, a wet saw for curves and dense tile, and tile nippers for small notches.
- Finishing: grout, a grout float, a sponge, a bucket, flexible silicone or caulk, and sealer if your tile or grout needs it.
- Safety: eye protection, gloves, and dust control for cutting.
- Electrical: listed outlet box extenders where the tile adds thickness.
Why a Snap Tile Cutter Earns Its Place
A snap tile cutter handles clean straight cuts quickly, and for a small area of straight-set field tile it's often all you need. A snap cutter scores the glaze and breaks the tile along the line in one motion. For anything curved, or for porcelain and stone that are too dense to score and snap, a wet saw does the work without shattering your tile. Having the right materials on hand before you begin keeps the whole install moving.
Choose the Right Tile, Adhesive, and Grout
Your tile choice sets the tone for the whole room, and a backsplash can absolutely be the focal point of a kitchen or bathroom. But every good-looking option also has a practical side, and the smart move is to weigh both. The tile types on the shelf all behave a little differently once they're on the wall.
Ceramic is the classic starting point: affordable, easy to cut, and simple to clean. Porcelain is a denser cousin, defined under ANSI A137.1 by very low water absorption of 0.5% or less, which makes it hard and durable. It's a fine choice, though it isn't required for a standard dry backsplash. Glass tile catches light beautifully and wipes clean, but it's less forgiving to cut and set. Marble and other natural stone bring a look that's hard to fake, with the tradeoff that stone is porous and will usually require sealing. Some homeowners also mix in a metal accent strip for a bit of shine against a matte field tile, and combining different materials in one run adds real visual interest.
Then there's pattern, shape, and texture. Subway tile stays popular because it's clean and timeless, and it reads well as a classic subway tile backsplash behind a range. A herringbone layout adds movement and a more sophisticated feel, though it means more cuts. Mosaics pack in intricate detail and eye-catching designs, and small mosaic sheets wrap around tricky spots well. Hexagon and other geometric shapes are increasingly popular. Encaustic tile brings vibrant color and patterns, while stacked stone gives a rustic, natural texture that looks a little like wood grain in the right light. Peel-and-stick is the budget-friendly, easy option if you want to peel a sheet, press it down, and create a quick refresh without mortar. Whatever you choose, durable tile resists moisture, heat, and stains, which is exactly what a backsplash needs to do.
If you want something in a world of its own, terrazzo is our signature specialty. It's a material we come back to for homeowners who want a surface that's genuinely distinctive and built to last.
Mastic vs. Thinset: Which Should You Use?
This trips up a lot of first-timers, so here's the plain version. Mastic is a pre-mixed adhesive for interior, dry areas only. Manufacturers set size limits (some cap it at 10-inch by 10-inch wall tile) and warn against using it in showers or anywhere regularly exposed to moisture. It's convenient for a straightforward kitchen backsplash tile install.
Thinset, a dry-set mortar you mix yourself, is the better call for larger tile, dense tile like porcelain, or any tile near real moisture. Mix it to the right consistency, thick enough to hold a ridge but not stiff, so it combs cleanly with the trowel. One tip that saves headaches: use a white thinset or white adhesive under glass and translucent tile, so the setting material doesn't show through and muddy the color. For a deeper breakdown, see our full guide on mastic versus thinset.
Prepare the Wall Before You Tile
This is where good backsplashes are won or lost. Tile is only as sound as what it's stuck to, and no amount of careful setting fixes a bad surface underneath.
Start clean. Clear away grease, dust, and any loose or flaking paint. Grease is the silent bond-killer here, especially on the wall behind a range, where cooking film builds up invisibly and keeps adhesive from grabbing. Wipe it down properly with a degreaser until the surface is smooth and residue-free.
Repair any damage. Fill gouges, and if the drywall is soft, crumbling, or water-damaged, replace it or add backer board before you tile. If your wall has glossy paint, rough it up with sandpaper when the adhesive instructions call for it, so the mortar has something to bite into.
Can you tile directly over drywall? Usually, yes, in a dry area, over clean and flat drywall that's in good shape. Adhesive manufacturers list gypsum wallboard as an acceptable substrate under the right conditions. But acceptable drywall and a wall that's actually ready are two different things. We don't cut corners on prep, and neither should you.
Why Wall Flatness Matters More Than People Think
A wall can look perfectly fine to the eye and still be too uneven for tile. When it is, you get lippage (one tile edge sitting proud of the next) and grout lines that wander instead of running straight. The bigger the tile, the more it shows.
Industry standards spell this out. The 2026 TCNA Handbook is the authoritative reference for tile installation, and ANSI A108.02 flatness tolerances, as cited by the Ceramic Tile Education Foundation, give real numbers. For tile with all edges under 15 inches, the wall should vary no more than 1/4 inch over 10 feet and no more than 1/16 inch over 1 foot. Once any tile edge reaches 15 inches or longer, the tolerance tightens to 1/8 inch over 10 feet and 1/16 inch over 2 feet. That's why large-format tile is far less forgiving, and why running a level across your wall before you start is time well spent.
Measure, Order, and Plan Your Layout
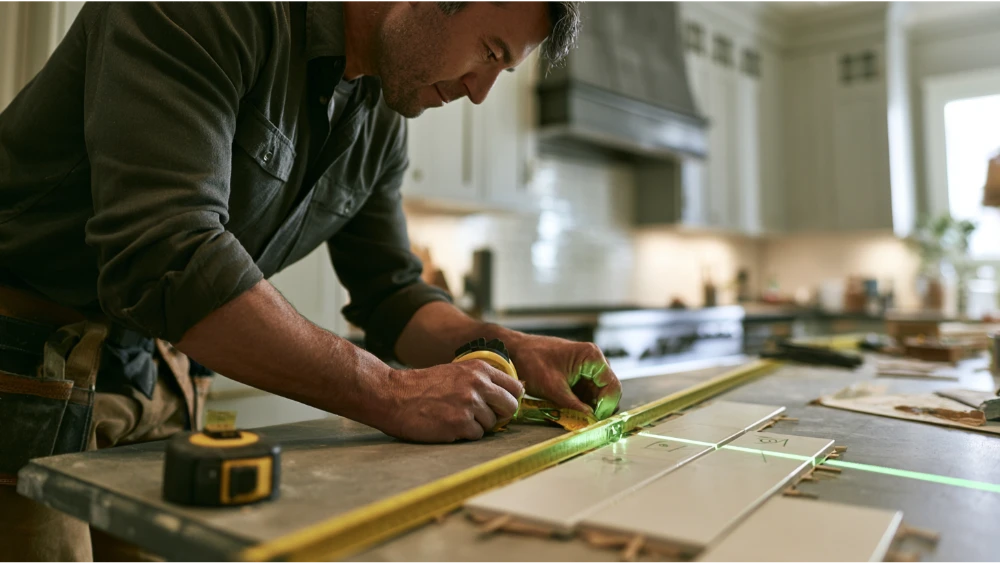
Measure each section of wall separately and calculate the square footage. Then add roughly 10% extra tile to cover cuts, breakage, and a few spares for future repairs. That 10% is a common planning rule, not an ANSI standard, and complex layouts like herringbone, diagonal sets, or handmade tile need more overage because they generate more waste.
Before any adhesive touches the wall, dry-lay a few rows on the counter to preview how the tile falls. Planning your tile placement now, while it's still just an arrangement on the counter, saves you from awkward surprises later. Center your layout on a focal point, usually behind the range or over the sink, so the balance reads intentionally. A laser level projects a dead-straight reference line across the wall and takes the guesswork out of that centering. The goal is to avoid tiny sliver cuts at the edges and under the cabinets, which look awkward and are a pain to cut. Shifting your starting line a little can eliminate them entirely.
Where there's no countertop to rest the first row on, tack a level ledger board to the wall so your first course stays perfectly level. And protect what's below you: cover countertops with cardboard or a drop cloth before you start, because mortar and grout do not come off easily once they set. Plan around every outlet now, while it's still just pencil lines.
How Do You Tile Around Outlets and Switches Safely?
Electrical work deserves respect, so handle this part carefully. Turn off power to the circuit at the breaker. Remove the cover plates. Then confirm the outlet is dead with a voltage tester before you go near it. Never assume. Electrical outlets sit right in the middle of most backsplashes, so plan your cuts around them from the start.
Cut your tile neatly around the boxes using a wet saw or nippers so the edges sit flush and clean. Here's the catch: a backsplash adds thickness to the wall, which can leave the outlet box recessed behind your new finished surface. NEC guidance, in plain terms, says boxes in noncombustible finished surfaces shouldn't be set back more than 1/4 inch (314.20), and gaps larger than 1/8 inch around a box should be corrected (314.21). Listed box extenders solve this by bringing the box out to the new surface.
Draw a clear line for yourself. Removing and reinstalling cover plates is fine. Anything beyond that, including adding extenders or moving devices, is a job for a qualified electrician. Code adoption varies by area, so when in doubt, bring in a pro.
Set the Tile the Right Way
Work in small sections. Spread only as much adhesive or mortar as you can tile before it starts to skin over, usually a few square feet at a time. Use the notched trowel sized for your tile, and comb the adhesive in one consistent direction. This isn't fussiness. Combing one way lets the ridges collapse and spread evenly when you set the tile.
Press each tile firmly into place with a slight twist to seat it, and check your alignment as you go rather than fixing it later. Start with the bottom row and let it guide everything above it, since a level first course keeps the whole field square. Drop in spacers to keep your grout lines even and give the finished run its clean lines. Before the adhesive hardens, wipe any excess grout or mortar out of the joints it's crept into, because dried material in a grout line is miserable to remove and ruins the finish.
Don't Skip Proper Adhesive Coverage
Coverage is the invisible step that separates lasting work from callbacks. When the back of a tile isn't fully bonded, you get hollow spots that sound dull when tapped, tiles that eventually loosen, and cracking under any stress. ANSI A108.5 calls for a minimum of 80% mortar coverage in dry interior areas. (Wet and exterior areas jump to 95%, though most kitchen backsplashes aren't showers.)
Check your work. Every so often, pull a freshly set tile back off the wall and look at the back. If the mortar isn't making solid contact across most of the tile surface, adjust your trowel size or technique before you go further.
Let the Adhesive Cure Before You Grout
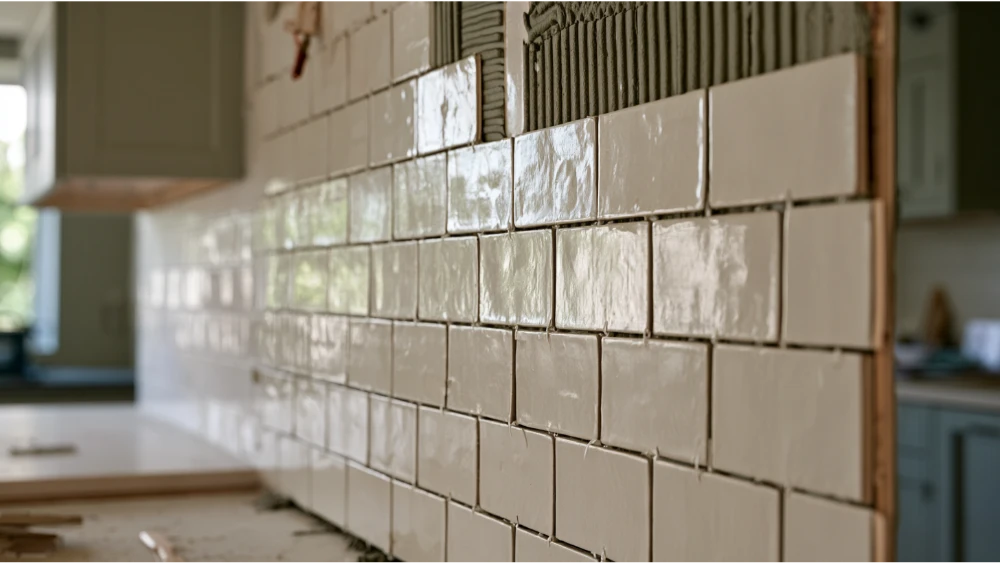
This is the patience step, and rushing it undoes everything you've done well. Cure time depends on your adhesive, tile size, how porous the substrate is, plus temperature and humidity, so always follow the manufacturer's instructions on the bag or tub.
As a general guide, some mastic allows grouting after a minimum of 24 hours at 70°F. Some adhesives call for 24 to 72 hours for an 8-inch tile, and longer for larger or denser tile, high humidity, or temperatures below 60°F. Grout too early and you'll shift tiles that haven't locked in yet, leaving a weak bond and uneven lines. Give it the time the label asks for.
How to Grout a Tile Backsplash
Once the adhesive has cured, pull out your spacers. Mix your grout if it isn't pre-mixed, following the ratio on the package so it isn't too wet or too stiff.
Hold the grout float at roughly a 45-degree angle and press grout diagonally across the joints. Working diagonally forces the grout fully into the lines instead of dragging it back out. Pack the joints completely, then let the grout begin to set.
Wipe the excess grout with a damp sponge, rinsing often. Don't over-wash, because a wet sponge pulls grout right back out of the joints and leaves them shallow and weak. After the grout sets per the instructions, a light haze will remain over the entire surface of the tile. Buff it off with a clean, dry cloth until the tile is smooth and clear.
Keep your grout lines consistent throughout. TCNA notes there's no single universal joint size for all tile, and setting tile too close together is a common mistake because it makes small tile-to-tile variations glaringly obvious.
Caulk the Edges and Changes of Plane
Here's the step most DIY guides underplay, and it's the one that keeps a backsplash looking finished for years. Where your tile meets the countertops, the cabinetry, and the inside corners, two different surfaces come together. Those surfaces move independently with temperature, humidity, and the normal settling of a house. Hard grout can't flex with that movement, so it cracks.
The fix is a flexible sealant. TCNA's movement-joint guidance (EJ171) exists for exactly this reason: at changes of plane, you use silicone or flexible caulk, not grout. Choose a caulk color-matched to your grout so the transition looks intentional and gives the edge a seamless look. Leave about a 1/8-inch expansion gap at the countertops and fill it with caulk after grouting the rest of the field. Any exposed edge where the tile ends also benefits from a bead of caulk or trim to finish it cleanly. This is what a professional finish comes down to at the edges, and it's why a proper install stays crack-free.
Sealing and Maintaining Your Backsplash
Depending on your grout, sealing adds protection against stains and moisture. Cementitious grout often benefits from a penetrating sealer applied after it has fully cured, usually around 24 to 48 hours, so check the product directions. Not every grout will require sealing, and many epoxy grouts don't, so read the label before you buy a product you don't need. If you went with natural stone like marble, the stone itself is porous and typically needs a penetrating sealer to guard against staining.
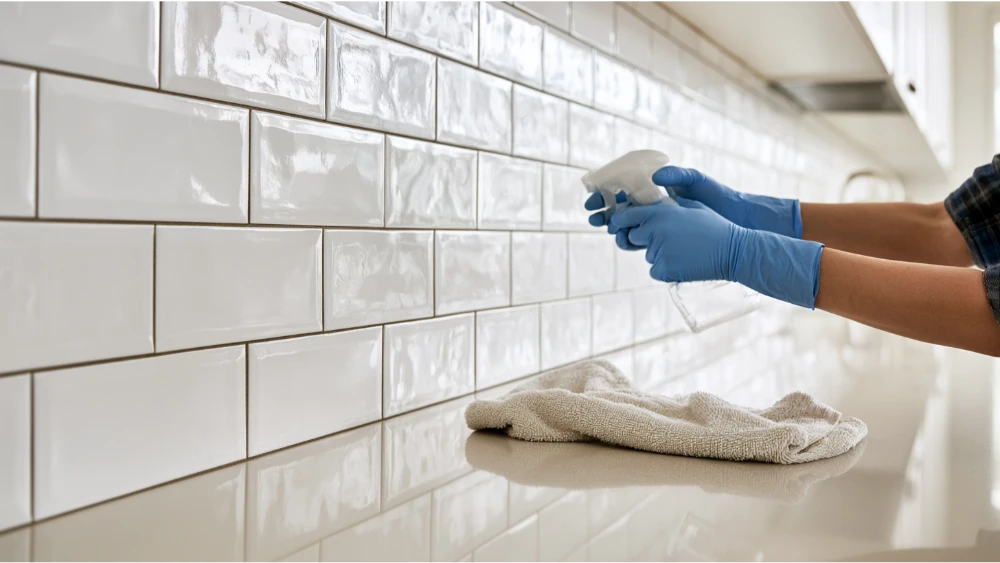
Day to day, keep it simple. Wipe the backsplash with a soft cloth and a non-abrasive cleaner, running it across the entire backsplash so nothing builds up in the corners. Skip harsh scouring pads and acidic cleaners, which can dull grout and etch stone over time. And hang on to those extra tiles you ordered. If one ever chips or cracks, a matching replacement from the same lot beats hunting for a discontinued pattern later.
Common Backsplash Tile Mistakes
Most backsplash problems trace back to a handful of avoidable shortcuts:
- Starting to set tile without a dry-laid layout, which leads to sliver cuts and off-center patterns.
- Tiling over grease or loose paint instead of cleaning the wall first.
- Using the wrong adhesive, like mastic on dense tile or near moisture.
- Skipping the flatness check and ending up with lippage.
- Leaving outlet boxes recessed behind the new tile.
- Grouting the countertop joint instead of caulking it, so it cracks.
- Leaving excess grout to dry on the tile face and fighting the haze later.
- Rushing cure time and shifting tiles before they've bonded.
- Choosing a complex pattern or specialty material without the experience to cut it cleanly.
When to Call Kibuk Tile And Construction
A backsplash can be a satisfying project when the conditions are right. But if your wall is damaged, your tile is marble, glass, mosaics, or handmade, your layout is complex, or your outlets need more than a cover swap, there's no shame in bringing in someone who does this every day. That professional help is highly recommended once the backsplash climbs the full wall or the design gets intricate.
That's where we come in. For some tiling companies, the sale matters more than anything. For us, it doesn't work that way. We're upfront and transparent about what your project actually needs, we don't cut corners on the prep and coverage that make tile last, and we work with budgets of all sizes without compromising on quality. Whether you want a simple tile backsplash or a full bathroom refit, we help you create a space that holds up as well as it looks. We also install tile beyond the backsplash, from a kitchen floor to a bathroom shower, so the whole room can tie together. We understand how frustrating it can be to have work done in your home, so we keep it quick, reliable, and professional from the first visit.
Based in Vancouver, WA and serving Portland, OR and the surrounding area, our enthusiastic team is happy to take a look and talk through your options honestly. So, what are you waiting for? Call us today at (360) 608-4629 for a free estimate.
Comments