


Key Takeaway
To drill into tile without cracking it, use a carbide-tipped bit for ceramic tile or a diamond-tipped bit for porcelain, glass, and stone. Keep drill speed between 400 and 600 RPM, apply light pressure, and cool the bit with water every 10 to 15 seconds. Never use hammer mode while drilling through tile, and stay at least 20mm from any tile edge.
Before You Drill: Questions to Ask First
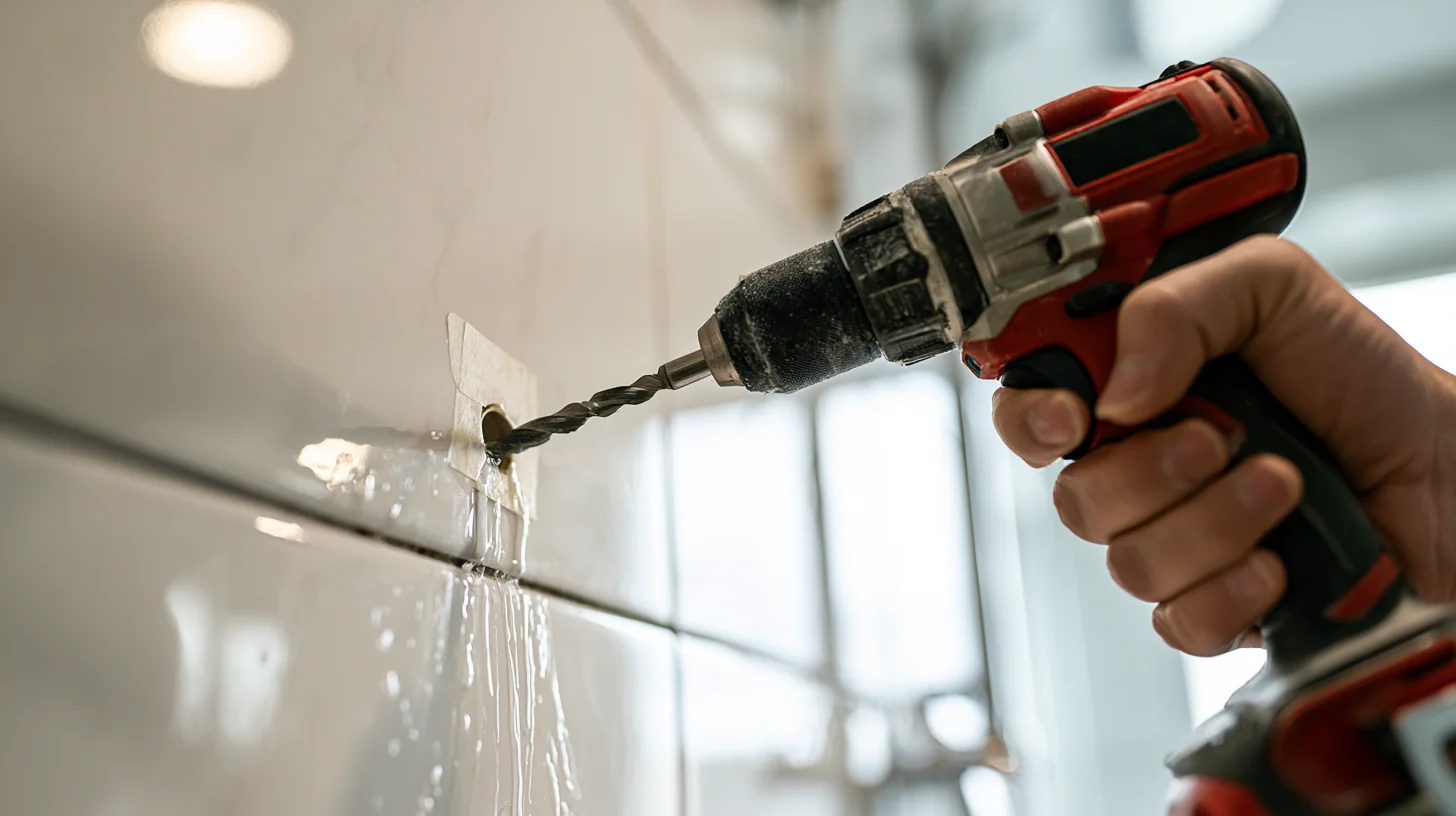 A few minutes of thinking here saves you a cracked tile later. Run through this before the drill touches anything:
- What tile is it? Ceramic tiles are softer and more porous. Porcelain tiles are denser and nearly impervious to water. Natural stone like marble or granite is fragile and can crack or stain. Glass tiles chip easily. Terrazzo contains marble, pearl, or colored glass set into a base, so it behaves like the hardest material inside it. Knowing your tile types up front tells you which bit you need.
- Is it in a shower or wet area? That changes everything, because a hole there can turn into a hidden leak.
- Could pipes or wiring be behind it? Check before you commit.
- Is there a stud, backing, or proper anchor point where you need it? Cement board behind the tile holds an anchor differently than drywall.
- Is the tile cracked, loose, hollow-sounding, discontinued, or expensive?
- Is the fixture load-bearing? Grab bars and shower doors get pulled on hard.
What Tools and Materials You'll Need
The right tools make the difference between a clean hole and a cracked tile. Here's the short list of tools to gather before you start:- A variable-speed, high speed capable power drill with variable speed control
- Carbide tipped or diamond tipped drill bit, or a hole saw for larger holes
- Painter's or masking tape
- Pencil and a spirit level
- A spray bottle filled with water for cooling the bit
- Safety gear: safety goggles, a dust mask, and ear protection
- Stud finder or a multi-detector for pipes and wiring
- The correct anchors and screws for your fixture
- Silicone sealant for wet-area holes, if the product calls for it
How Do You Choose the Right Drill Bit for Tile?
The honest answer is that no single drill bit works for everything. Match the bit to the tile surface and the hole size. Masonry bits with a carbide tipped head handle softer material, while diamond bits are the tool for dense and delicate surfaces alike. A masonry drill bit is fine for plenty of everyday ceramic, but it won't touch porcelain.| Tile type | Recommended drill bit | Notes |
|---|---|---|
| Ceramic tiles | Carbide tipped masonry or tile bit | Softer surface; start slow, no hammer mode |
| Porcelain tiles | Diamond tipped drill bit or hole saw | Denser; cool the bit constantly |
| Glass | Diamond or glass/tile bit | High chip risk; go slow |
| Marble / natural stone | Diamond drill bit | Can crack or stain; extra care |
| Mosaic / terrazzo | Diamond bits (for glass or stone content) | Small pieces can loosen |
| Large holes | Diamond hole saw or core bit | Use a guide to stop wandering |
Step-by-Step: The Safe Drilling Process
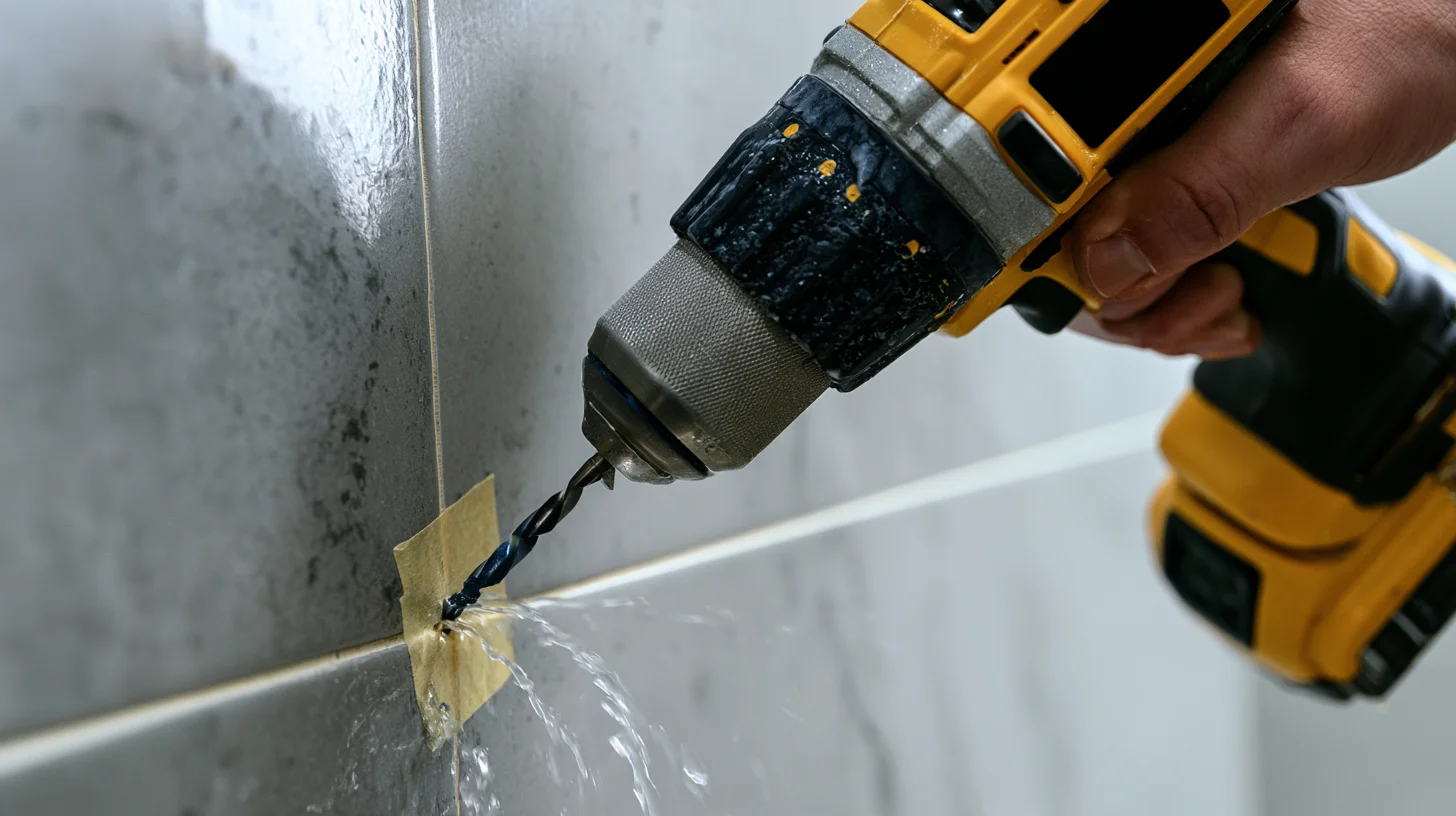 The entire process is more about patience than power. Work through it in order:
- Confirm the location and check behind the wall for pipes or wiring. Wipe down the drilling area so the surface is clean.
- Mark the hole with a pencil and check it with a level.
- Apply masking tape over the mark, or set up a drill guide. Wrap a strip of tape around the drill bit itself to mark your depth so you don't go too deep.
- Set the drill to regular mode. Hammer action stays off.
- Start drilling slowly with the bit at a 90-degree angle to the tile surface. A gentle first pass at low speed helps you create a shallow pilot hole that keeps the bit from skating.
- Apply light pressure and let the bit do the work. Gradually increase drill speed once it bites.
- Spray water on the surface every 10 to 15 seconds. This water cooling is what keeps the bit from overheating; heat cracks tile and dulls diamond bits.
- Ease off the pressure as you feel the bit break through the tile layer.
- Switch to the correct bit for whatever's behind the tile, whether that's drywall, cement board, or masonry.
- Clear the debris out of the hole so you have clean holes for the anchor.
- Insert the correct wall anchor for the fixture and the wall.
- Install the fixture, and don't overtighten the screws.
How Do You Drill Into Porcelain Tile With a Diamond Tipped Drill Bit?
Porcelain is dense and nearly impervious to water, so a diamond tipped drill bit isn't optional here. It's the only bit that reliably cuts porcelain tiles. Start the hole with a guide to stop the bit wandering, keep water on the surface the whole time, and be patient. Drill slowly and controlled in the 400 to 600 RPM range for more accuracy than you'd get at full speed. Stop drilling if the bit starts smoking, glazing over, or simply stops making progress. That's heat, not resistance you can push past. Cool it, ease up to light pressure, and continue drilling as the diamond tipped drill cuts. Once you're through, slowly bring the drill back out so you don't chip the exit. For a deeper walkthrough, we'll link to our dedicated porcelain guide.Bathroom and Shower Tile: The Extra Rules
 A shower penetration is not the same as a hole in a dry kitchen backsplash. Behind that tile is waterproofing you can't see, and a hole in the wrong place can send water into the wall for months before you notice.
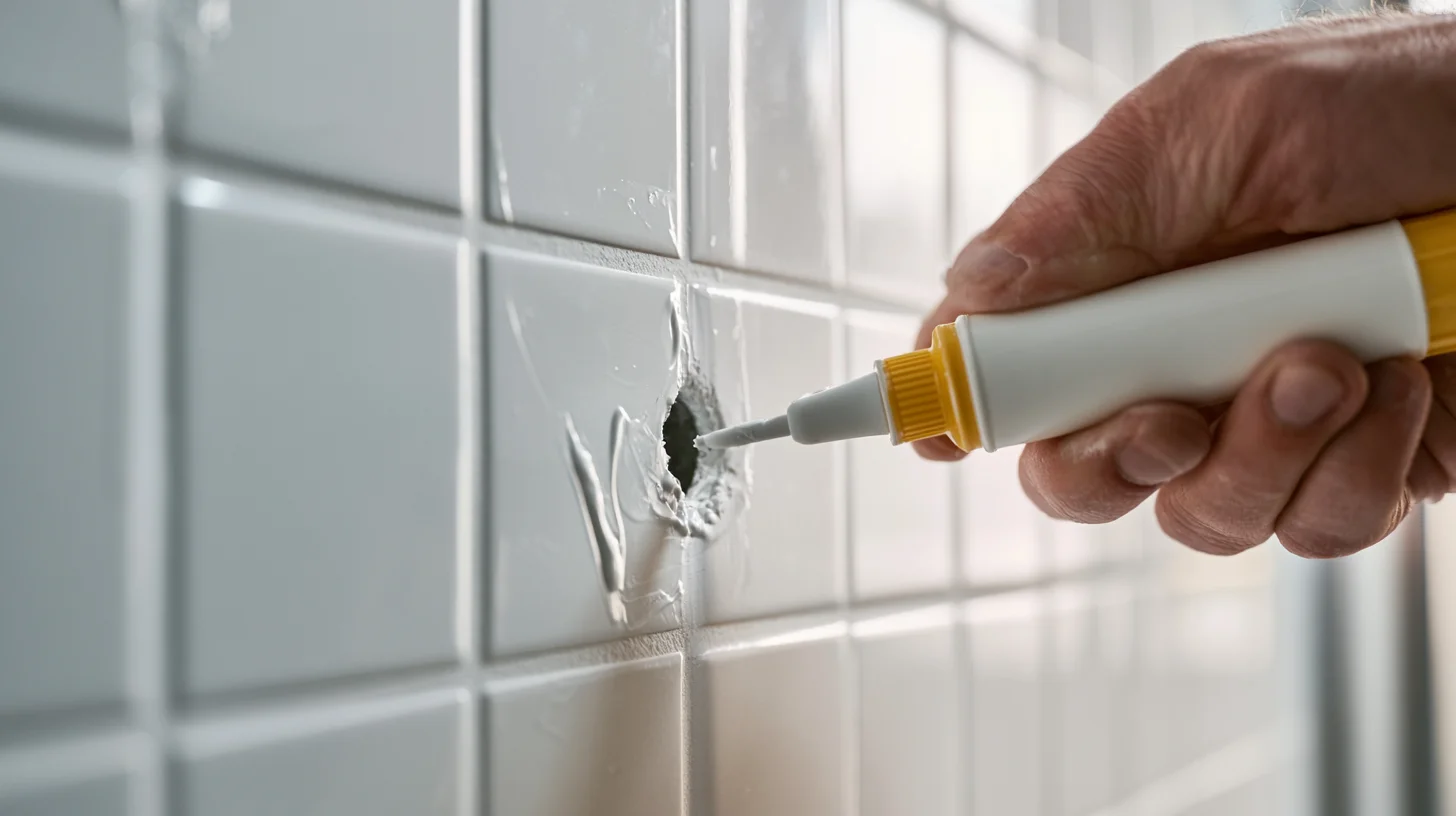
Seal drilled holes in wet areas with silicone before the fixture goes on. Follow the fixture and sealant instructions, since some require a cure period before you use the shower again. Seating the anchor properly behind the tile also helps reduce cracking as you tighten.
Shower doors, shelves, and grab bars need real support: a stud, a brace, or an anchor actually rated for the load. Even mounting a soap dispenser is worth doing carefully so the two holes line up and hold. Be careful around shower floors and waterproof membranes, where a mistake becomes a hidden leak fast. This is the kind of work we handle every day in our bathroom remodeling projects, and it's where cutting a corner costs the most.
A shower penetration is not the same as a hole in a dry kitchen backsplash. Behind that tile is waterproofing you can't see, and a hole in the wrong place can send water into the wall for months before you notice.
Seal drilled holes in wet areas with silicone before the fixture goes on. Follow the fixture and sealant instructions, since some require a cure period before you use the shower again. Seating the anchor properly behind the tile also helps reduce cracking as you tighten.
Shower doors, shelves, and grab bars need real support: a stud, a brace, or an anchor actually rated for the load. Even mounting a soap dispenser is worth doing carefully so the two holes line up and hold. Be careful around shower floors and waterproof membranes, where a mistake becomes a hidden leak fast. This is the kind of work we handle every day in our bathroom remodeling projects, and it's where cutting a corner costs the most.
Should You Drill Into the Tile or the Grout Line?
Drill where the fixture needs the hole, not automatically into the grout. Grout feels like the "safe" softer target, but it can crumble and crack, and it holds screws weaker than solid tile. Some manufacturer instructions specifically tell you not to place screws on a grout line. If your fixture template lands on a grout joint, stop and reassess before you start drilling rather than assuming grout is the easier choice.Common Mistakes That Crack a Drilled Tile: Ceramic Tiles, Hairline Cracks, and Drill Speed
Most hairline cracks in a drilled tile trace back to one of these:- Using the wrong hammer drill setting instead of a steady hand and light pressure
- Grabbing a wood or metal bit instead of a diamond tipped or carbide tipped drill bit
- Pressing too hard rather than letting the diamond drill bit do the cutting
- Drilling too fast at high speed
- Letting the bit overheat instead of pausing to spray water
- Skipping the tape or guide and letting the bit skate across the surface
- Drilling too close to a tile edge
- Overtightening the screws
- Using the wrong anchor
- Ignoring waterproofing in wet areas
- Not checking for pipes or wires first
Troubleshooting: When Drilling Goes Wrong
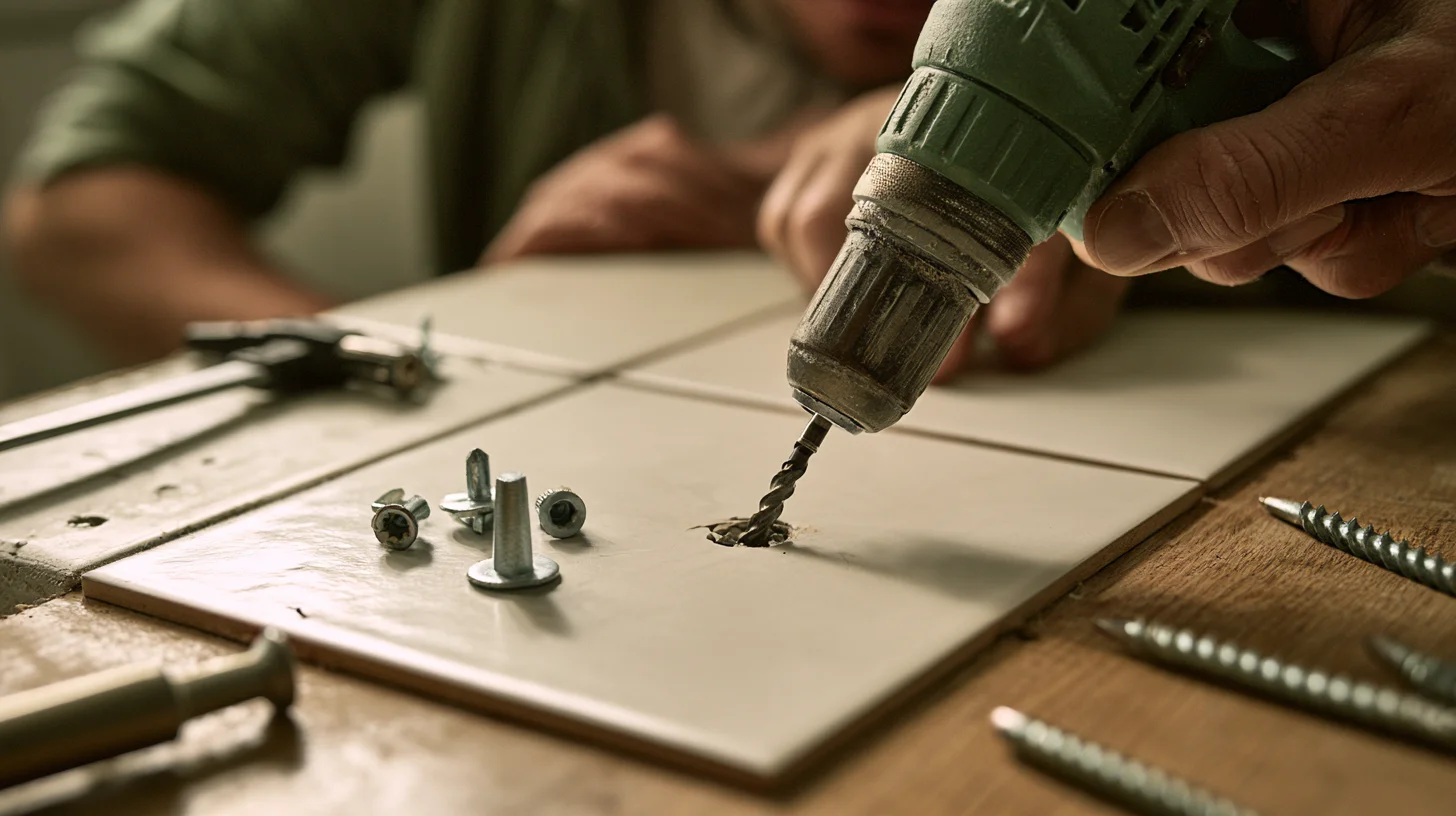 The drill bit keeps slipping. Reset your tape or drill guide, ease back to light pressure, and start a shallow pilot hole first. Wandering almost always means you started too fast. Getting drilling straight is easier when you slow down at the start.
The bit won't cut porcelain. You need a diamond tipped drill bit and more cooling, not more force. Pushing harder just burns the bit, and running full speed only makes it worse.
The hole chipped. A fixture escutcheon or trim ring often hides small chips on the surface, which is handy when small holes turn out rougher than planned. Keep spare tiles from the original job if you have them.
The tile cracked or the bit breaks. Stop and assess. Forcing the drill will spread the crack into surrounding tiles.
The anchor feels loose. Usually the wrong anchor for the wall, or debris left in the hole. Clear it out and match the anchor to the load.
Wrong spot. Don't re-drill blindly right next to the mistake, especially near an edge. Aiming can get a bit tricky when the mark is close to the old one.
The drill bit keeps slipping. Reset your tape or drill guide, ease back to light pressure, and start a shallow pilot hole first. Wandering almost always means you started too fast. Getting drilling straight is easier when you slow down at the start.
The bit won't cut porcelain. You need a diamond tipped drill bit and more cooling, not more force. Pushing harder just burns the bit, and running full speed only makes it worse.
The hole chipped. A fixture escutcheon or trim ring often hides small chips on the surface, which is handy when small holes turn out rougher than planned. Keep spare tiles from the original job if you have them.
The tile cracked or the bit breaks. Stop and assess. Forcing the drill will spread the crack into surrounding tiles.
The anchor feels loose. Usually the wrong anchor for the wall, or debris left in the hole. Clear it out and match the anchor to the load.
Wrong spot. Don't re-drill blindly right next to the mistake, especially near an edge. Aiming can get a bit tricky when the mark is close to the old one.
Comments