

Key Takeaway
To tile a bathroom floor, start with a clean, flat, stable, and dry subfloor, install the correct underlayment or waterproofing membrane, then set tiles in thin-set mortar with at least 80 percent coverage in dry areas and 95 percent in wet areas. Let the mortar cure about 24 hours before grouting, then seal the grout within 48 to 72 hours. The tile itself is the easy part - everything underneath determines how long it lasts.
How to Tile a Bathroom Floor (The Short Answer)
To tile a bathroom floor, you remove the toilet, base trim, and old flooring, confirm the subfloor is clean, flat, stable, and dry, install the right underlayment or waterproofing where the floor needs it, plan your tile layout, then set the tile in mortar with proper coverage and even spacing. Let it cure, grout the joints, and seal. That's how to tile a bathroom floor from start to finish.
This guide is for homeowners weighing a DIY tile floor and deciding what they can handle versus what needs a pro. Here's the core idea to hold onto: the tile is the easy part. Everything under it decides whether the job lasts.
Should You Tile This Bathroom Floor Yourself?
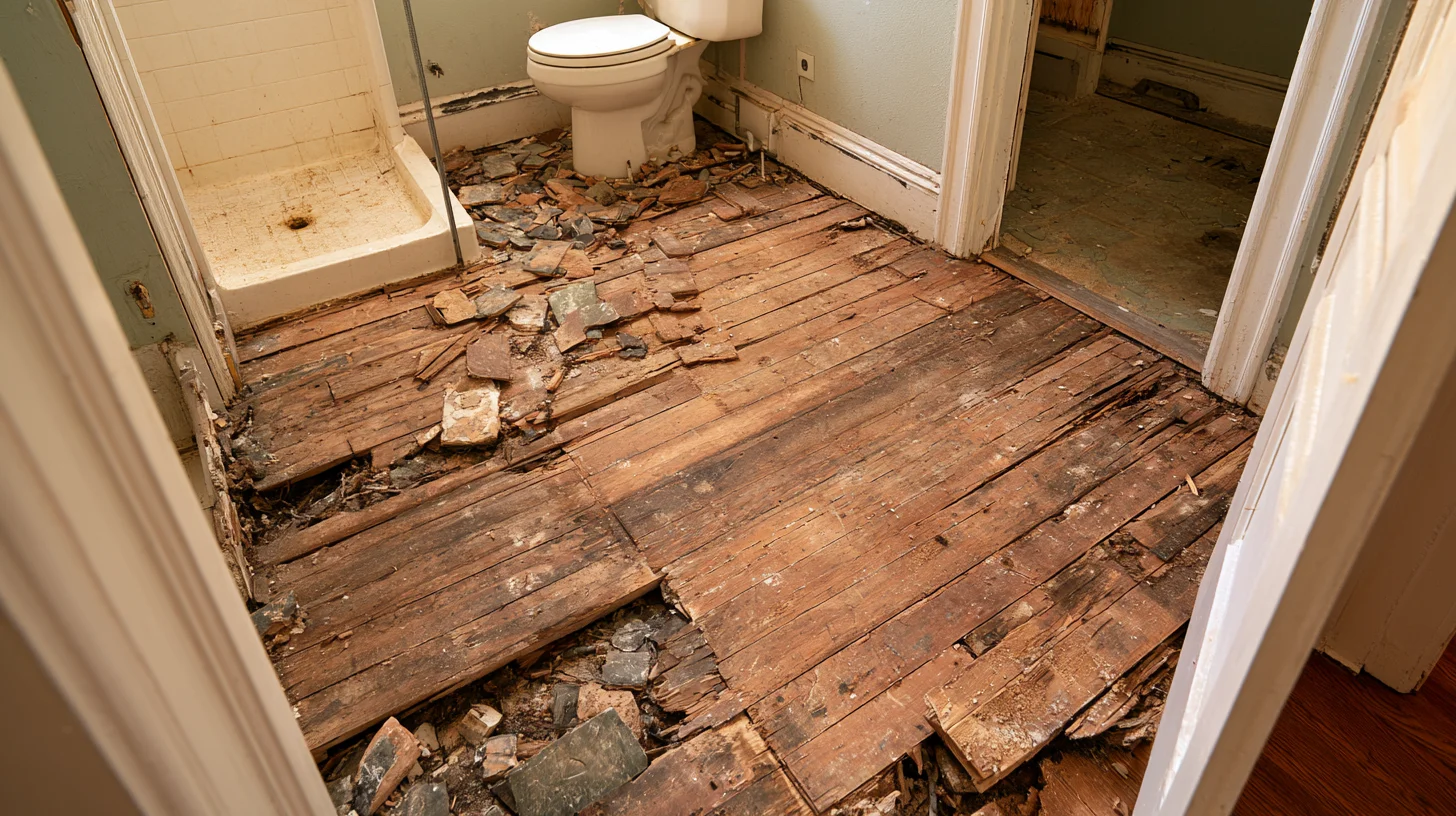
A good DIY candidate is a small, standard bathroom with a floor that's already flat, solid, and free of damage. If your subfloor is sound and you're patient, laying tile is learnable.
Some floors call for a pro, though, and we'd rather tell you that upfront than watch you fight a losing battle. Repair any subfloor damage before new tile goes down. Stop and get help if you see any of these:
- Water damage or a soft, spongy subfloor
- Cracked tiles or loose existing tile
- Natural stone tiles like marble or large format tiles
- Heated floors or a floor drain
- A curbless shower or true wet-room assembly
- Old linoleum or vinyl flooring of unknown age
Proper Tools and Materials You'll Need to Lay Tile
Gather your proper tools and materials before you start so you're not running out mid-mortar. The exact underlayment depends on your existing floor.
- Bathroom tile and thin set mortar
- Grout and a penetrating grout sealant
- Tile spacers
- Notched trowel and a rubber grout float
- Wet saw and tile nippers
- Level or straightedge and a chalk line
- Buckets, a damp sponge, and safety gear
- Half-inch tile backer board or a waterproofing membrane, as the floor requires
Most bathroom floor tile is ceramic or porcelain, and both work well here. Ceramic tiles are easy to cut and forgiving for a first-timer, which is why they're a common starting point.
Step 1 — Remove Fixtures and Existing Tile or Old Flooring
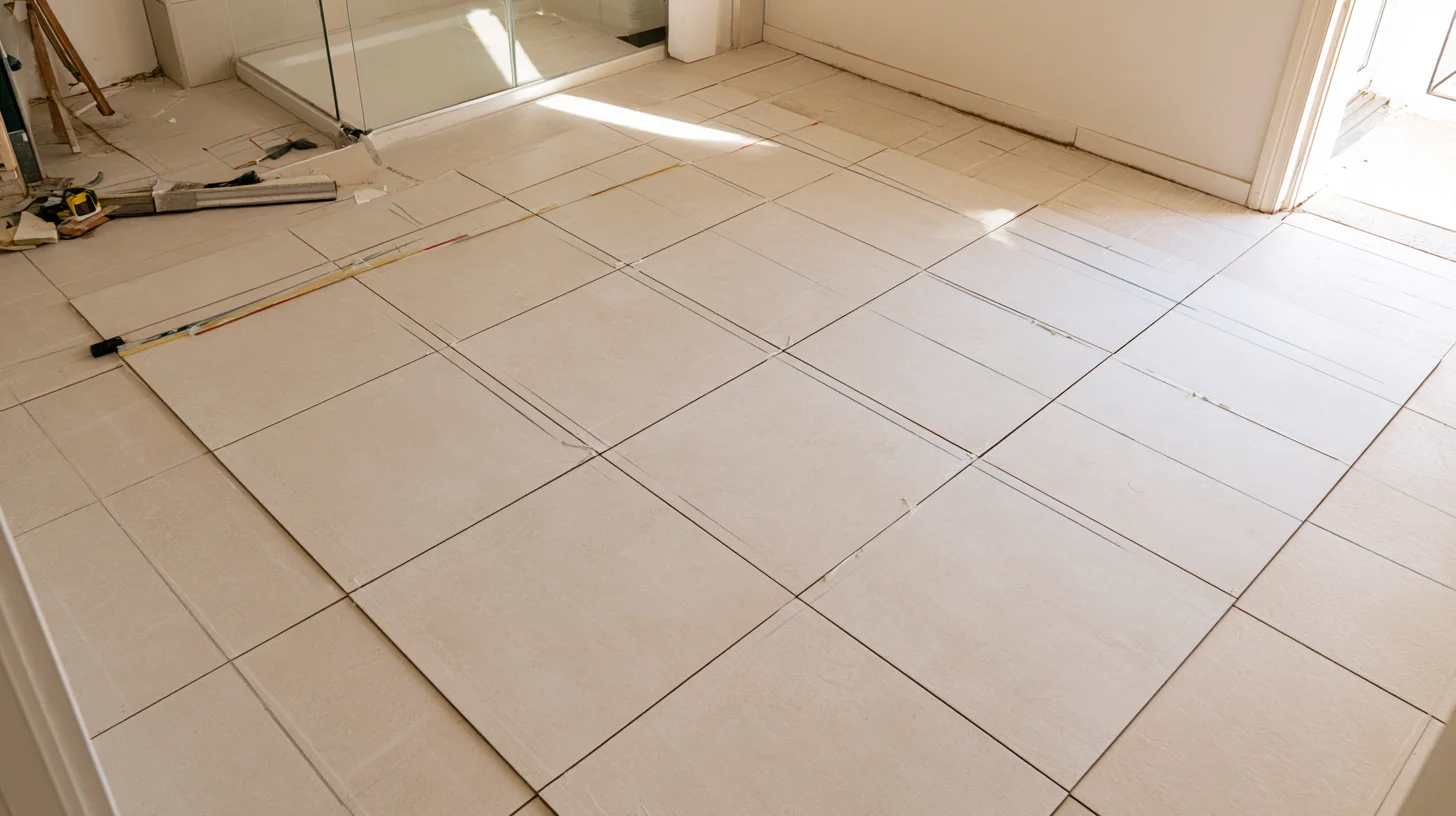
Pull the toilet, take off the base trim, and remove any loose or existing tile so you're working down to a clean surface. Clear the room so you have full access before you prep the subfloor.
One safety note that basic tutorials skip: older vinyl flooring and the adhesive under it may contain asbestos. If you don't know what you're dealing with, don't sand, scrape, or cut it. Have it sampled by a trained, accredited inspector first. It protects your home and the people in it.
Step 2 — Inspect and Prepare the Subfloor
This is where a tile floor is won or lost. The surface has to be clean, dry, flat, and stable before anything else happens. Repair any damage now, not later.
Flat and level aren't the same thing. A floor can sit perfectly level and still have dips and humps that show up as lippage once tile goes down. What you want is flat.
You also need the floor stiff enough. Tile installations traditionally call for L/360 rigidity before the underlayment goes in, and natural stone like marble needs a stiffer L/720 because stone is far less forgiving. Meeting L/360 alone isn't a guarantee, either. Tile has failed on floors that technically passed. If your floor flexes when you walk on it, the tile will crack. No shortcuts here.
Step 3 — Install Backer Board or a Waterproofing Membrane
Most standard bathroom floors get half-inch cement backer board embedded in mortar and fastened per the product's instructions. That gives the tile a stable, consistent base to create a lasting installation.
A true wet area is a different problem. Shower floors, curbless entries, and floor drains need a proper waterproofing system with the right membrane, slope, and drain integration. In these wet environments the water has to be managed under the tile. And here's the part people get wrong: tile and grout are not the waterproofing. Grout is porous, and glazed tile has open joints. When waterproofing is required, the water-management layer lives under the tile, not on top of it. Always follow the instructions for the specific board or membrane you choose.
Step 4 — Plan the Tile Layout and Dry Fit Before You Start Tiling
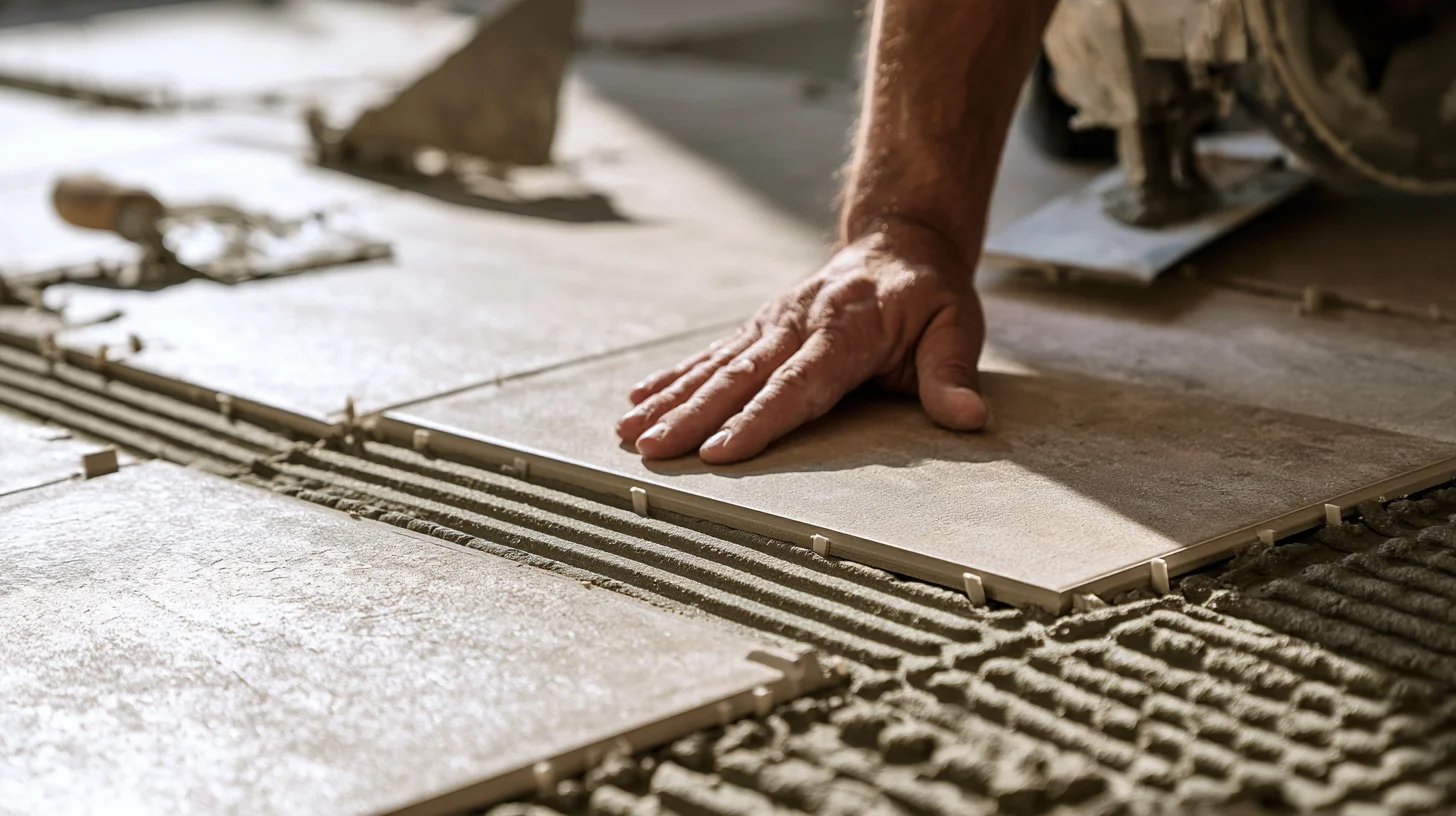
Snap two chalk lines into a crosshair at the center of the room and start tiling from the middle. That way your cut tiles land evenly along the walls instead of leaving a thin sliver on one side. A little time on layout now saves a lot of frustration later.
Before you mix anything, dry fit the tile to see how it falls. A dry fit is a free rehearsal, so use it. A few things to sort out first:
- Decide what happens under the toilet and vanity so cuts land cleanly.
- Avoid narrow sliver cuts at the edges by adjusting your starting lines.
- With large rectangular tile in a running-bond pattern, keep the offset to about 33 percent. A 50 percent offset can worsen lippage when tiles have any warp.
Buy 10 to 15 percent extra tile for cuts, mistakes, and spare stock. Accurate measurement of the room now prevents surprises when you lay tile later.
Step 5 — Mix and Spread the Thin Set Mortar
Mix the thin-set to a peanut-butter consistency, let it slake about 10 minutes, then remix. That rest lets the chemicals activate and gives you better bond.
Comb even ridges with a notched trowel held at a consistent angle. Keep the trowel angle the same across the whole floor so your ridges are uniform. Back buttering the larger tiles so the whole underside makes contact is worth the extra minute, and it drives out air pockets that would otherwise weaken the bond. Coverage matters more than most guides admit: aim for at least 80 percent in dry areas and 95 percent in wet areas like a bathroom. Full support at the edges and corners is what helps prevent cracks under a heel, not just "enough thin set" in the middle.
Step 6 — Set, Space, and Cut Tiles
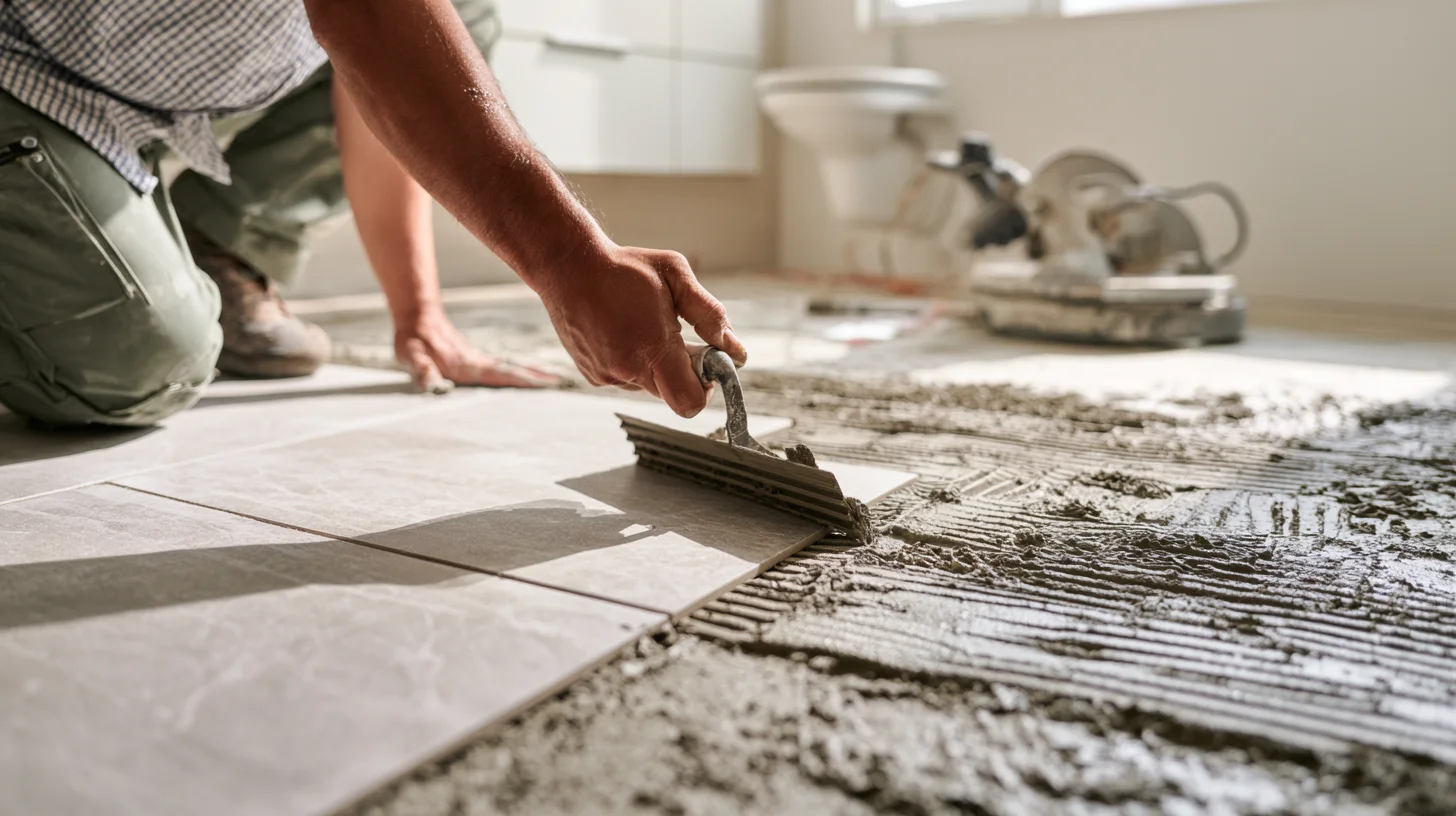
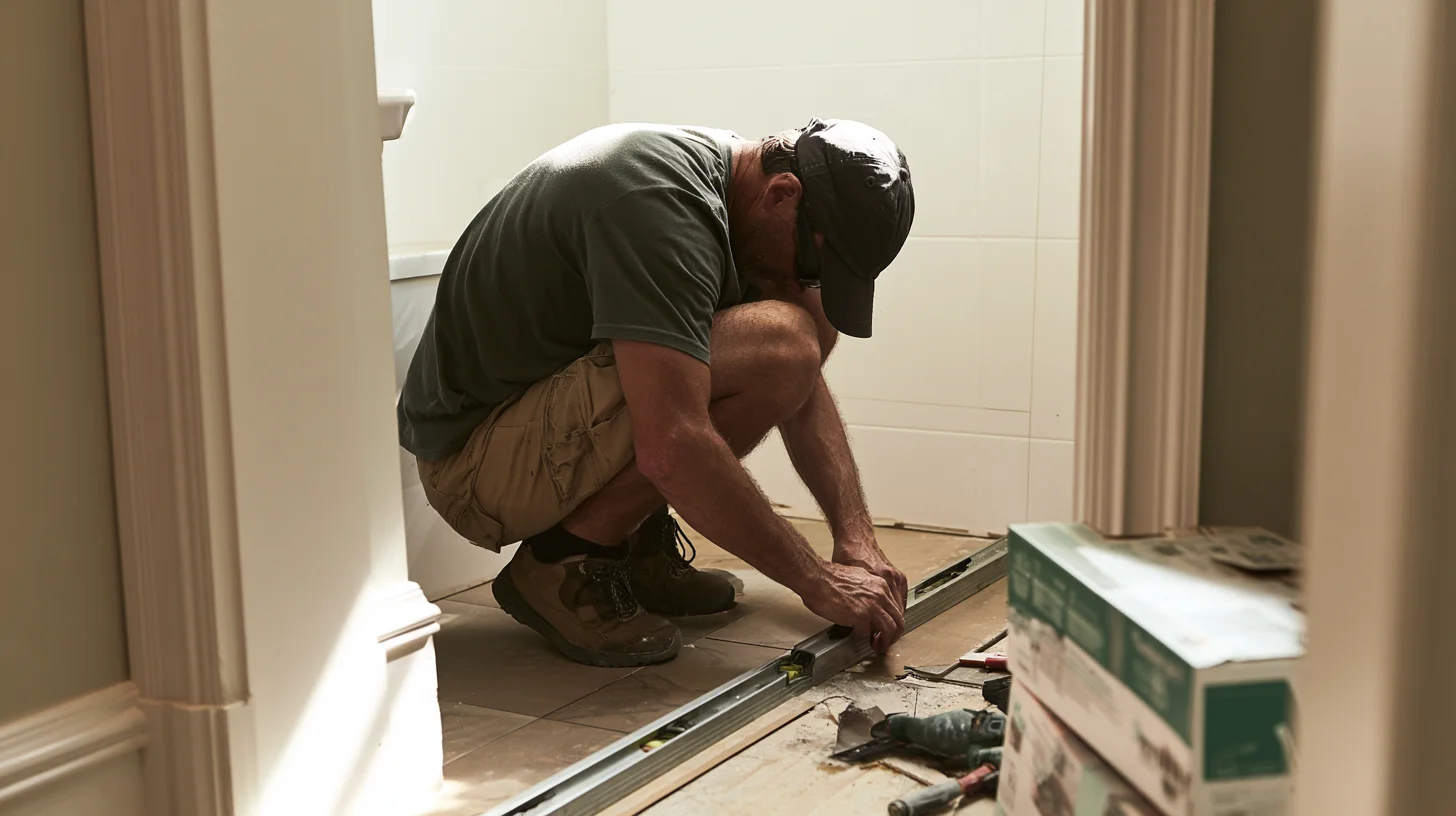
Press each tile into the mortar with a slight twist to collapse the ridges, then drop in tile spacers for consistent grout lines. Check for level and lippage often with a straightedge or spirit level. Every so often, lift one tile and look at the back to confirm your mortar coverage is where it should be, and add a pass of back buttering if a corner looks dry.
Place tiles in small sections so the mortar doesn't skin over before you set the new tile into it. Cut your edge and corner pieces with a wet saw for clean, straight cuts. Reach for tile nippers on the tricky spots: outlets, the toilet flange, and curves.
Step 7 — Let the Tile Fully Cure
Standard thin-set usually needs about 24 hours before you grout or walk on the tile surface. Some rapid-setting mortars let you grout in 2 to 3 hours. Always defer to the bag, because temperature and humidity change the timing. Rushing this step undoes careful work.
Step 8 — Grout the Tile and Wipe the Excess Grout
Once the mortar has fully set, remove spacers. Press grout firmly into the joints with a rubber grout float held at an angle so the joints pack solid. There's no single universal joint-size standard, but a practical rule holds: use unsanded grout for joints under 1/8 inch and sanded grout at 1/8 inch and larger. A stain-resistant grout is a smart pick in a bathroom.
Wipe the tile faces with a damp sponge and clear the excess grout and grout haze early, before it hardens. Change your rinse water often so you're not smearing excess grout around. Don't over-wash the joints, or you'll pull grout back out and leave low, weak lines.
Step 9 — Seal the Grout and Reinstall Fixtures
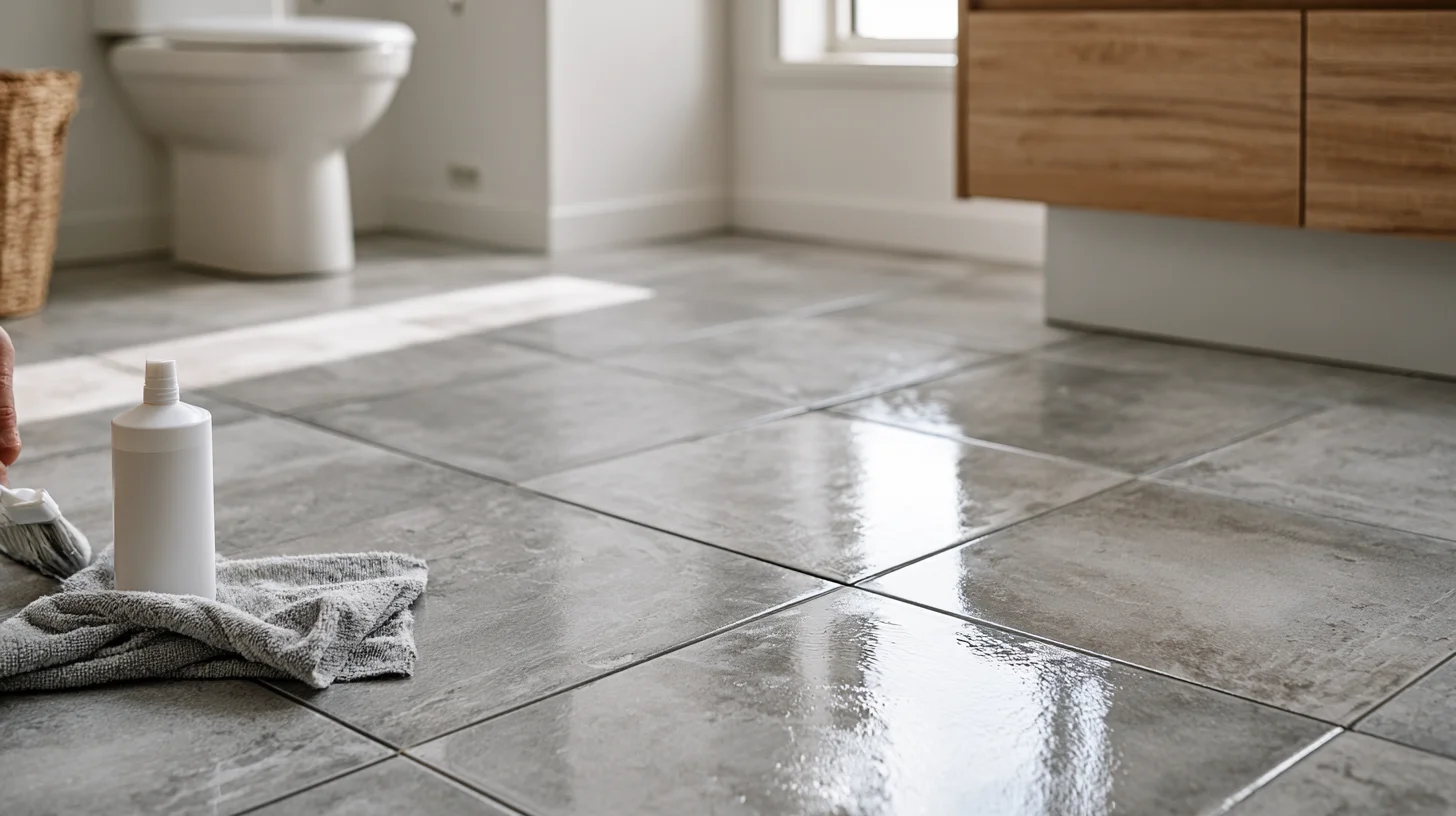
Grout is porous. It absorbs moisture and stains, and unsealed grout in a bathroom is an open invitation for mold. Wait 48 to 72 hours after grouting, then apply a quality penetrating grout sealant to the grout lines.
Where surfaces meet and move independently, use a flexible sealant instead of grout. That means floor-to-wall corners, around the bathtub, the shower curb, and thresholds. Grout in those spots cracks as the assembly moves and lets water in. Reset the toilet and reinstall the trim last. Done right, you get a new tile floor that looks sharp and holds up for years.
Common Bathroom Tile Mistakes to Avoid
- Skipping the underlayment or backer board
- Tiling over a floor that flexes
- Treating grout or tile as the waterproofing
- Choosing polished, slippery tile without checking slip resistance (a level wet floor should have a DCOF of 0.42 or greater)
- Grouting before the mortar has cured
- Leaving no movement gap at changes of plane, including where the floor meets the walls
- Setting large format tiles on a floor that isn't flat enough
- Skipping the dry fit and finding your bad cuts too late
When Is a Professional Tile Installer Worth It?
The visible tile is only the final layer. The prep, the moisture planning, and the mortar coverage underneath it decide whether a successful tile job lasts five years or twenty. That's exactly the part that's hard to judge from a photo.
We understand how frustrating it can be to have work done in your home, especially if you've been burned before. For us, the sale is never more important than doing the job right, and we work with budgets of all sizes without cutting corners. If your floor has red flags, or you'd rather have your tile installation handled once and handled well, call us at (360) 608-4629 for a free estimate, or reach out through kibuktileandconstruction.com. We're around Monday through Saturday, 7AM to 9PM. So, what are you waiting for?
Comments